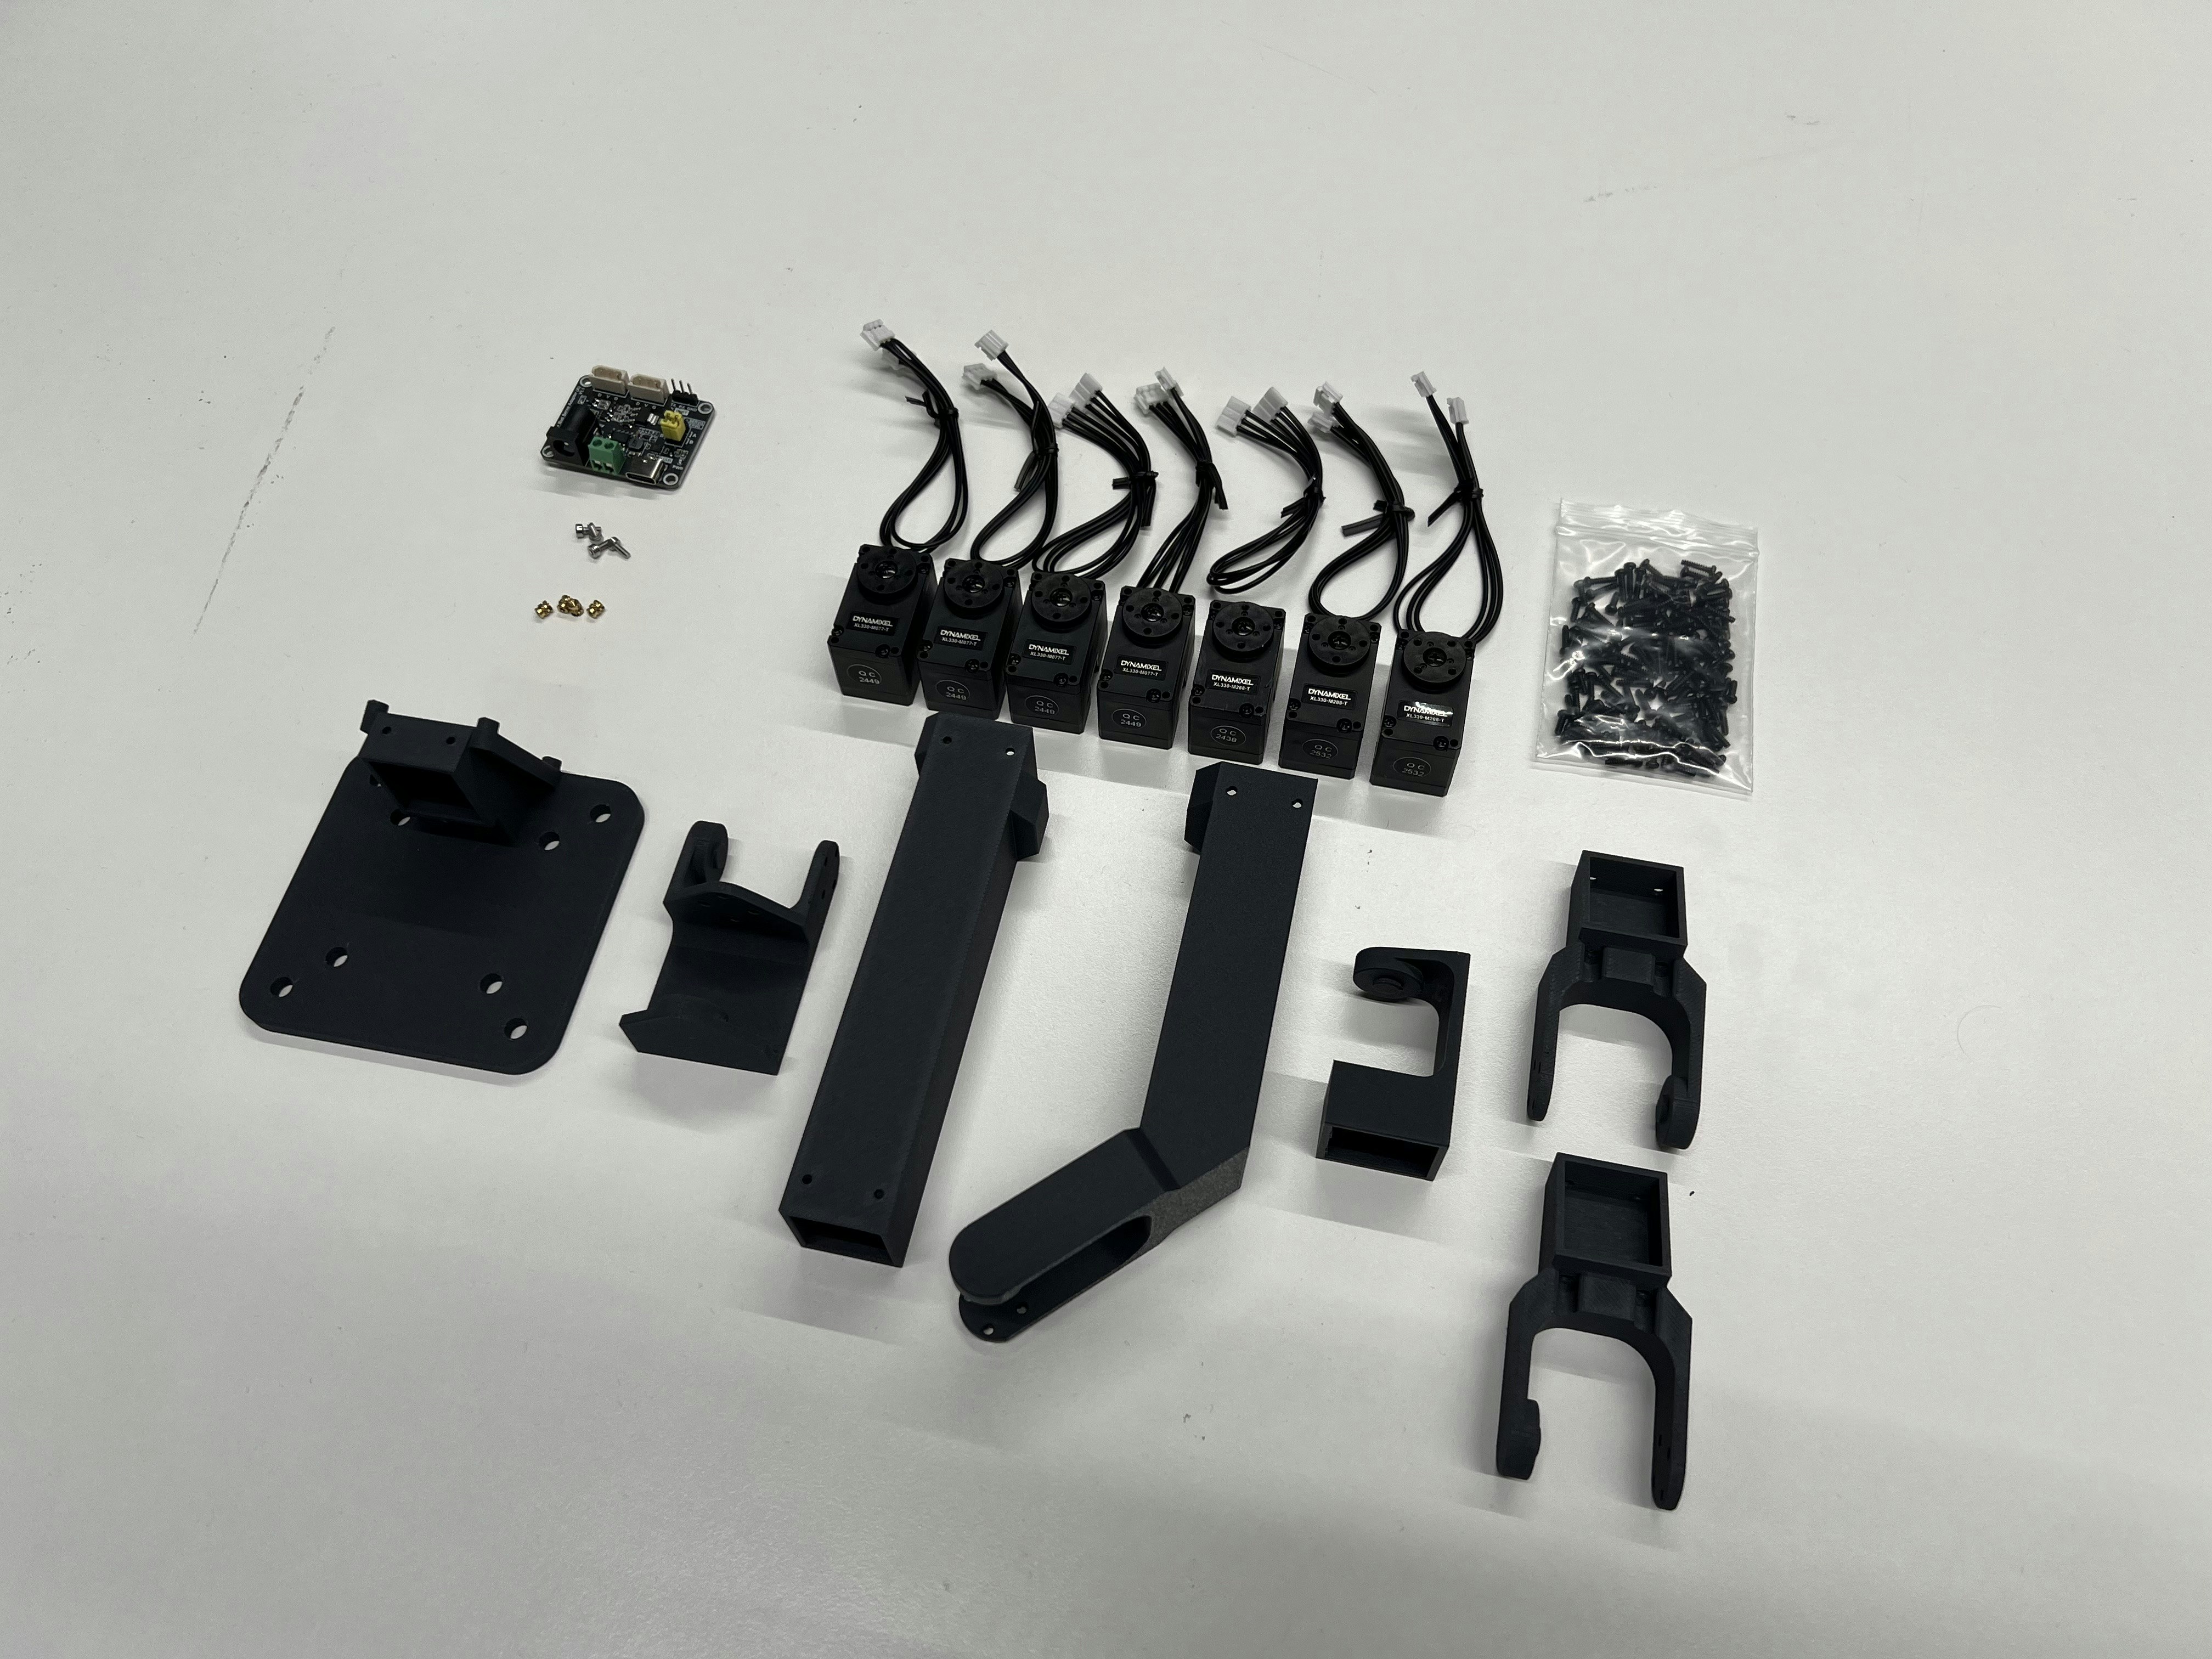
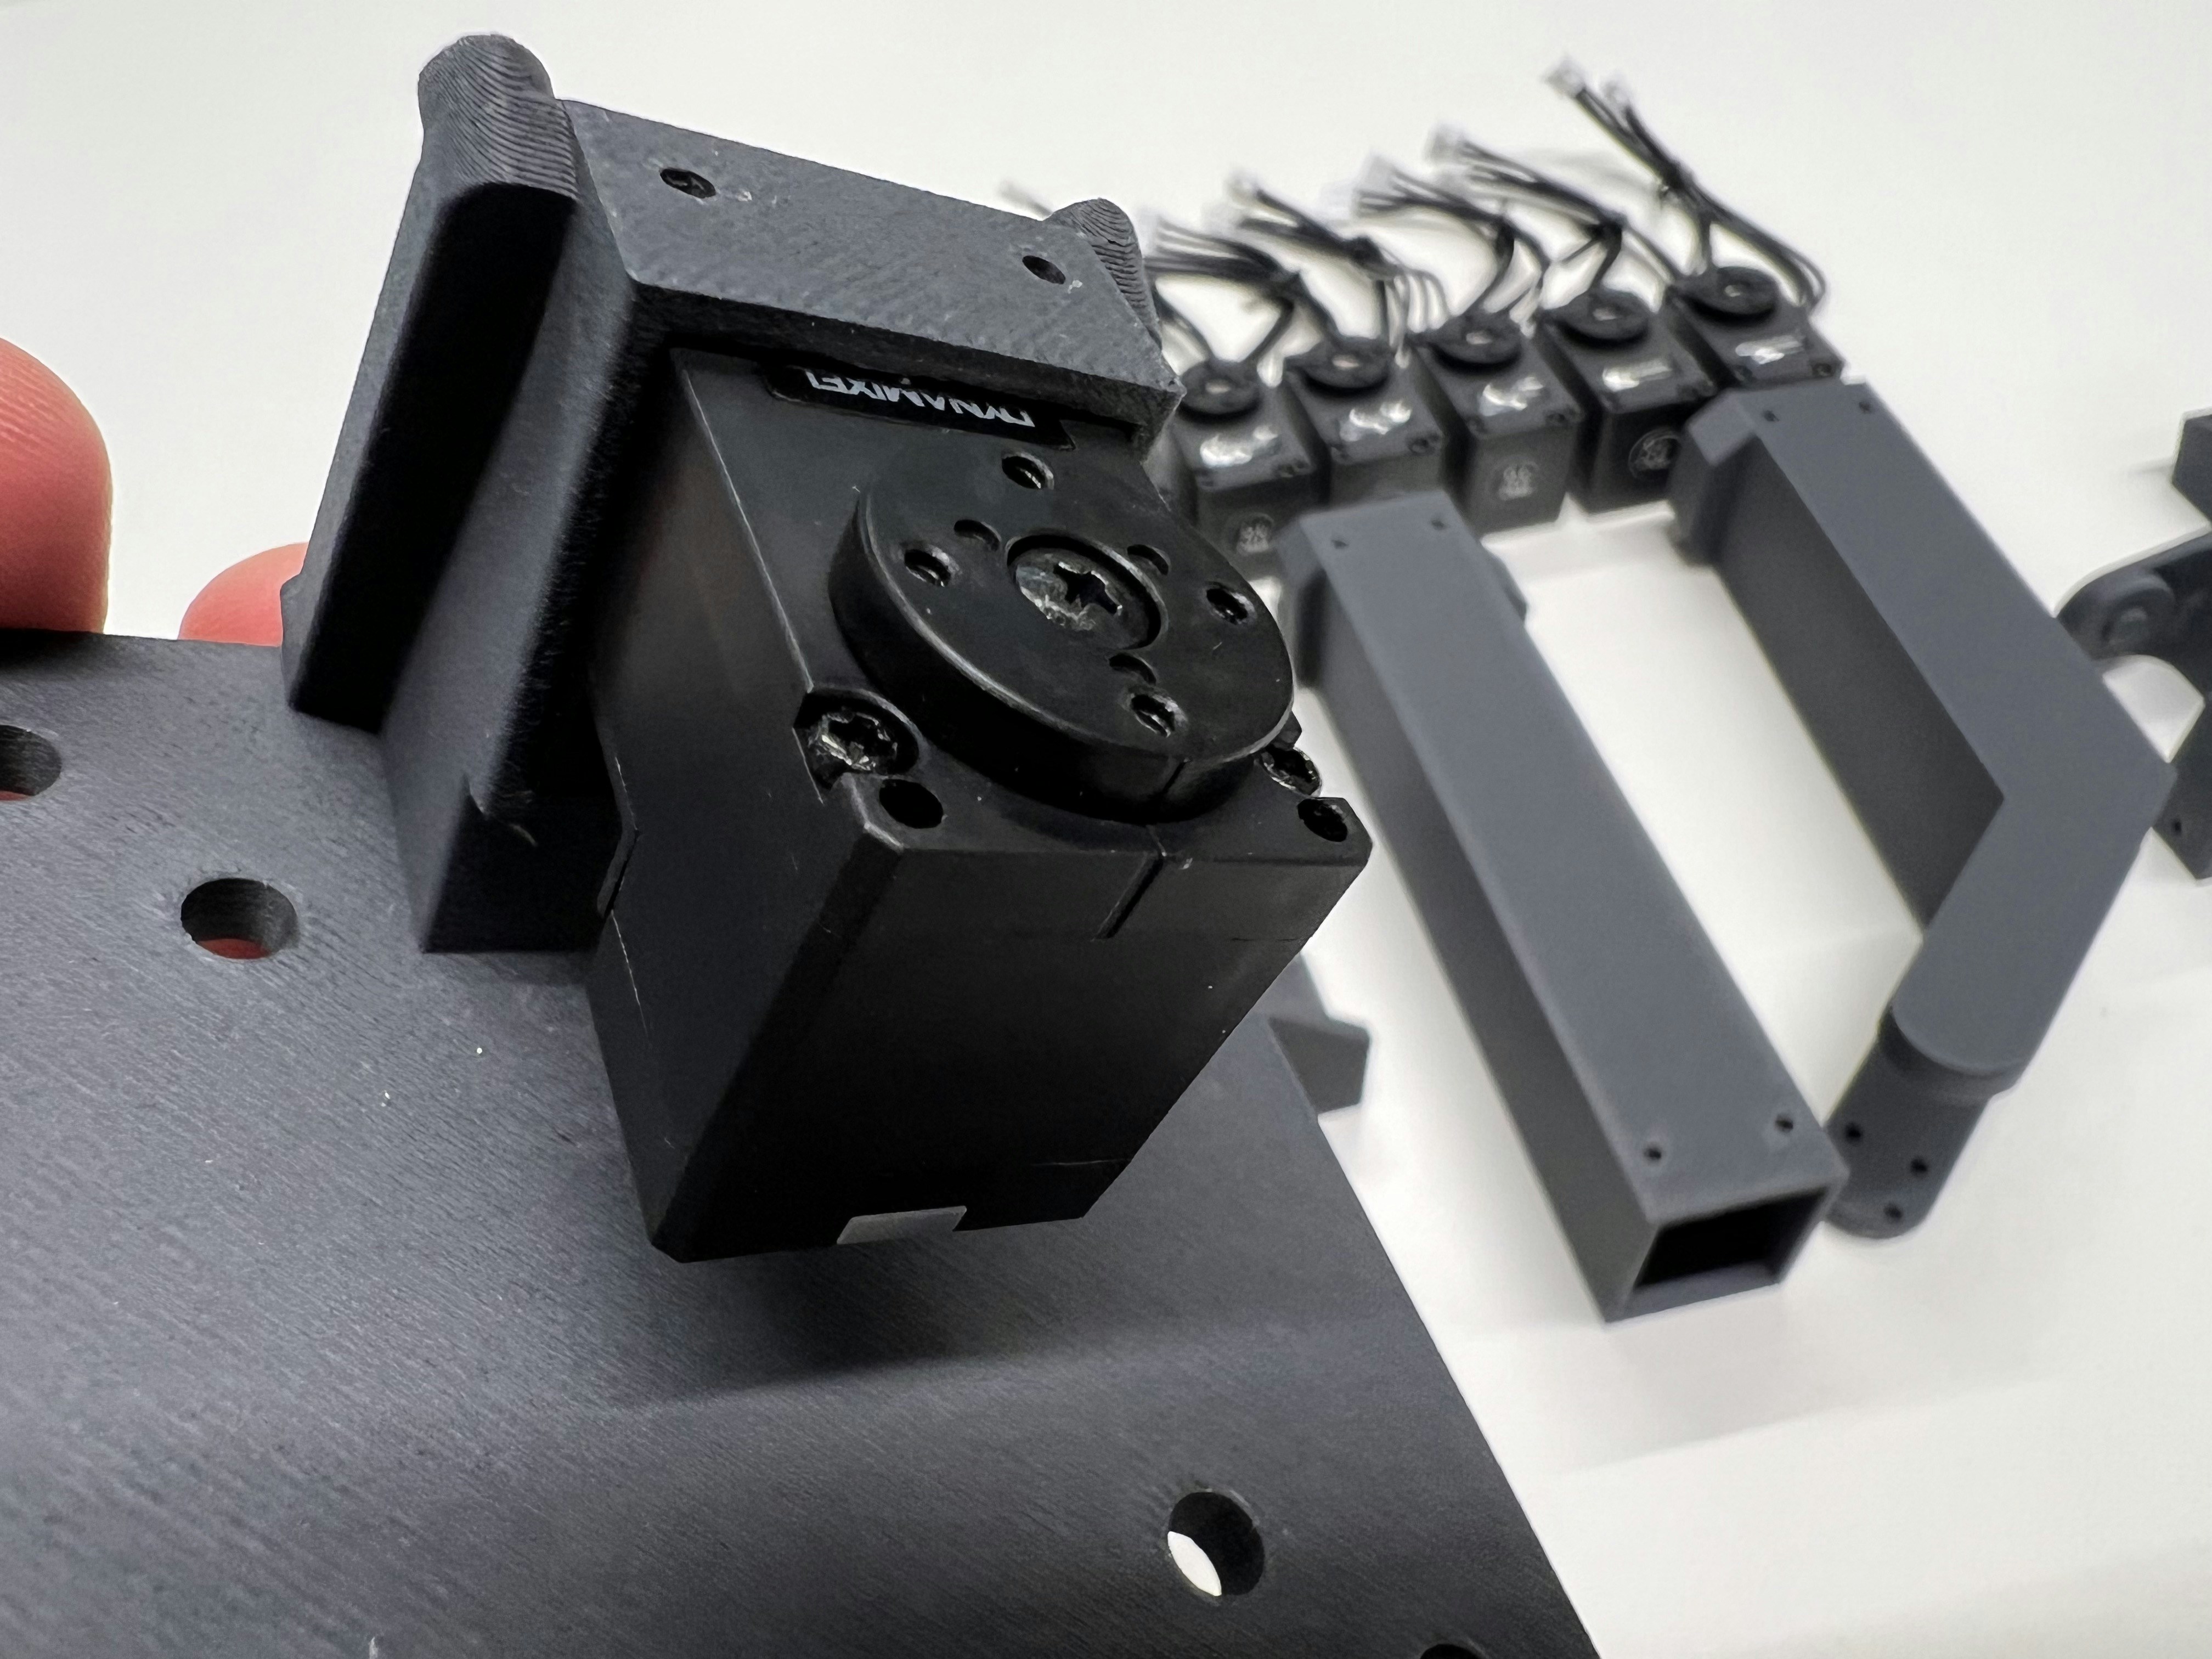
Components
| # | Part Name | Source |
|---|---|---|
| 7 | Dynamixel XL330-M077-T | https://en.robotis.com/shop_en/ |
| 1 | Waveshare Serial Bus Servo Driver Board | https://www.amazon.com/ |
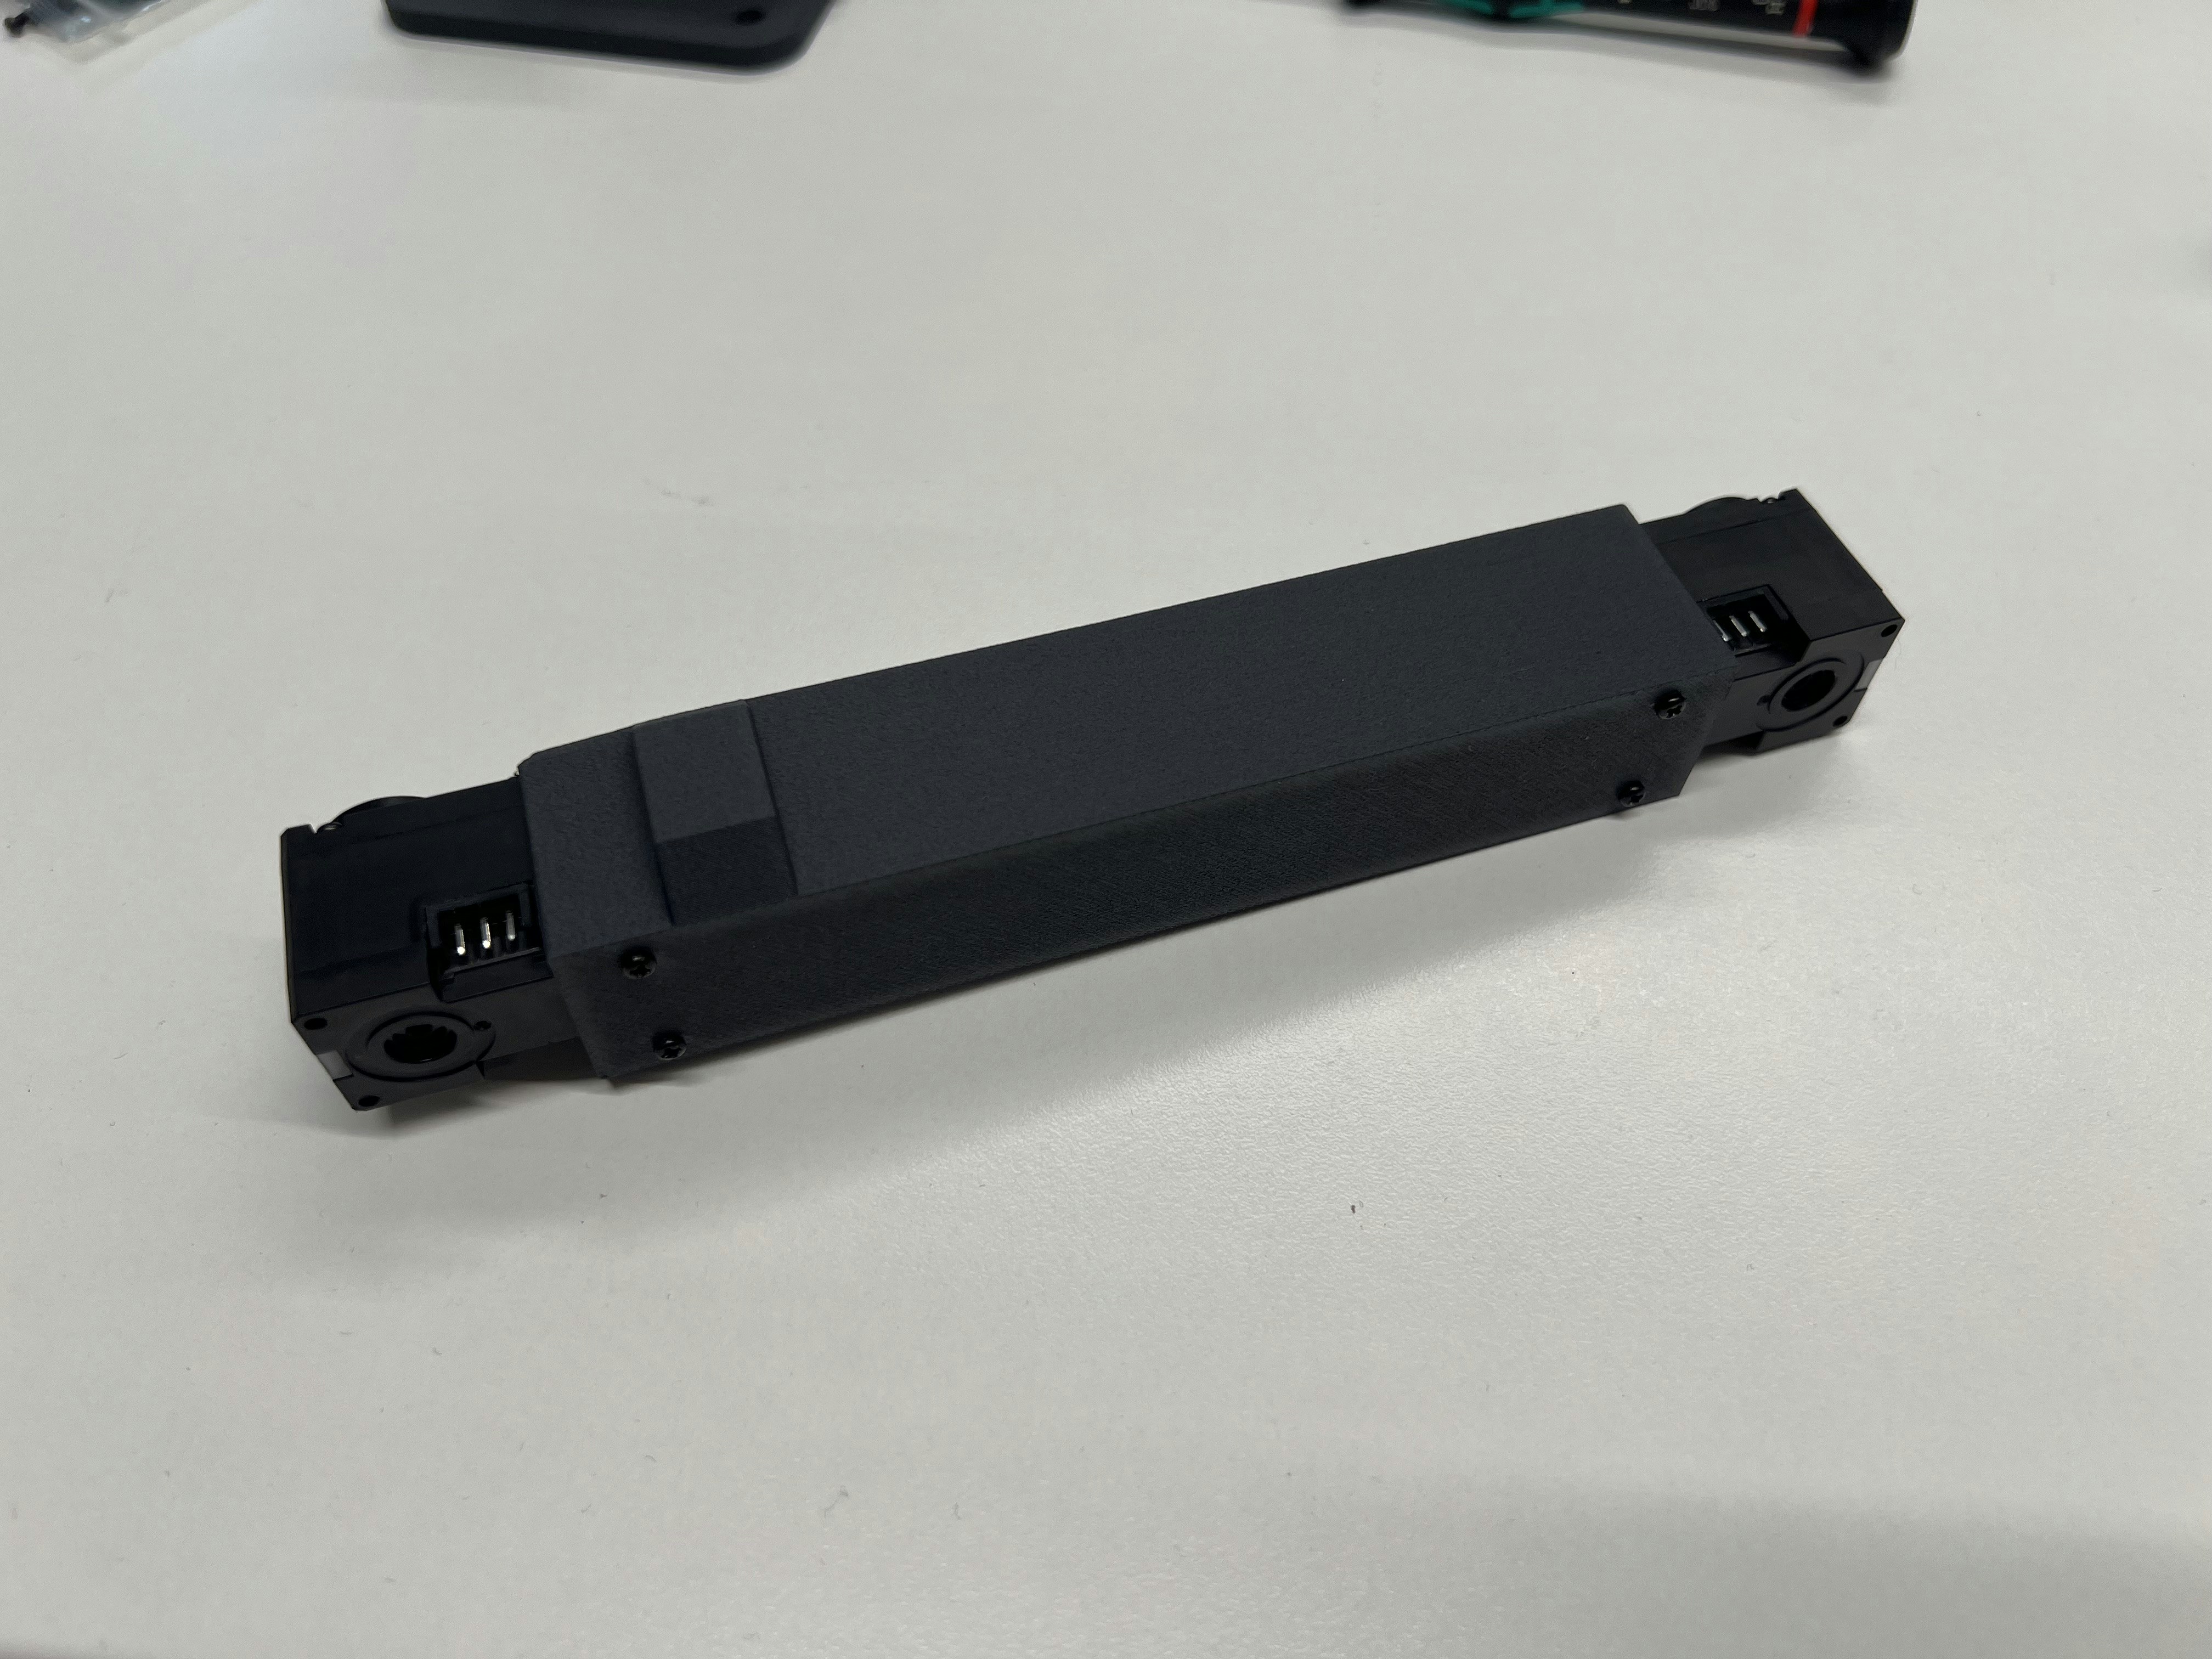
| 3D-printed Links using PLA(-CF) | https://store.bambulab.com/ | |
| 1 | 5V DC Power Supply (2 Pole or 5.5x2.1 Power Jack) | https://www.amazon.com/ |
| 4 | M2x4 Inserts | https://www.amazon.com/ |
| 4 | M2x5 Screws (e.g. ISO 4762) | https://www.amazon.com/ |
3D Printing
All .STL files and a Bambu Lab 3MF project file are located in the TRLC-DK1 GitHub Repo. Recommended 3D-printing orientation: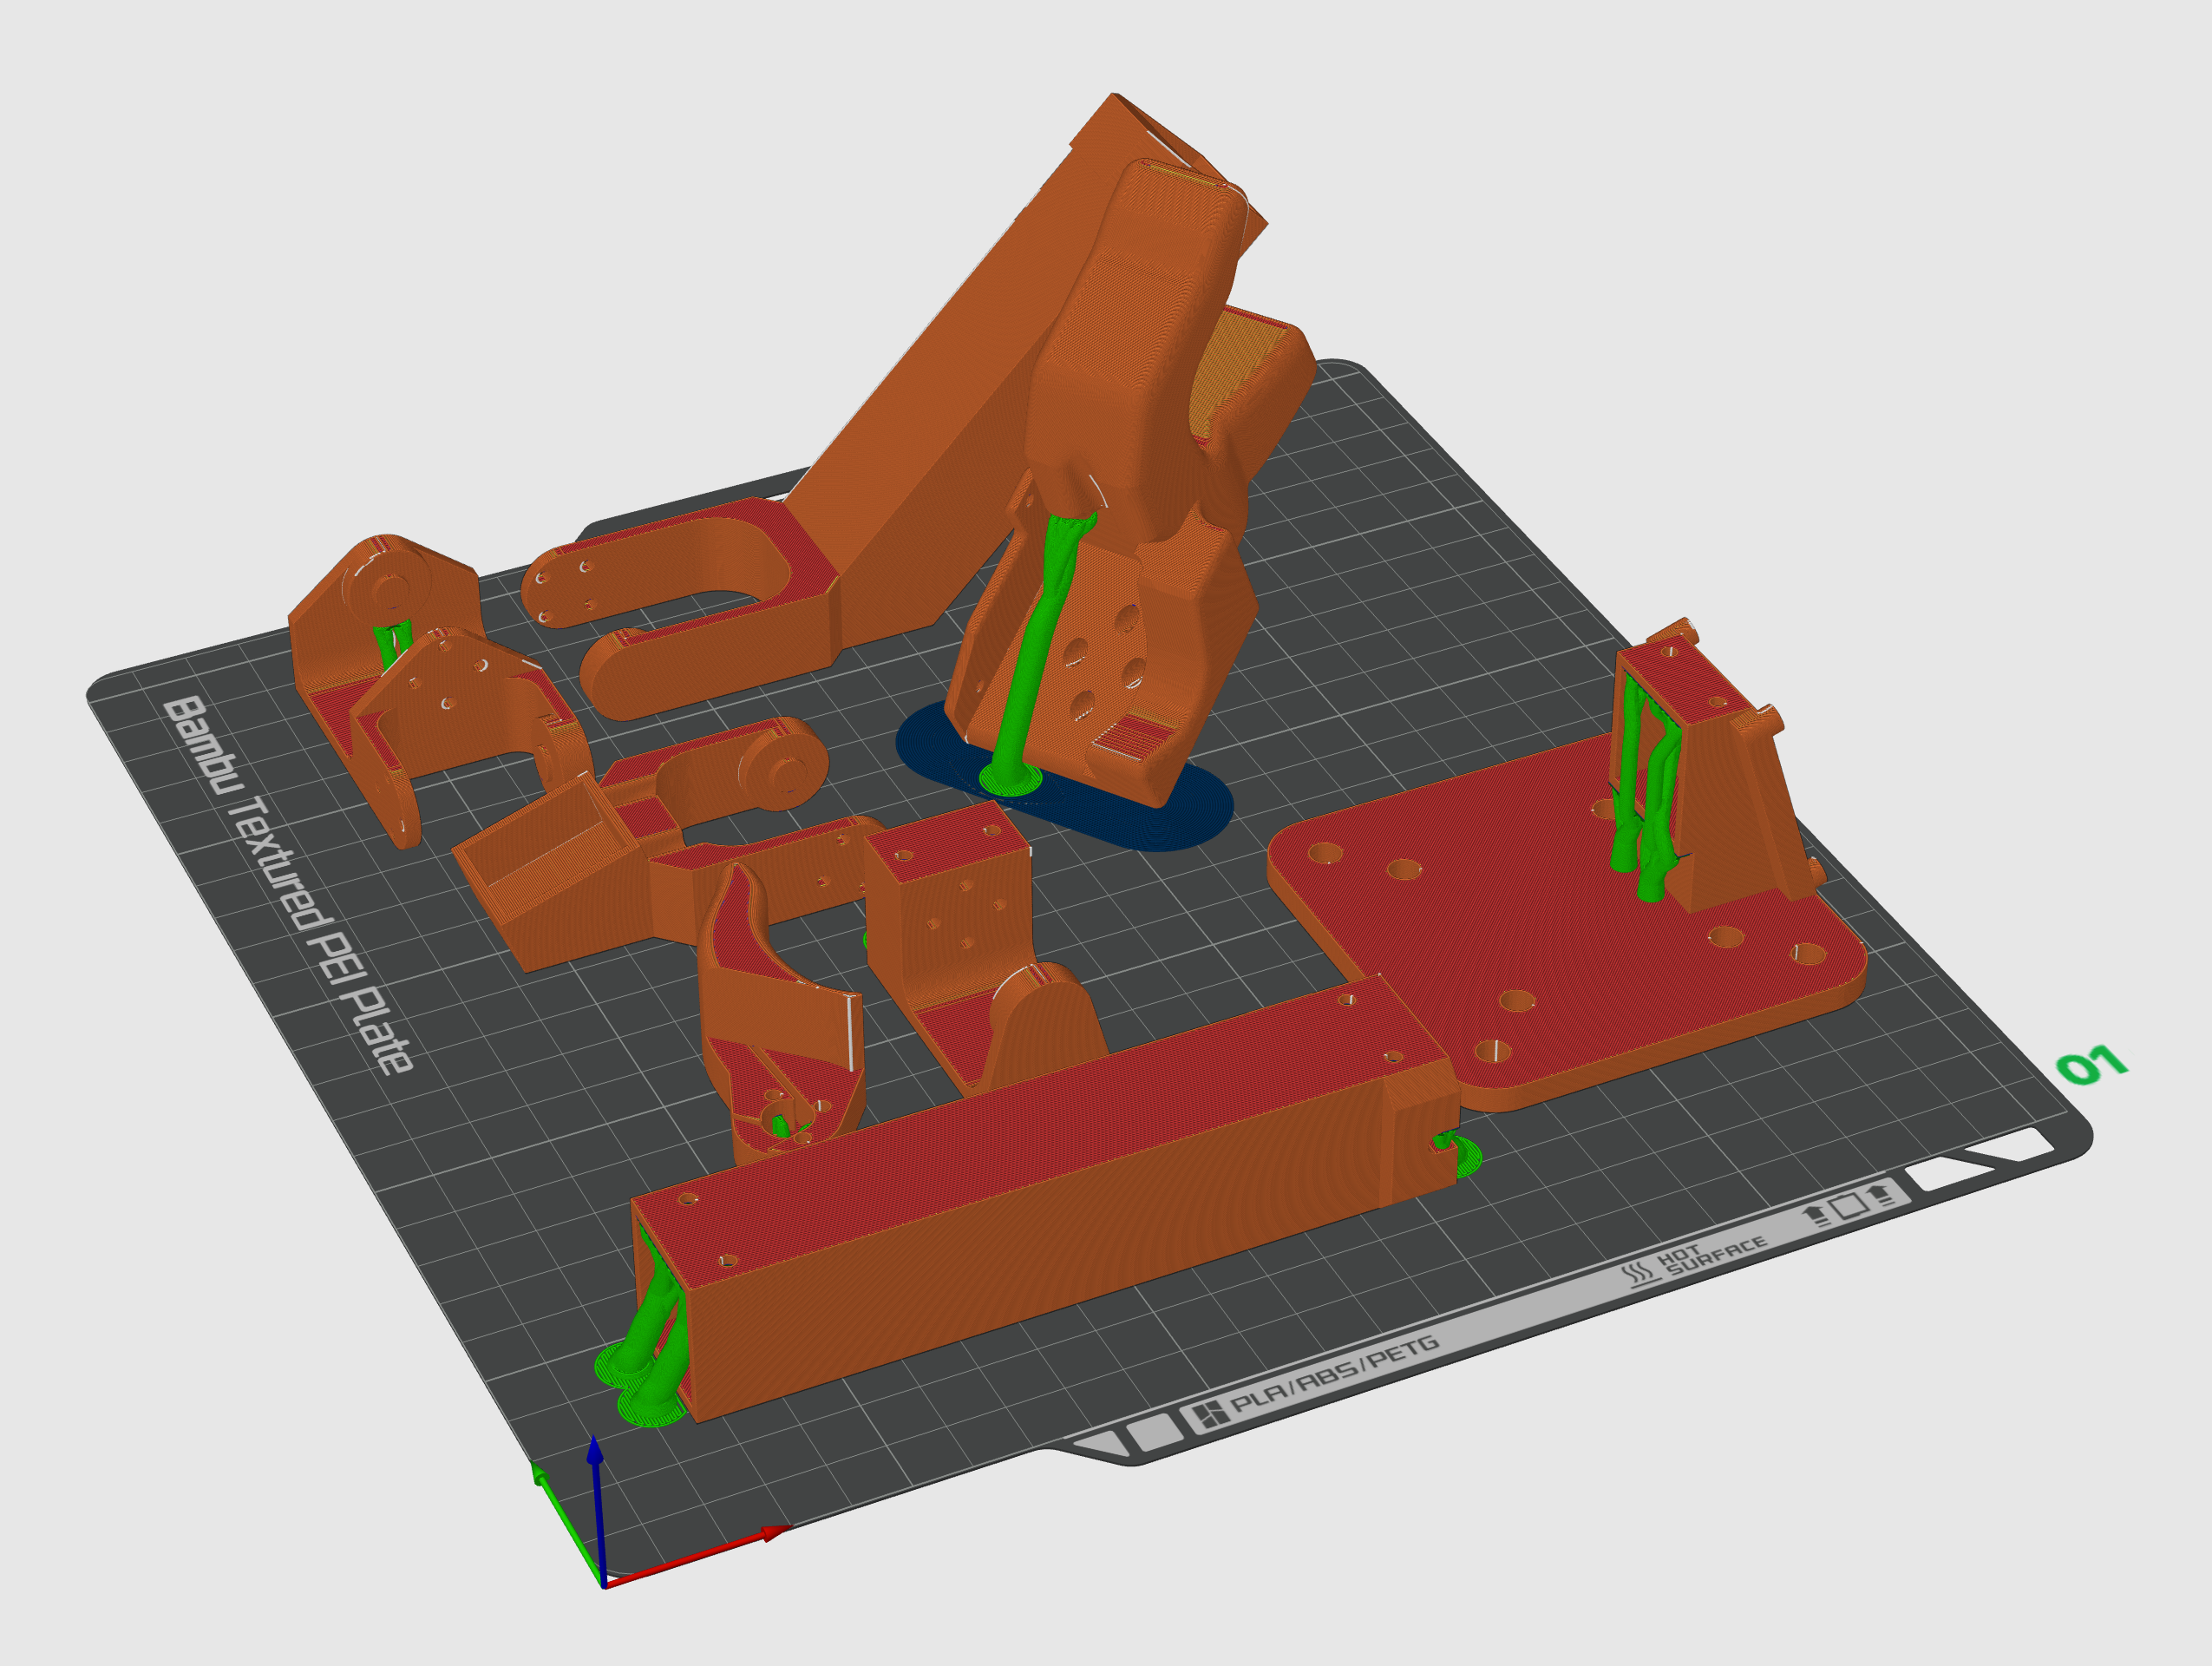
- Material: PLA-CF
- Nozzle: 0.4mm
- Layer height: 0.12mm
- Infill: 15%, Gyroid
- Support: On
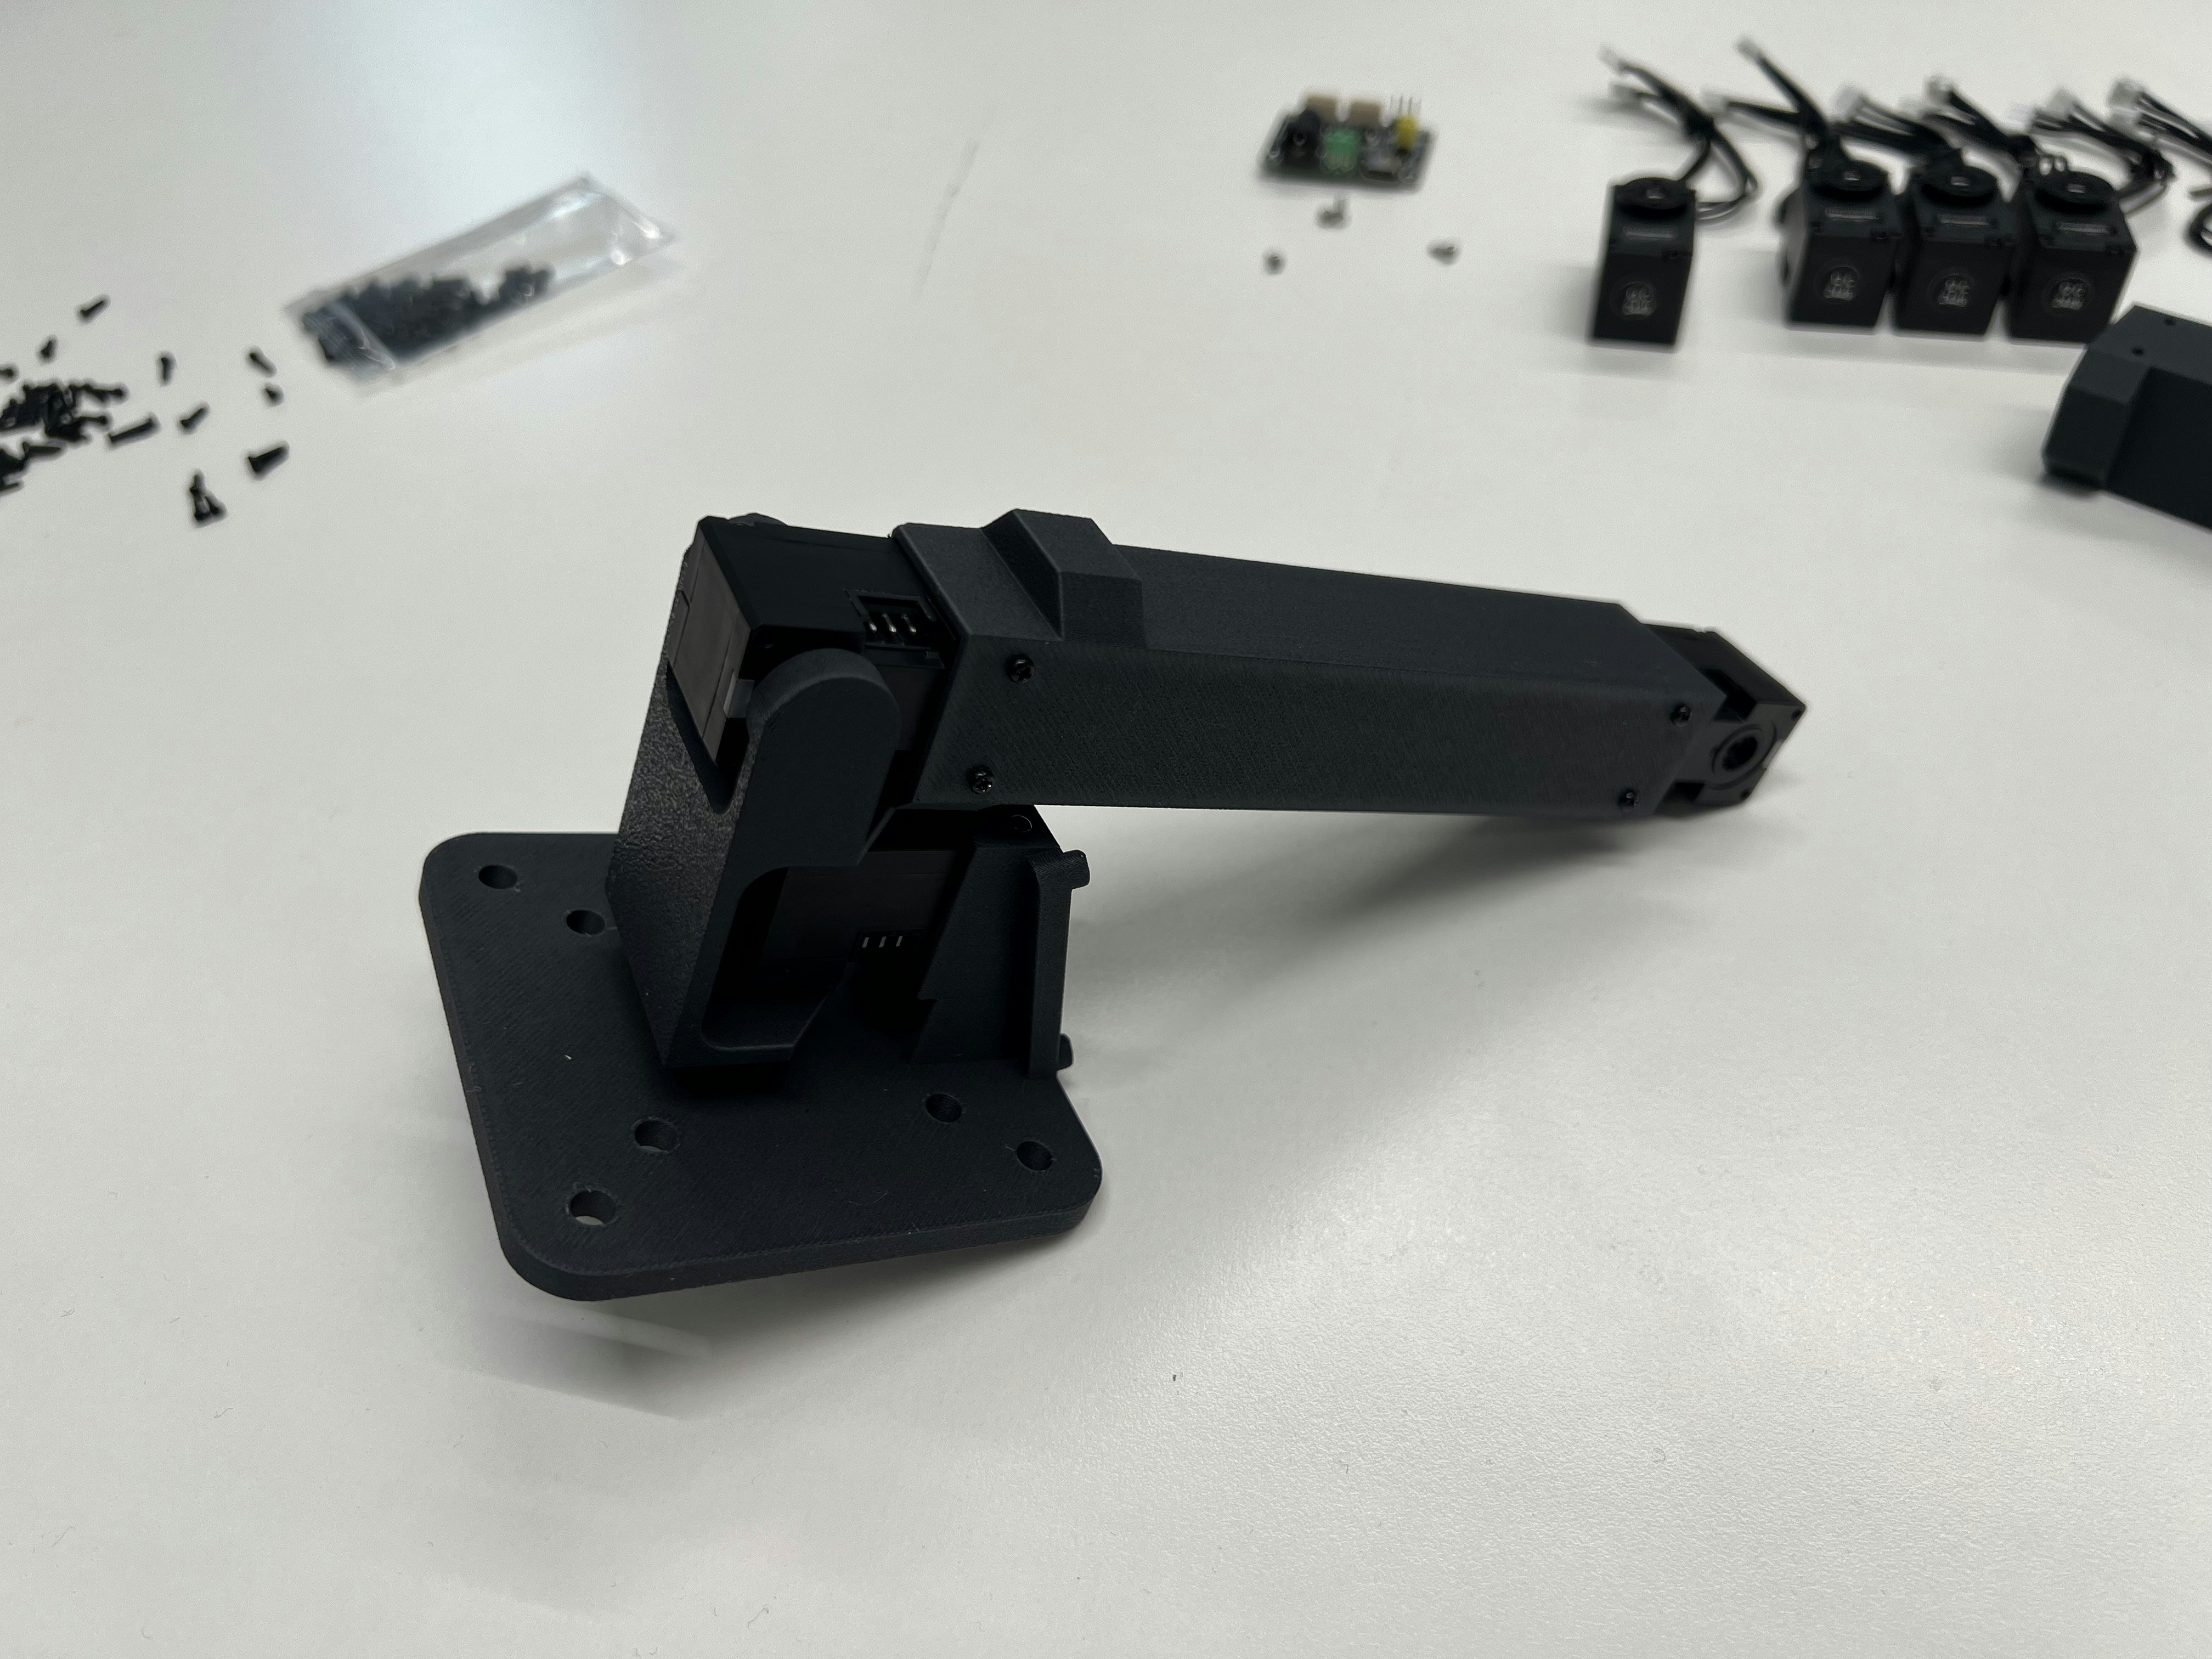
Assembly
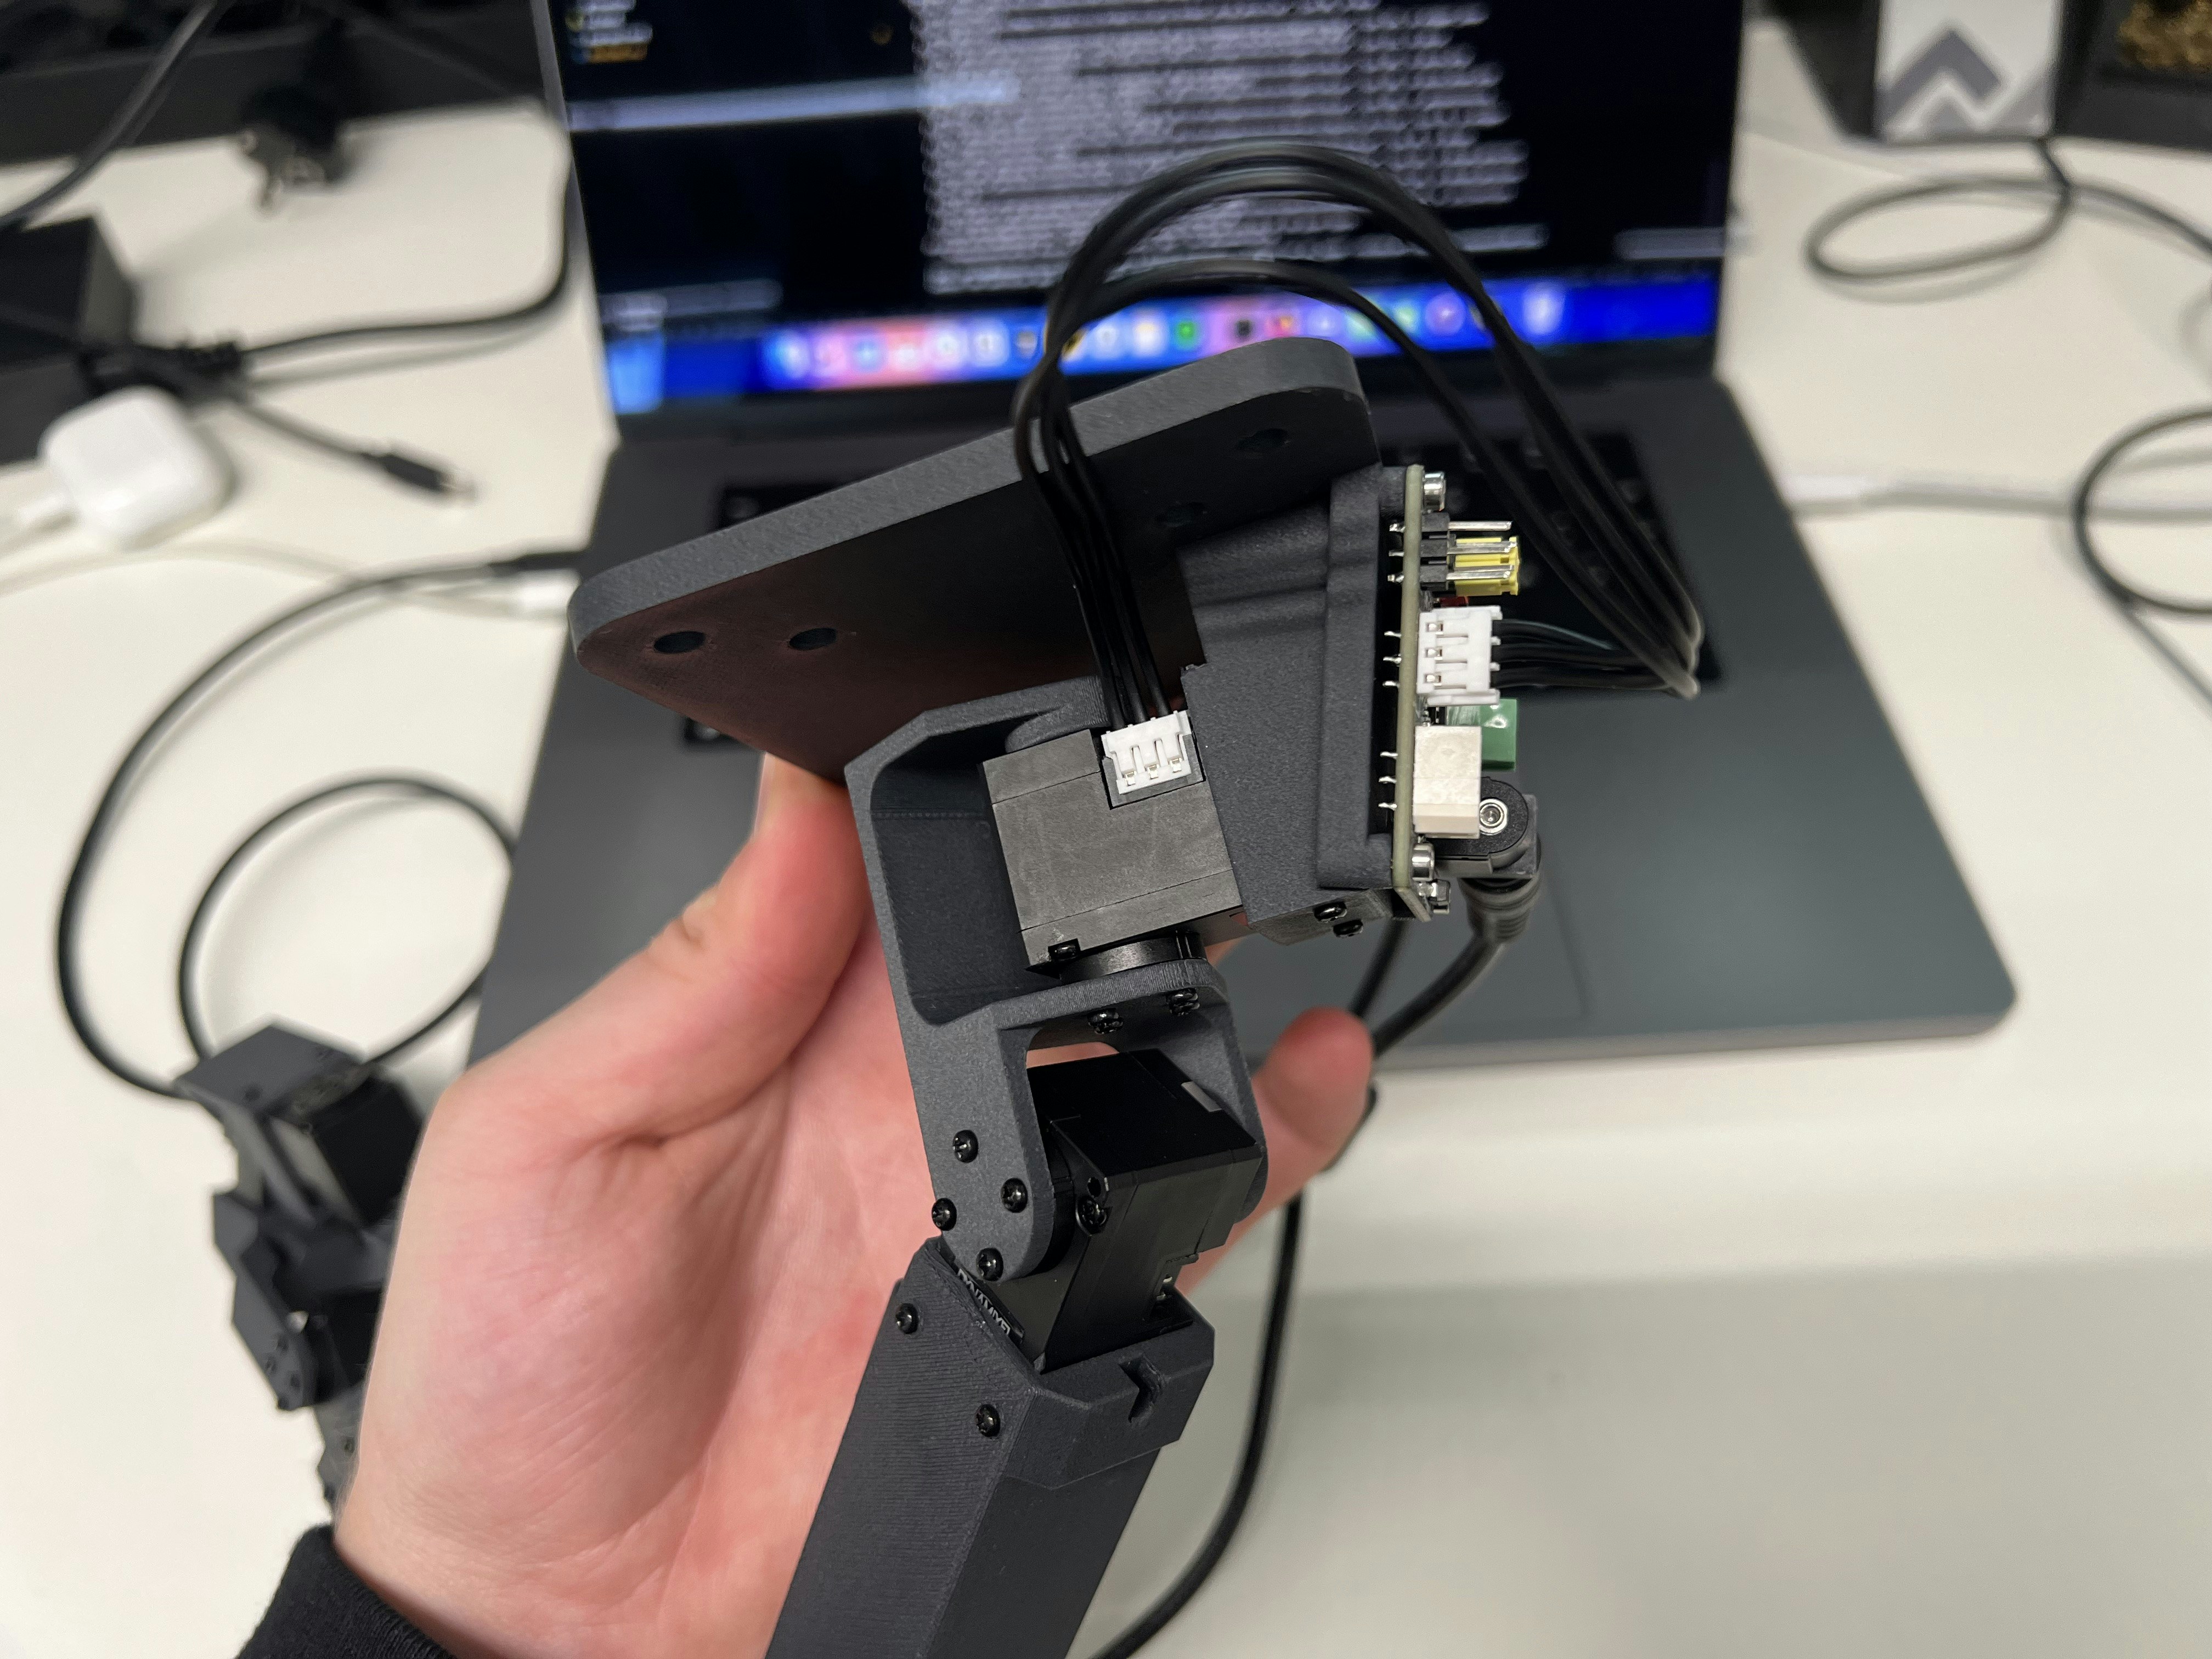
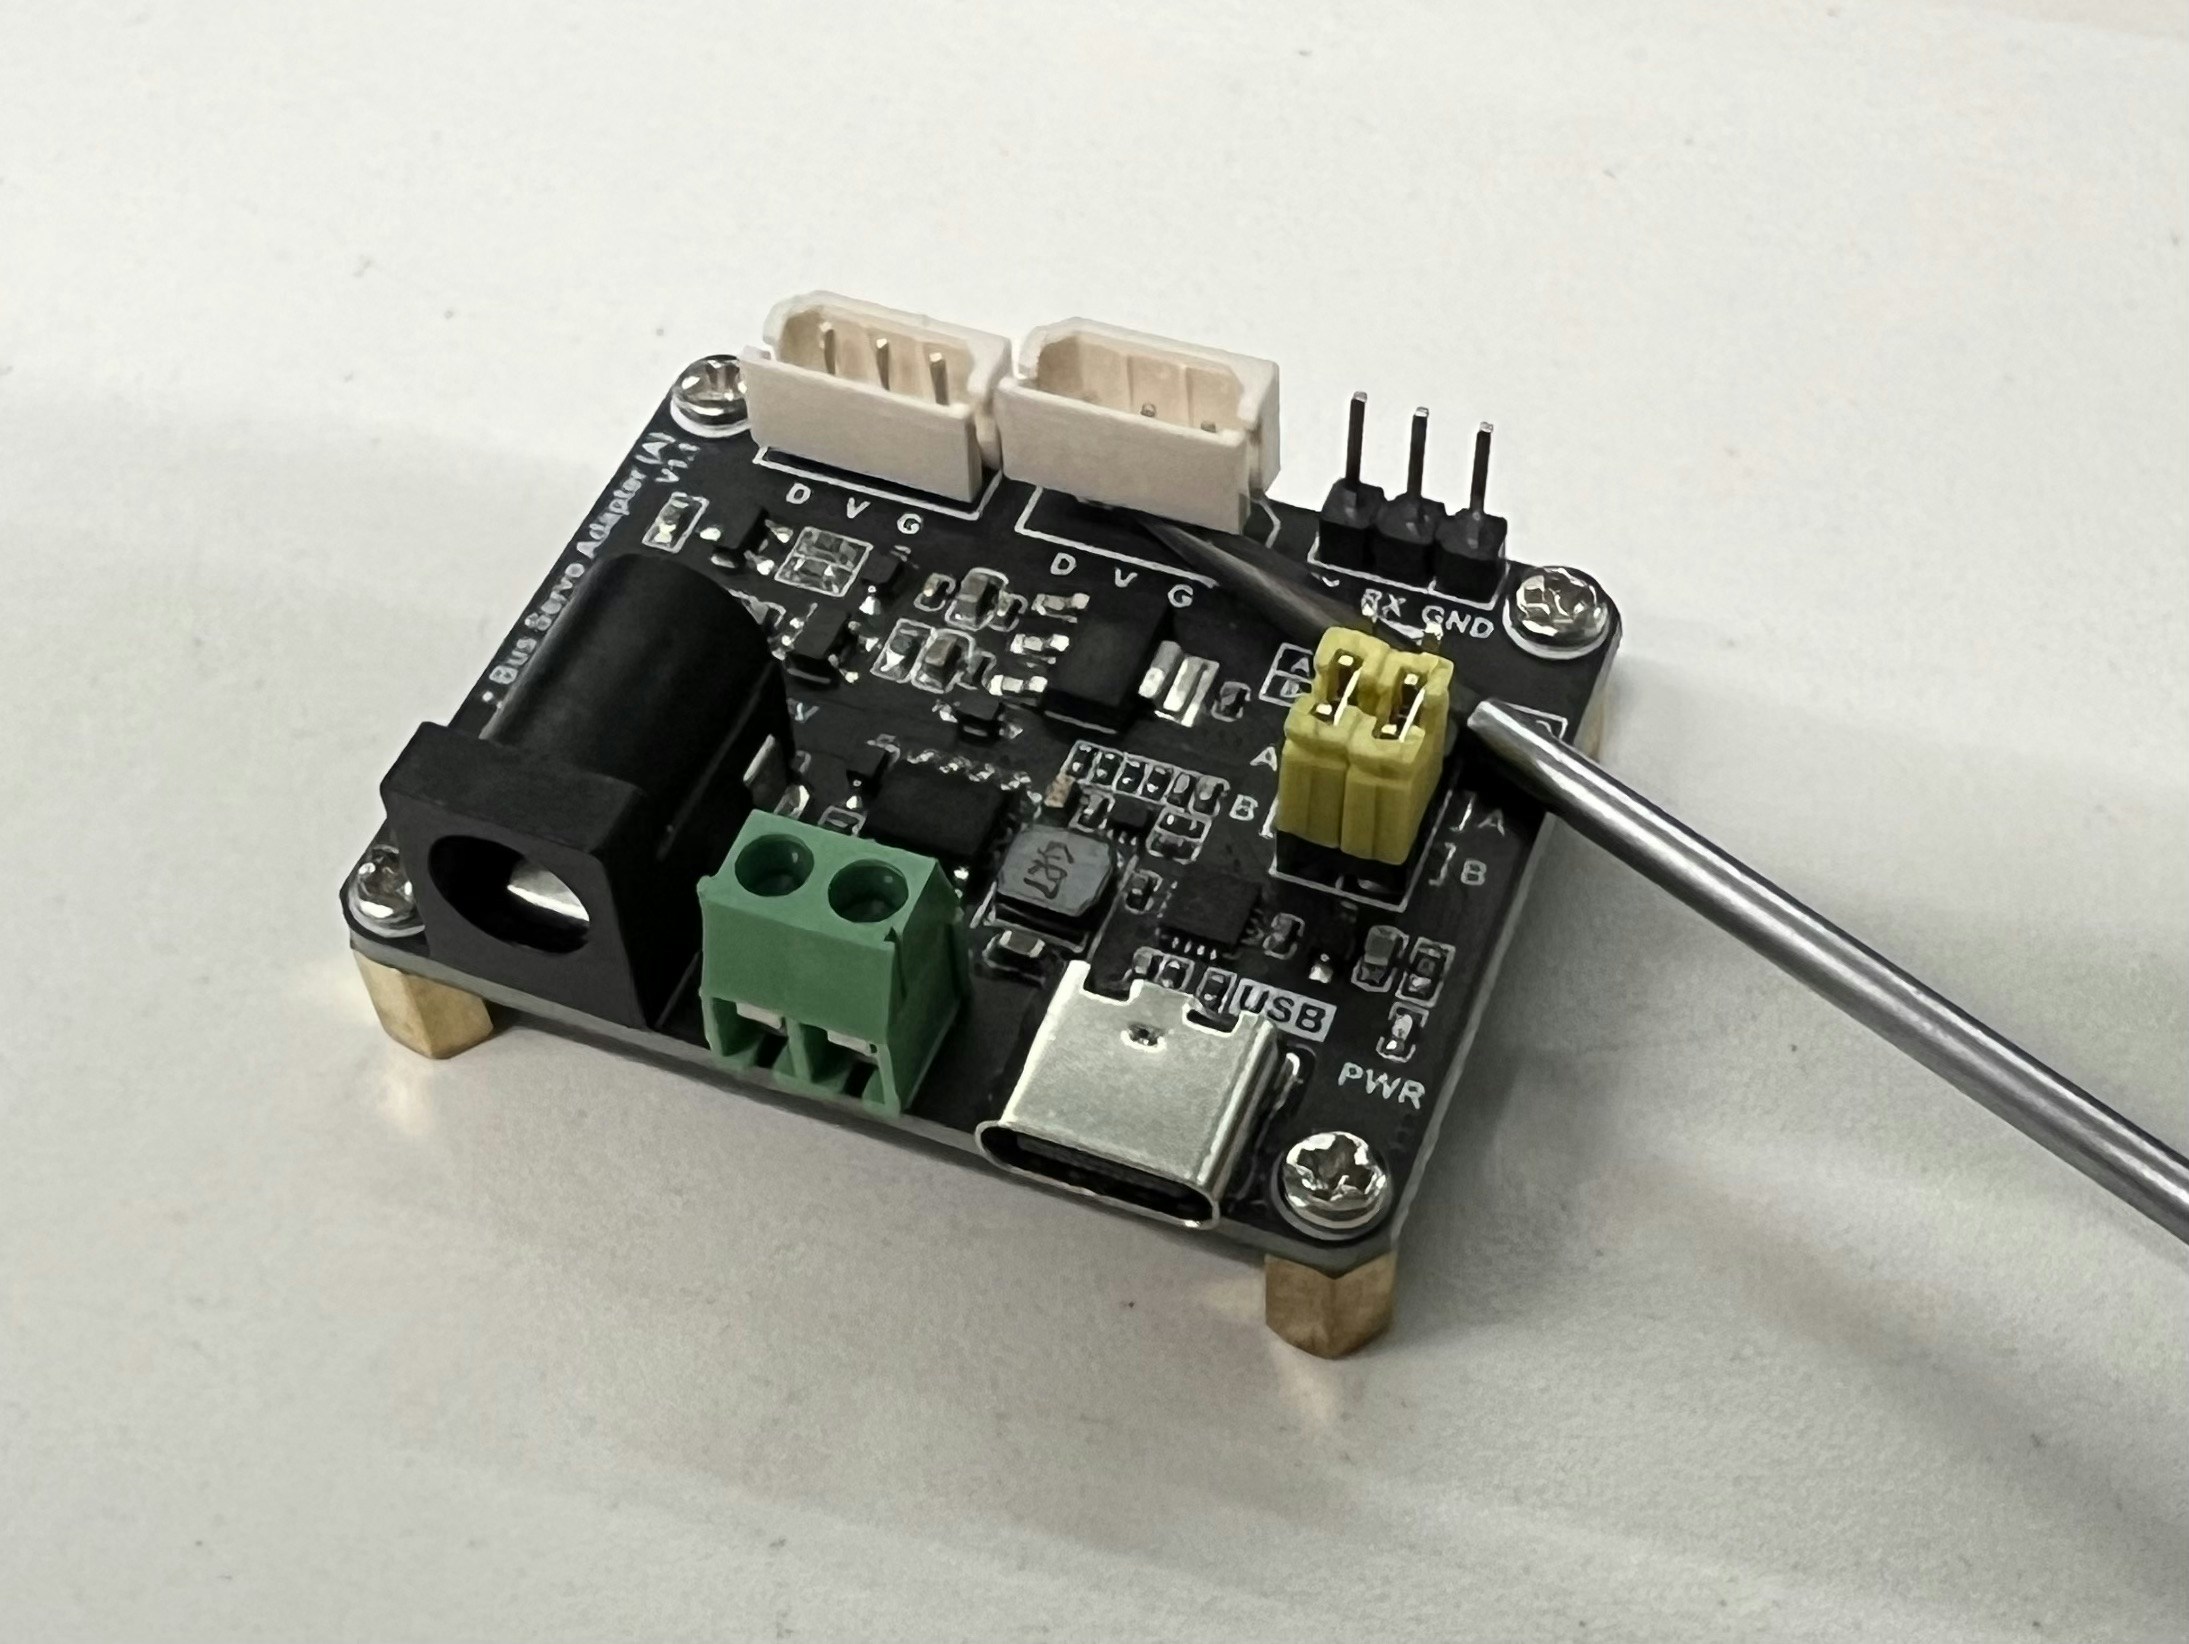
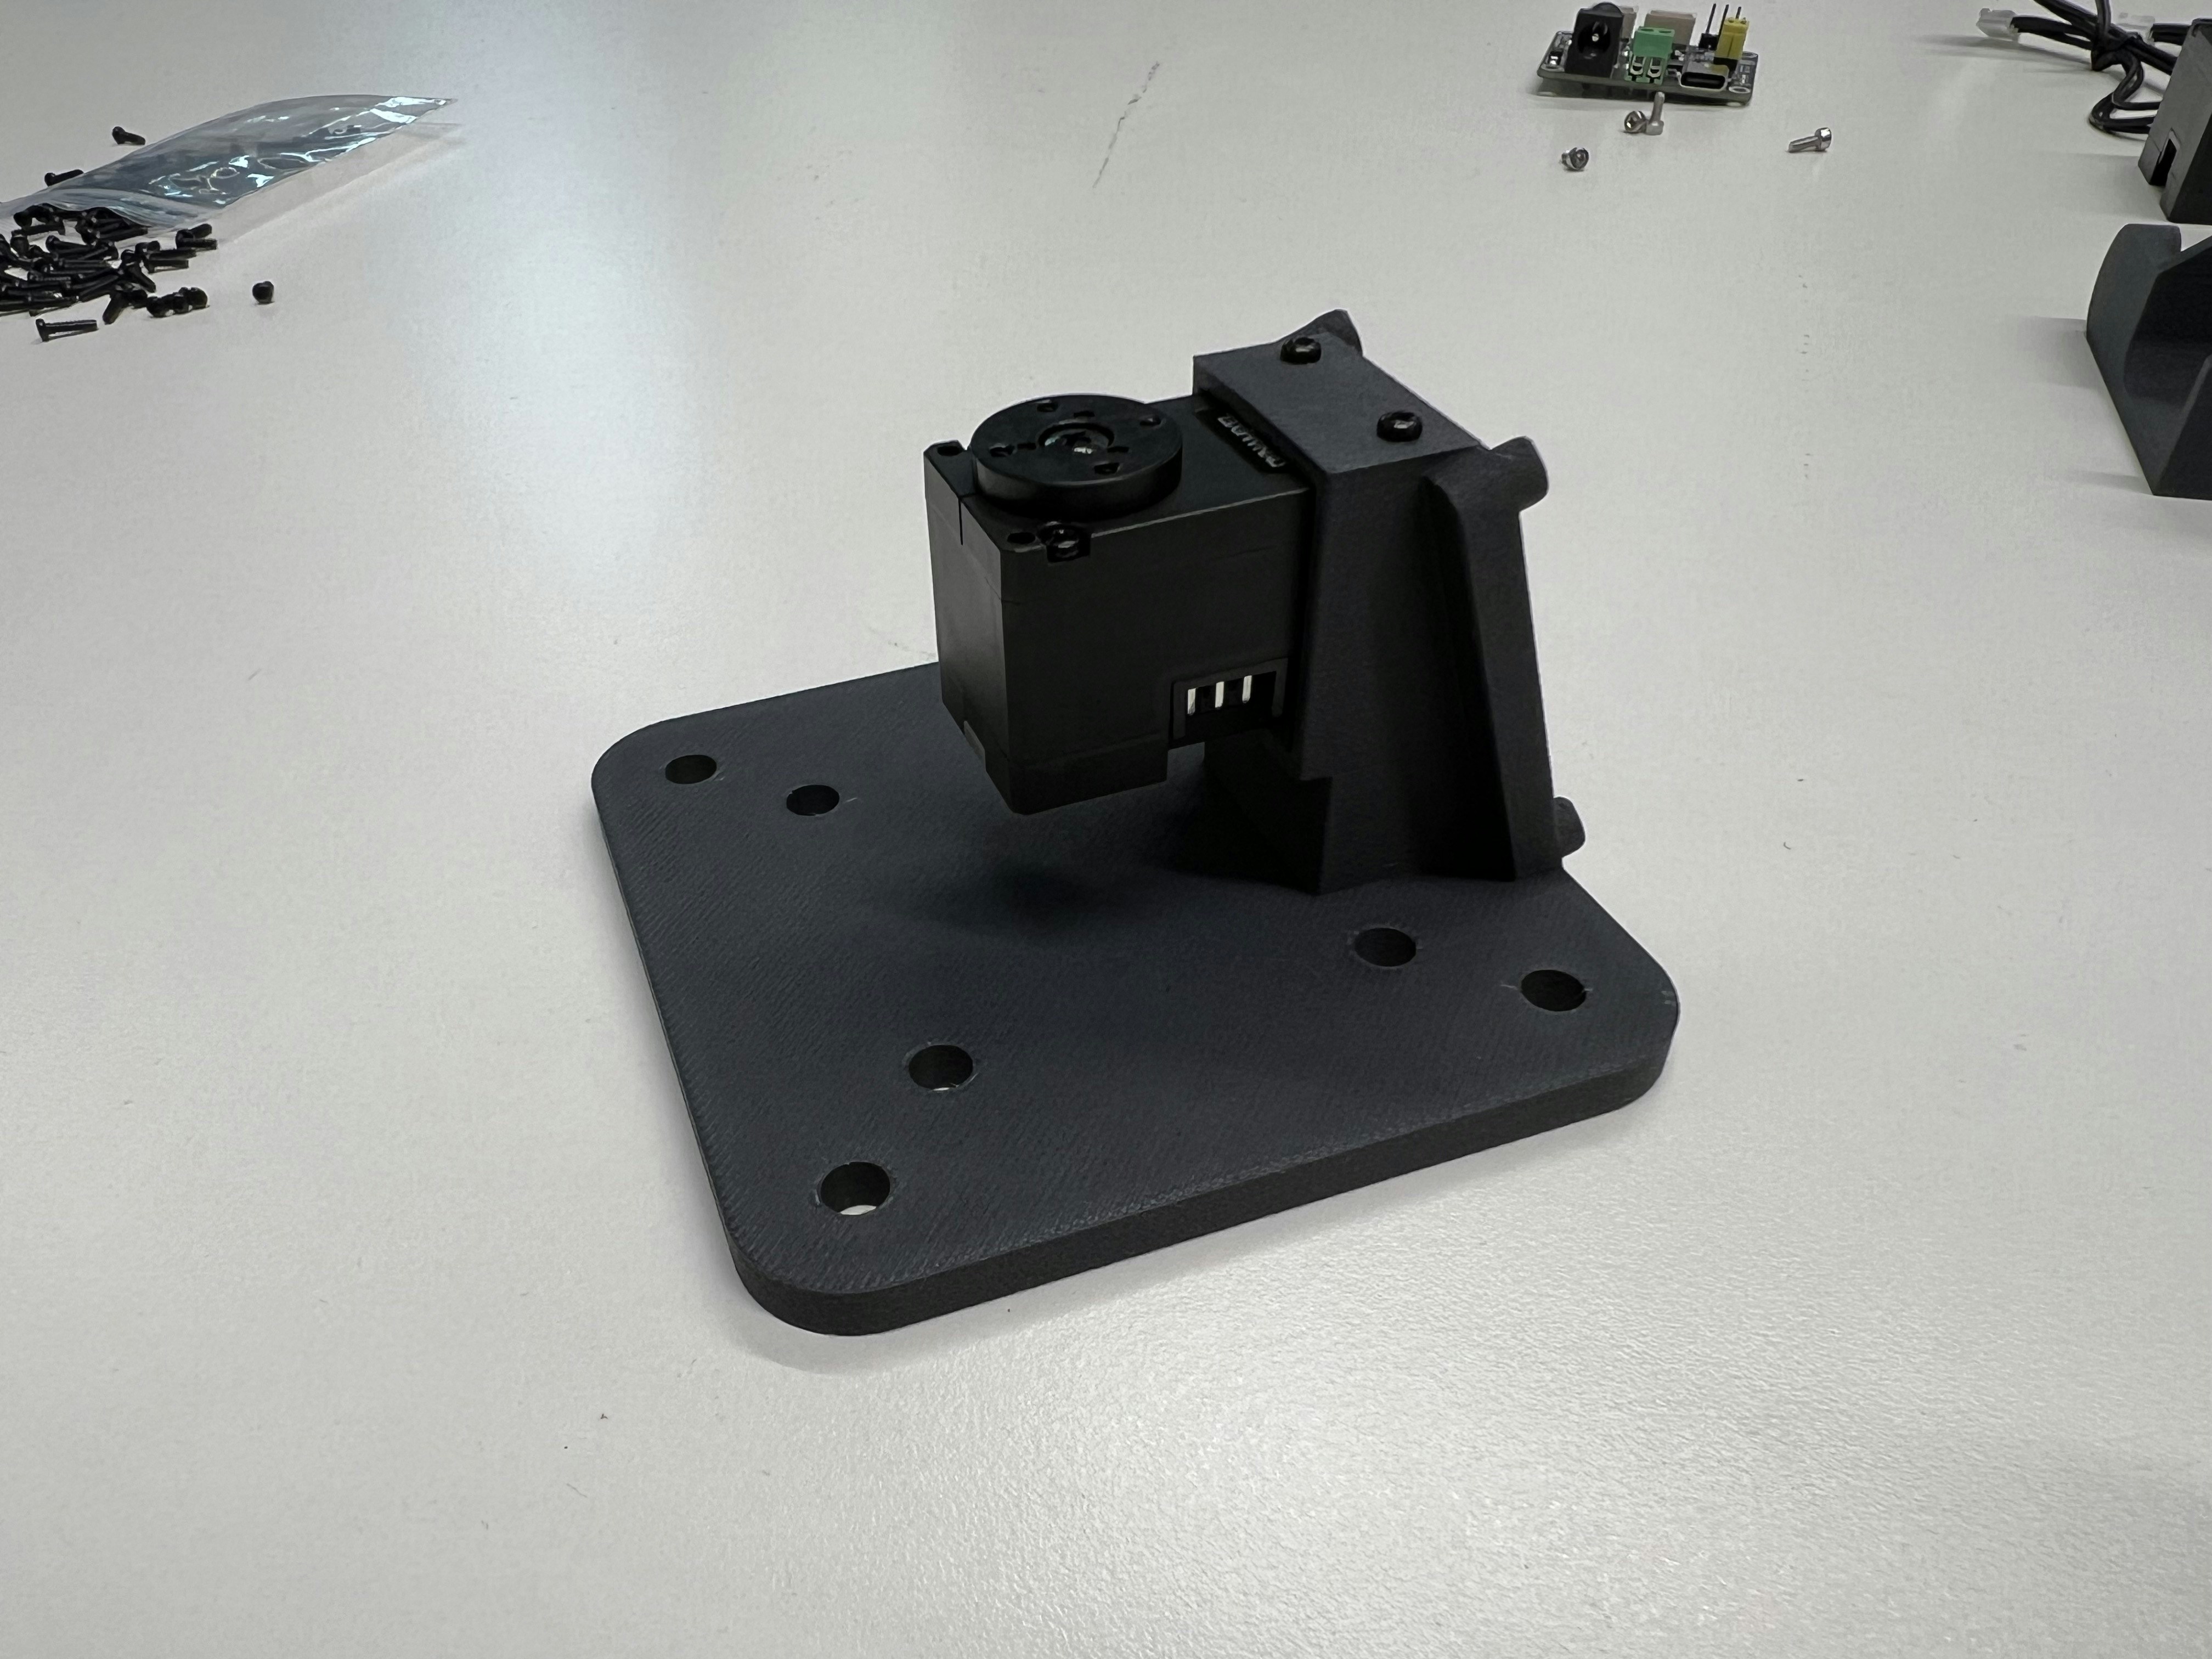
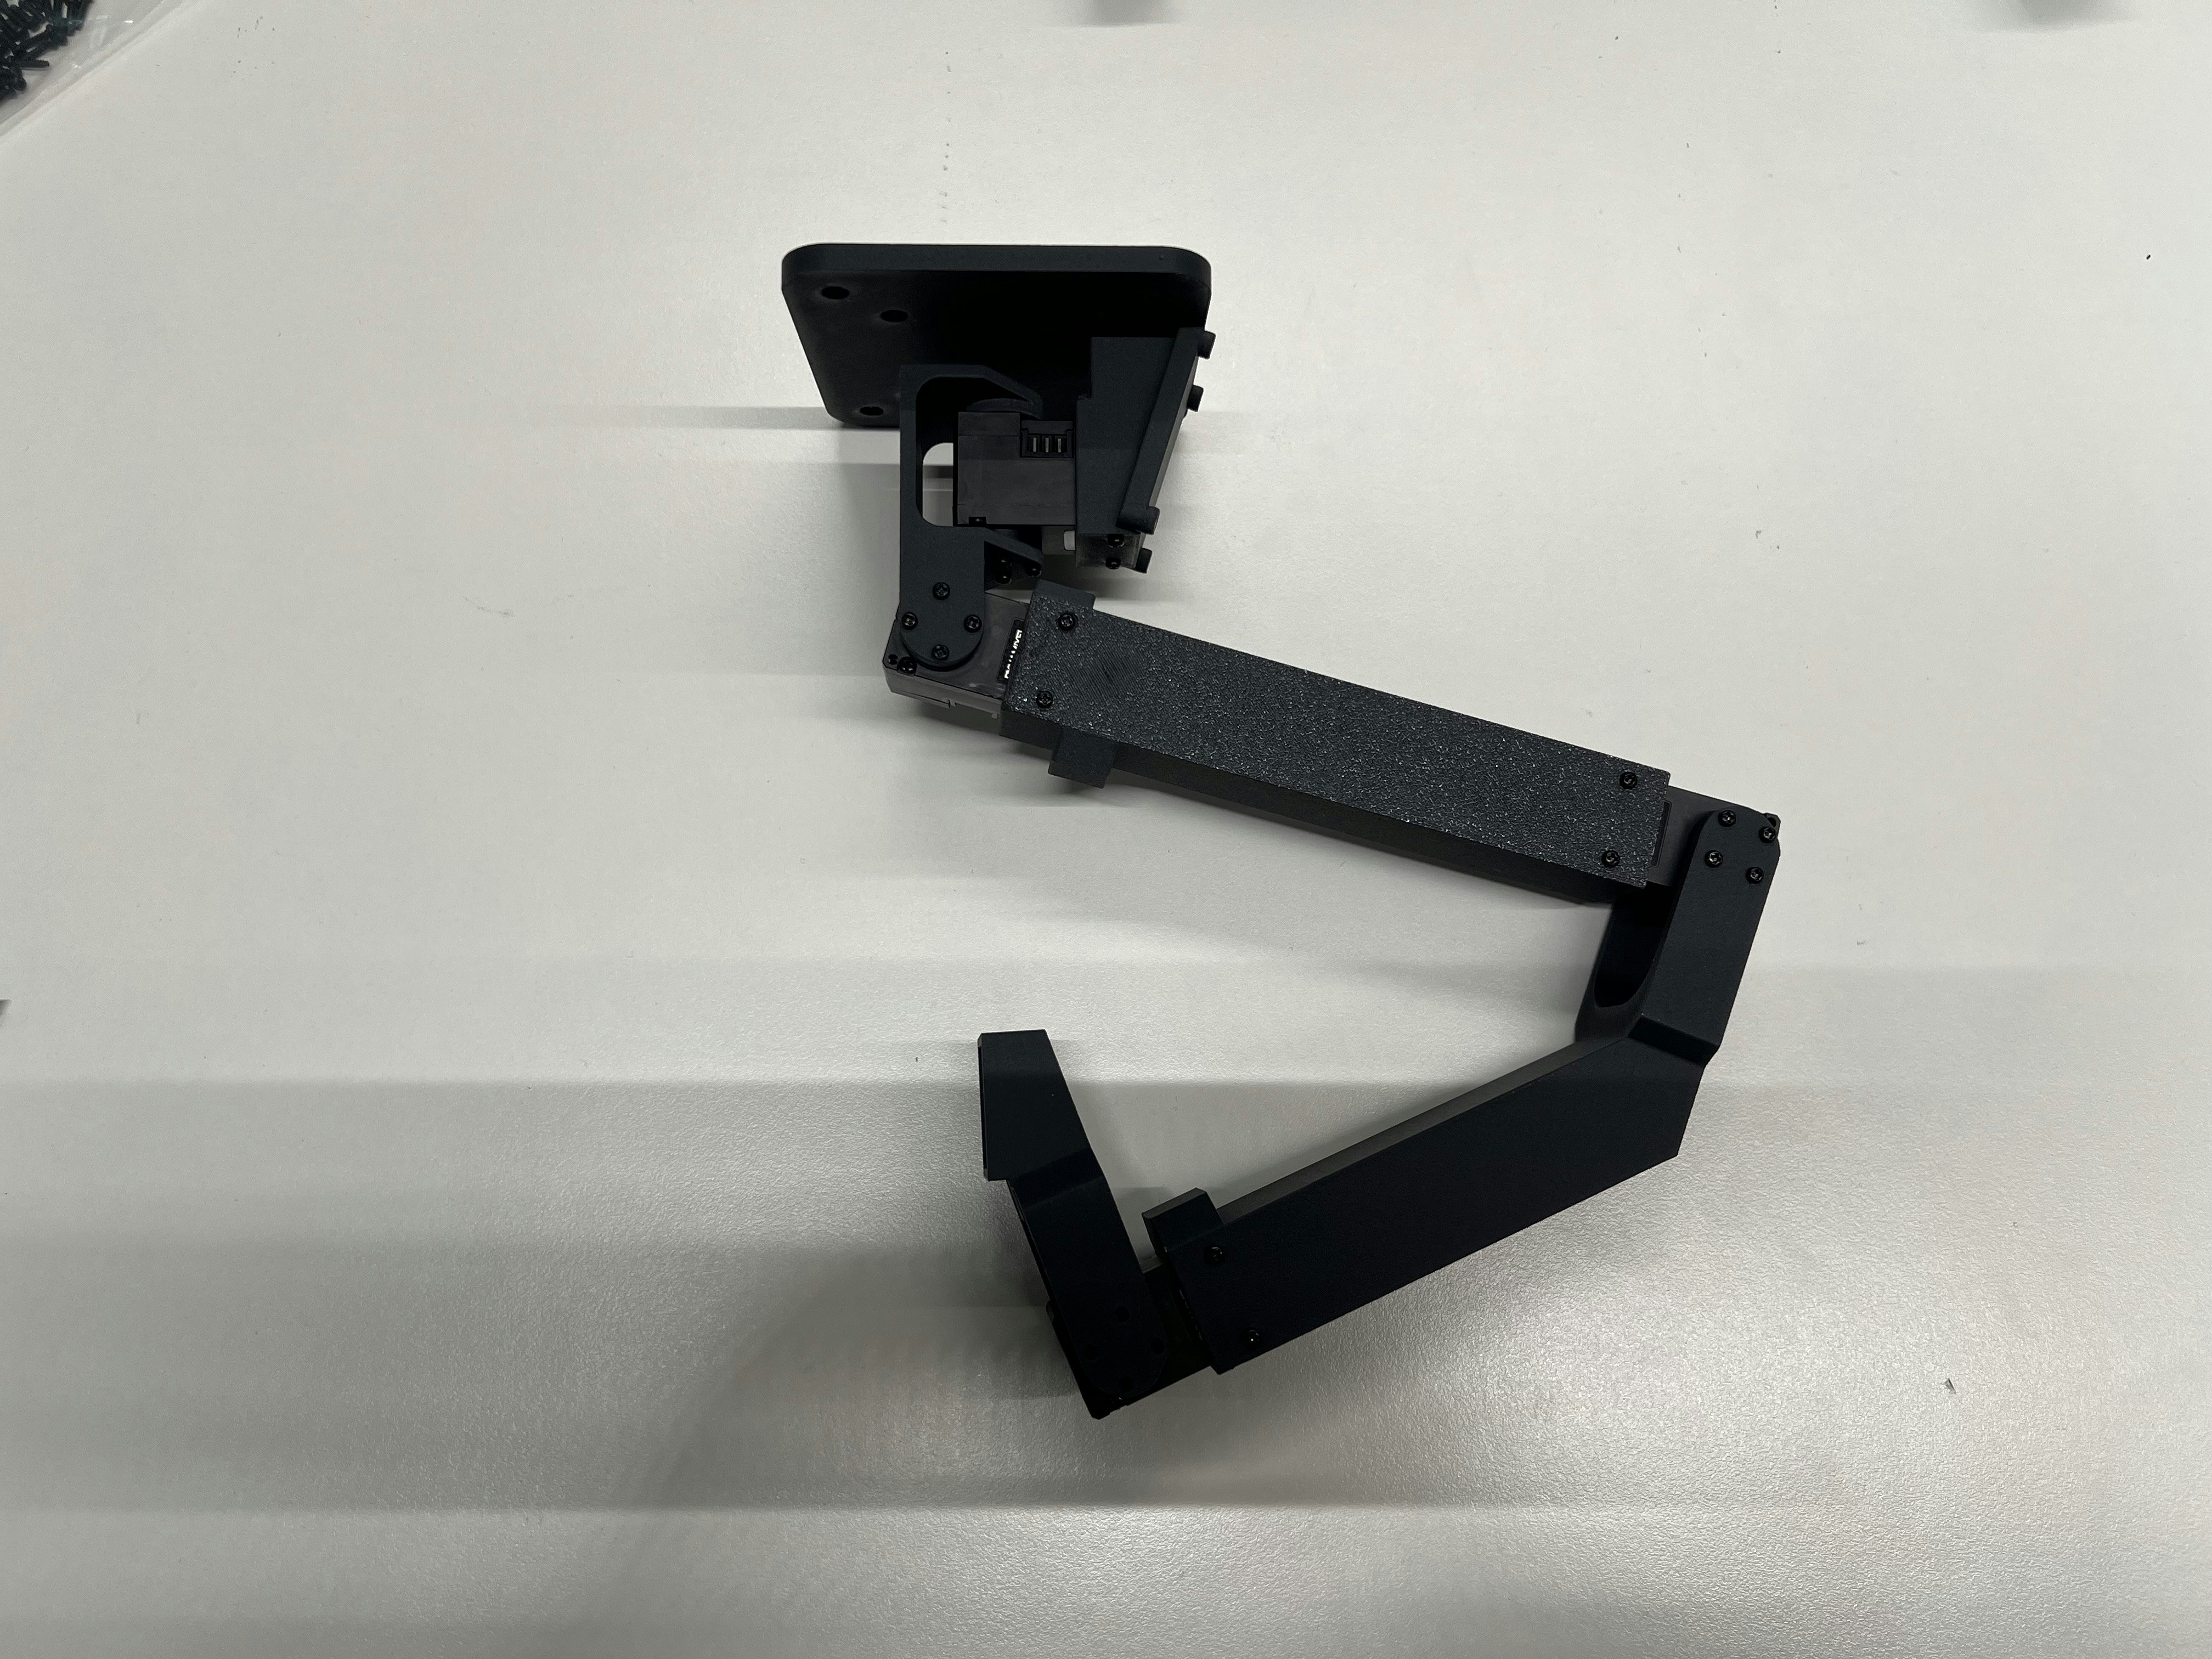
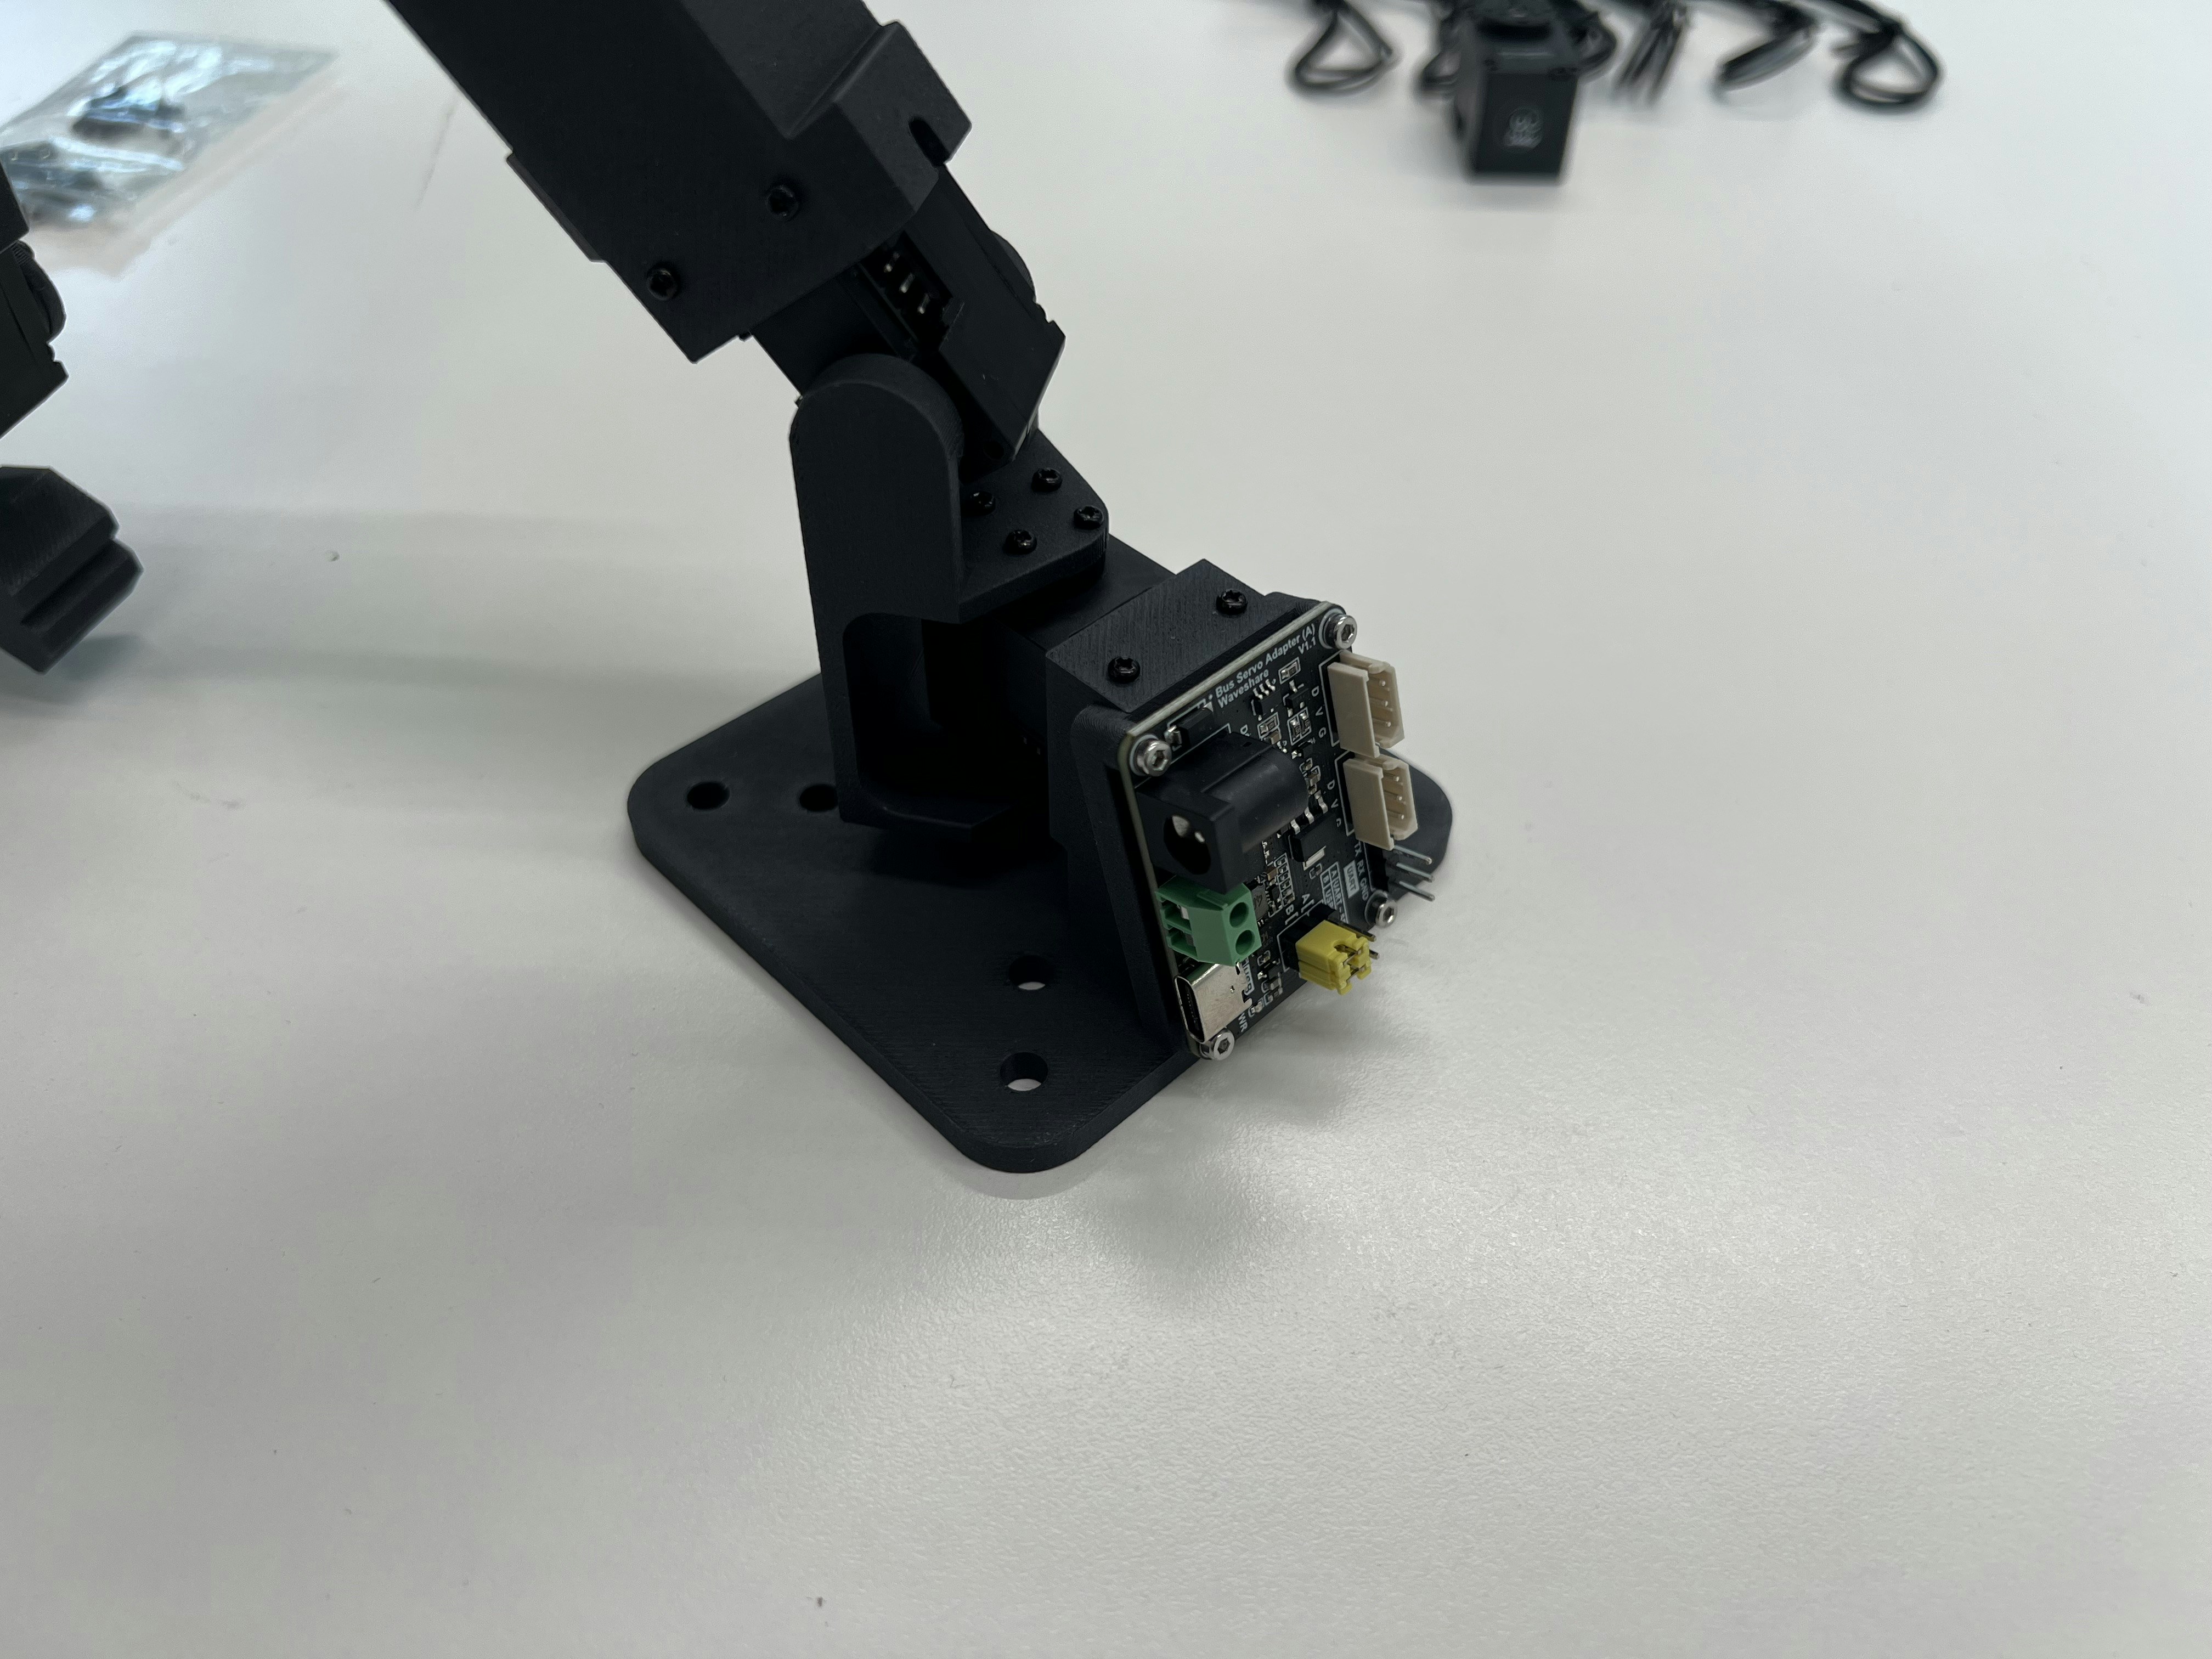
First, install the inserts and gently remove one of the 3-pin header cap from the driver board: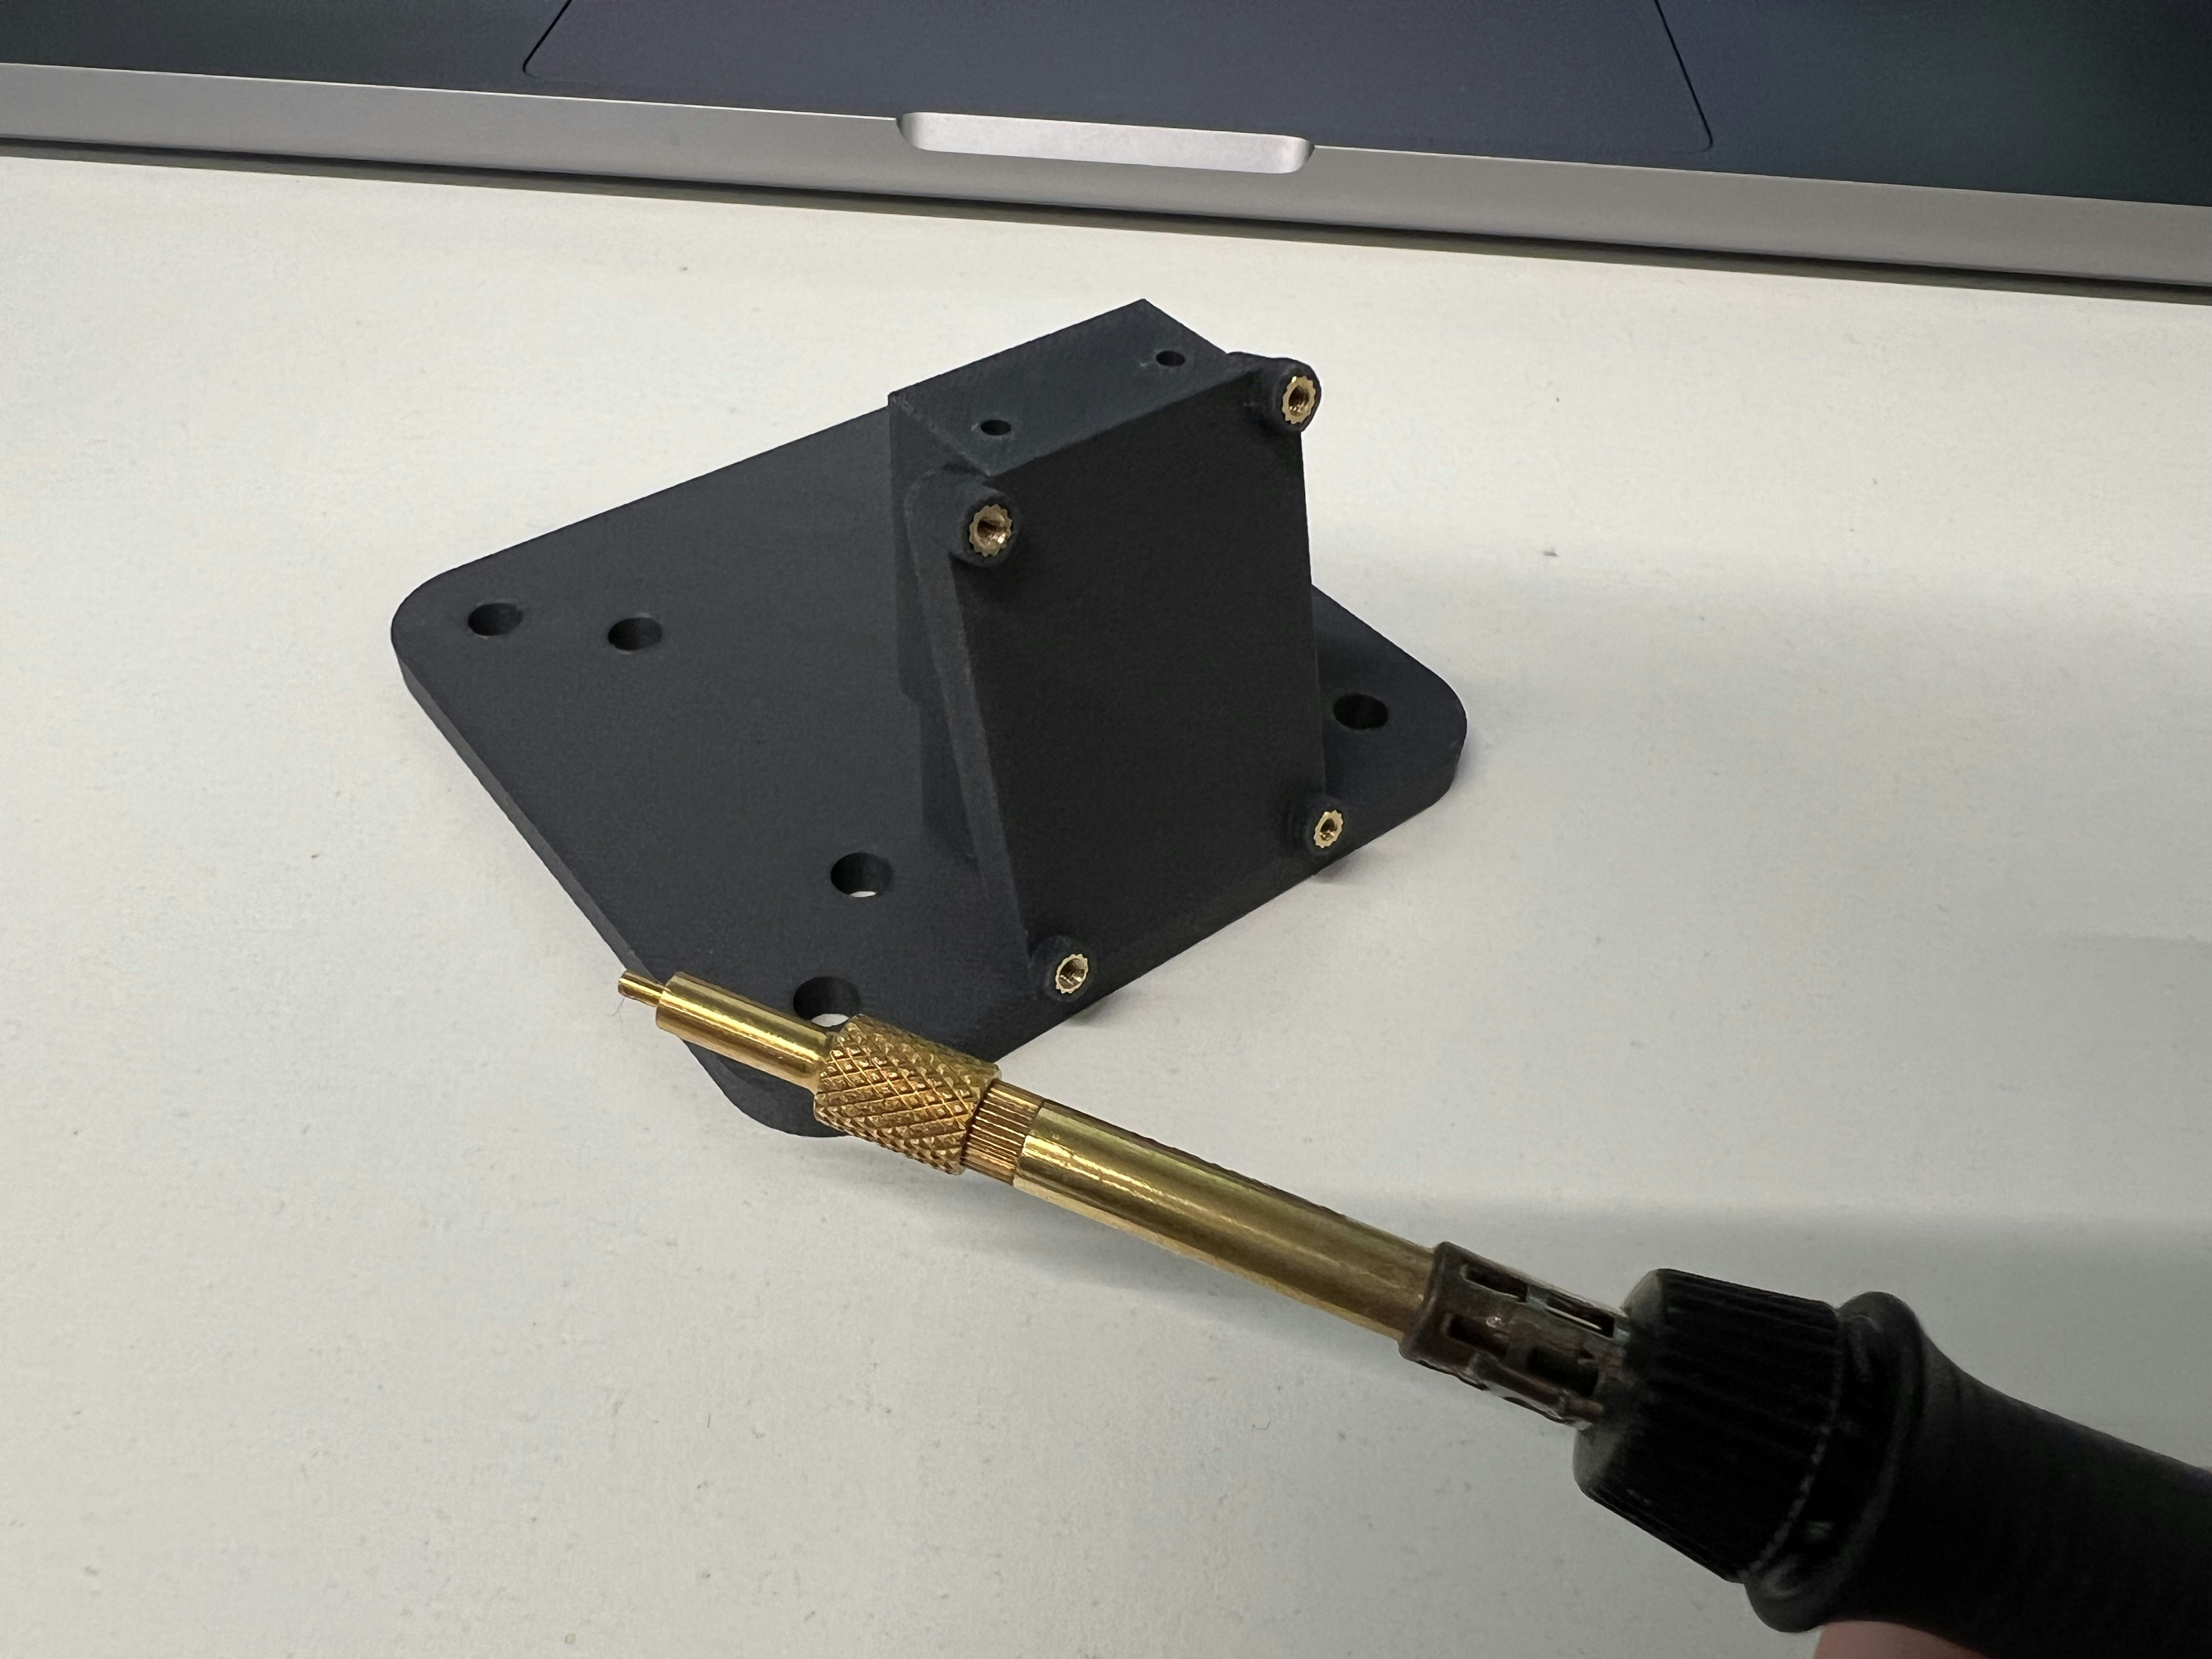
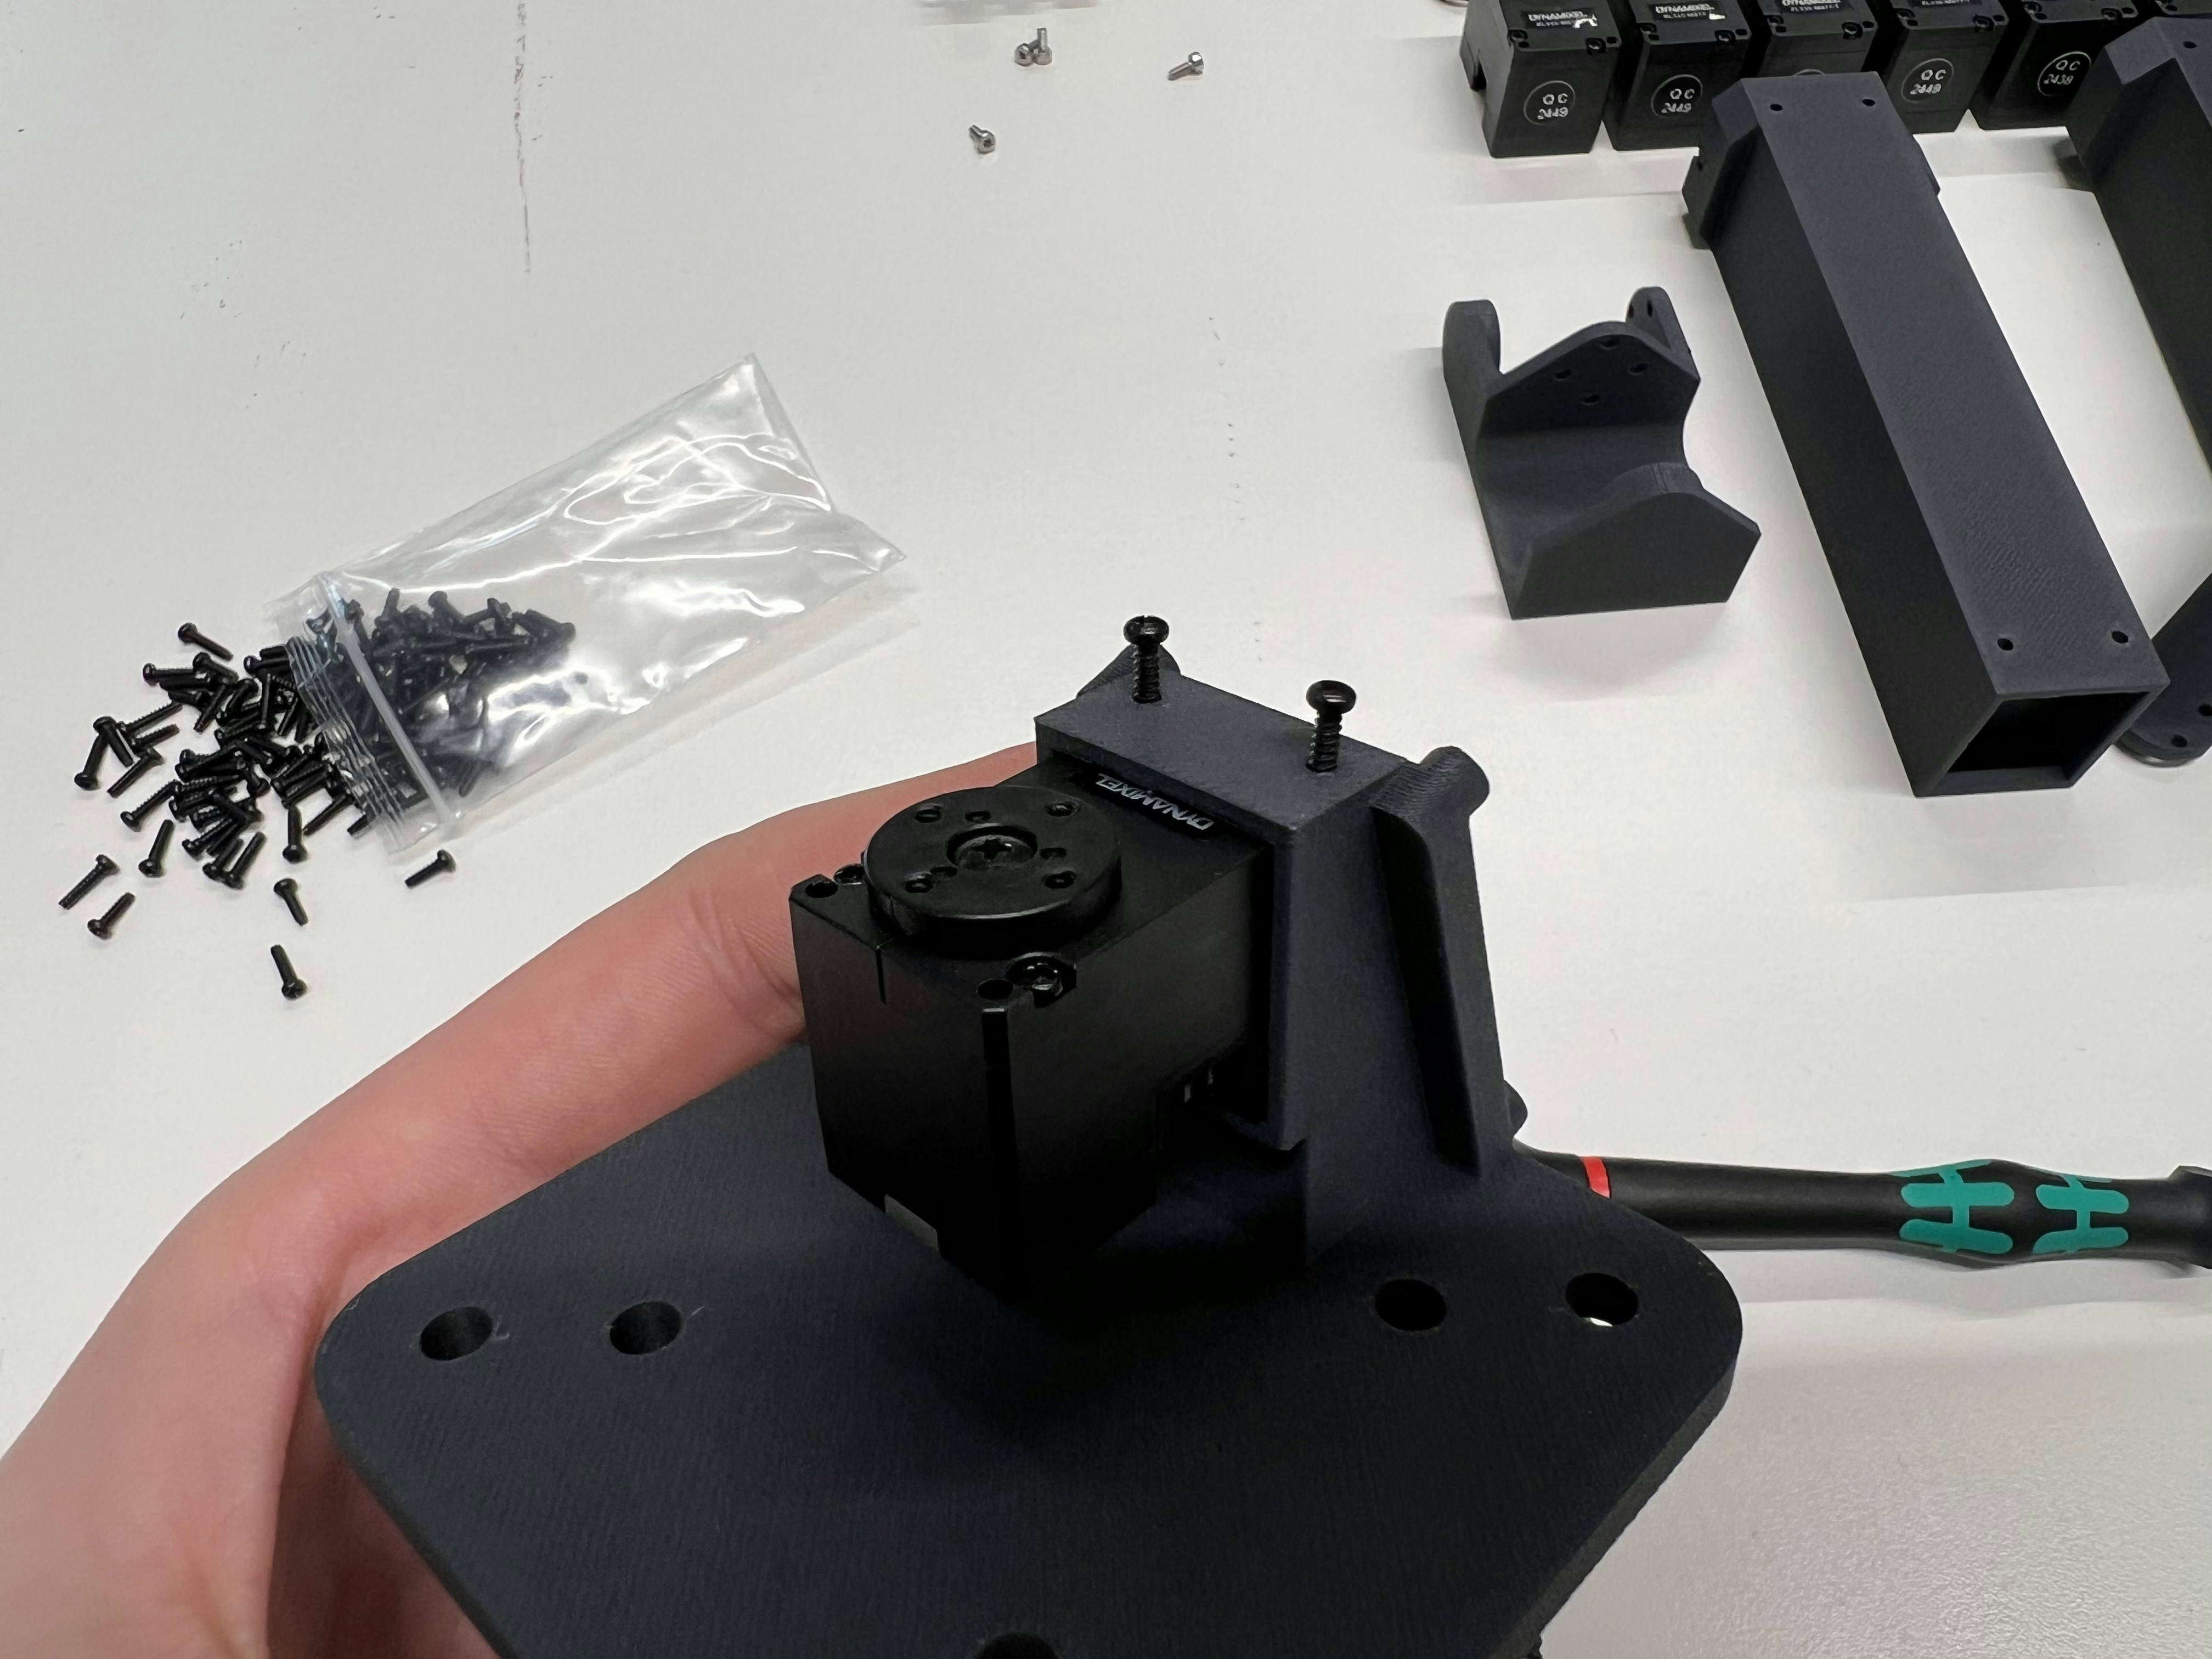
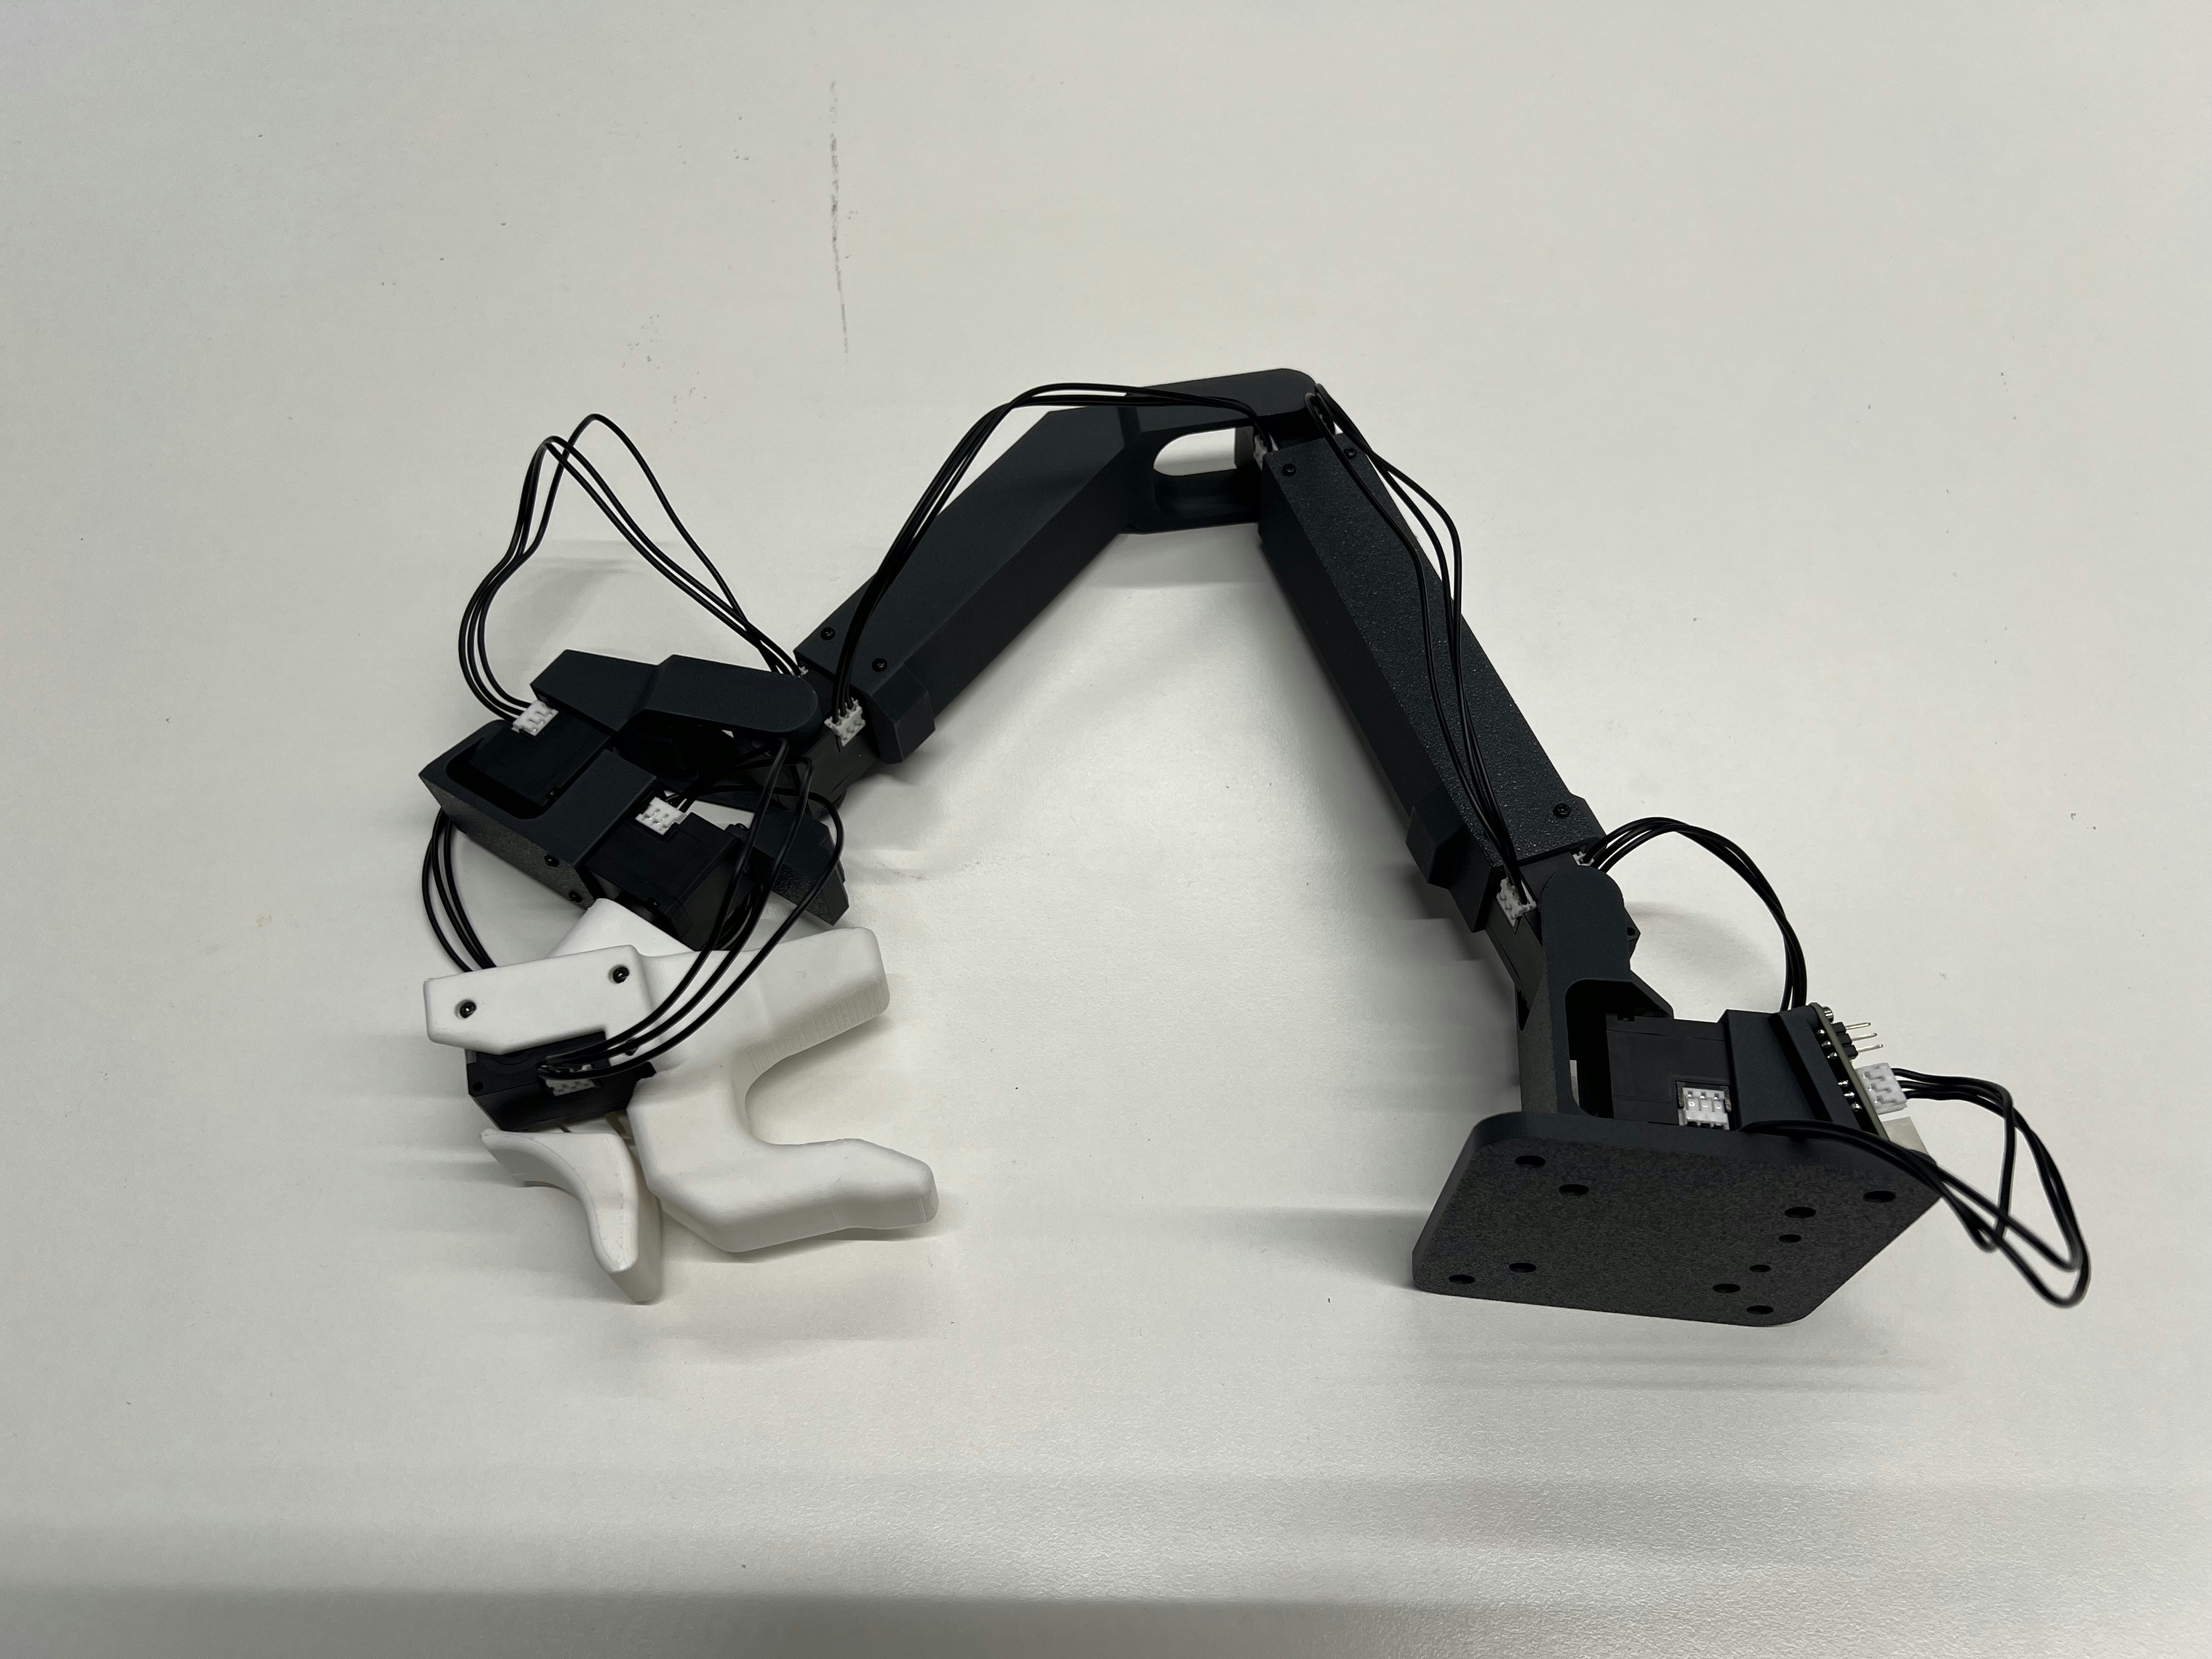
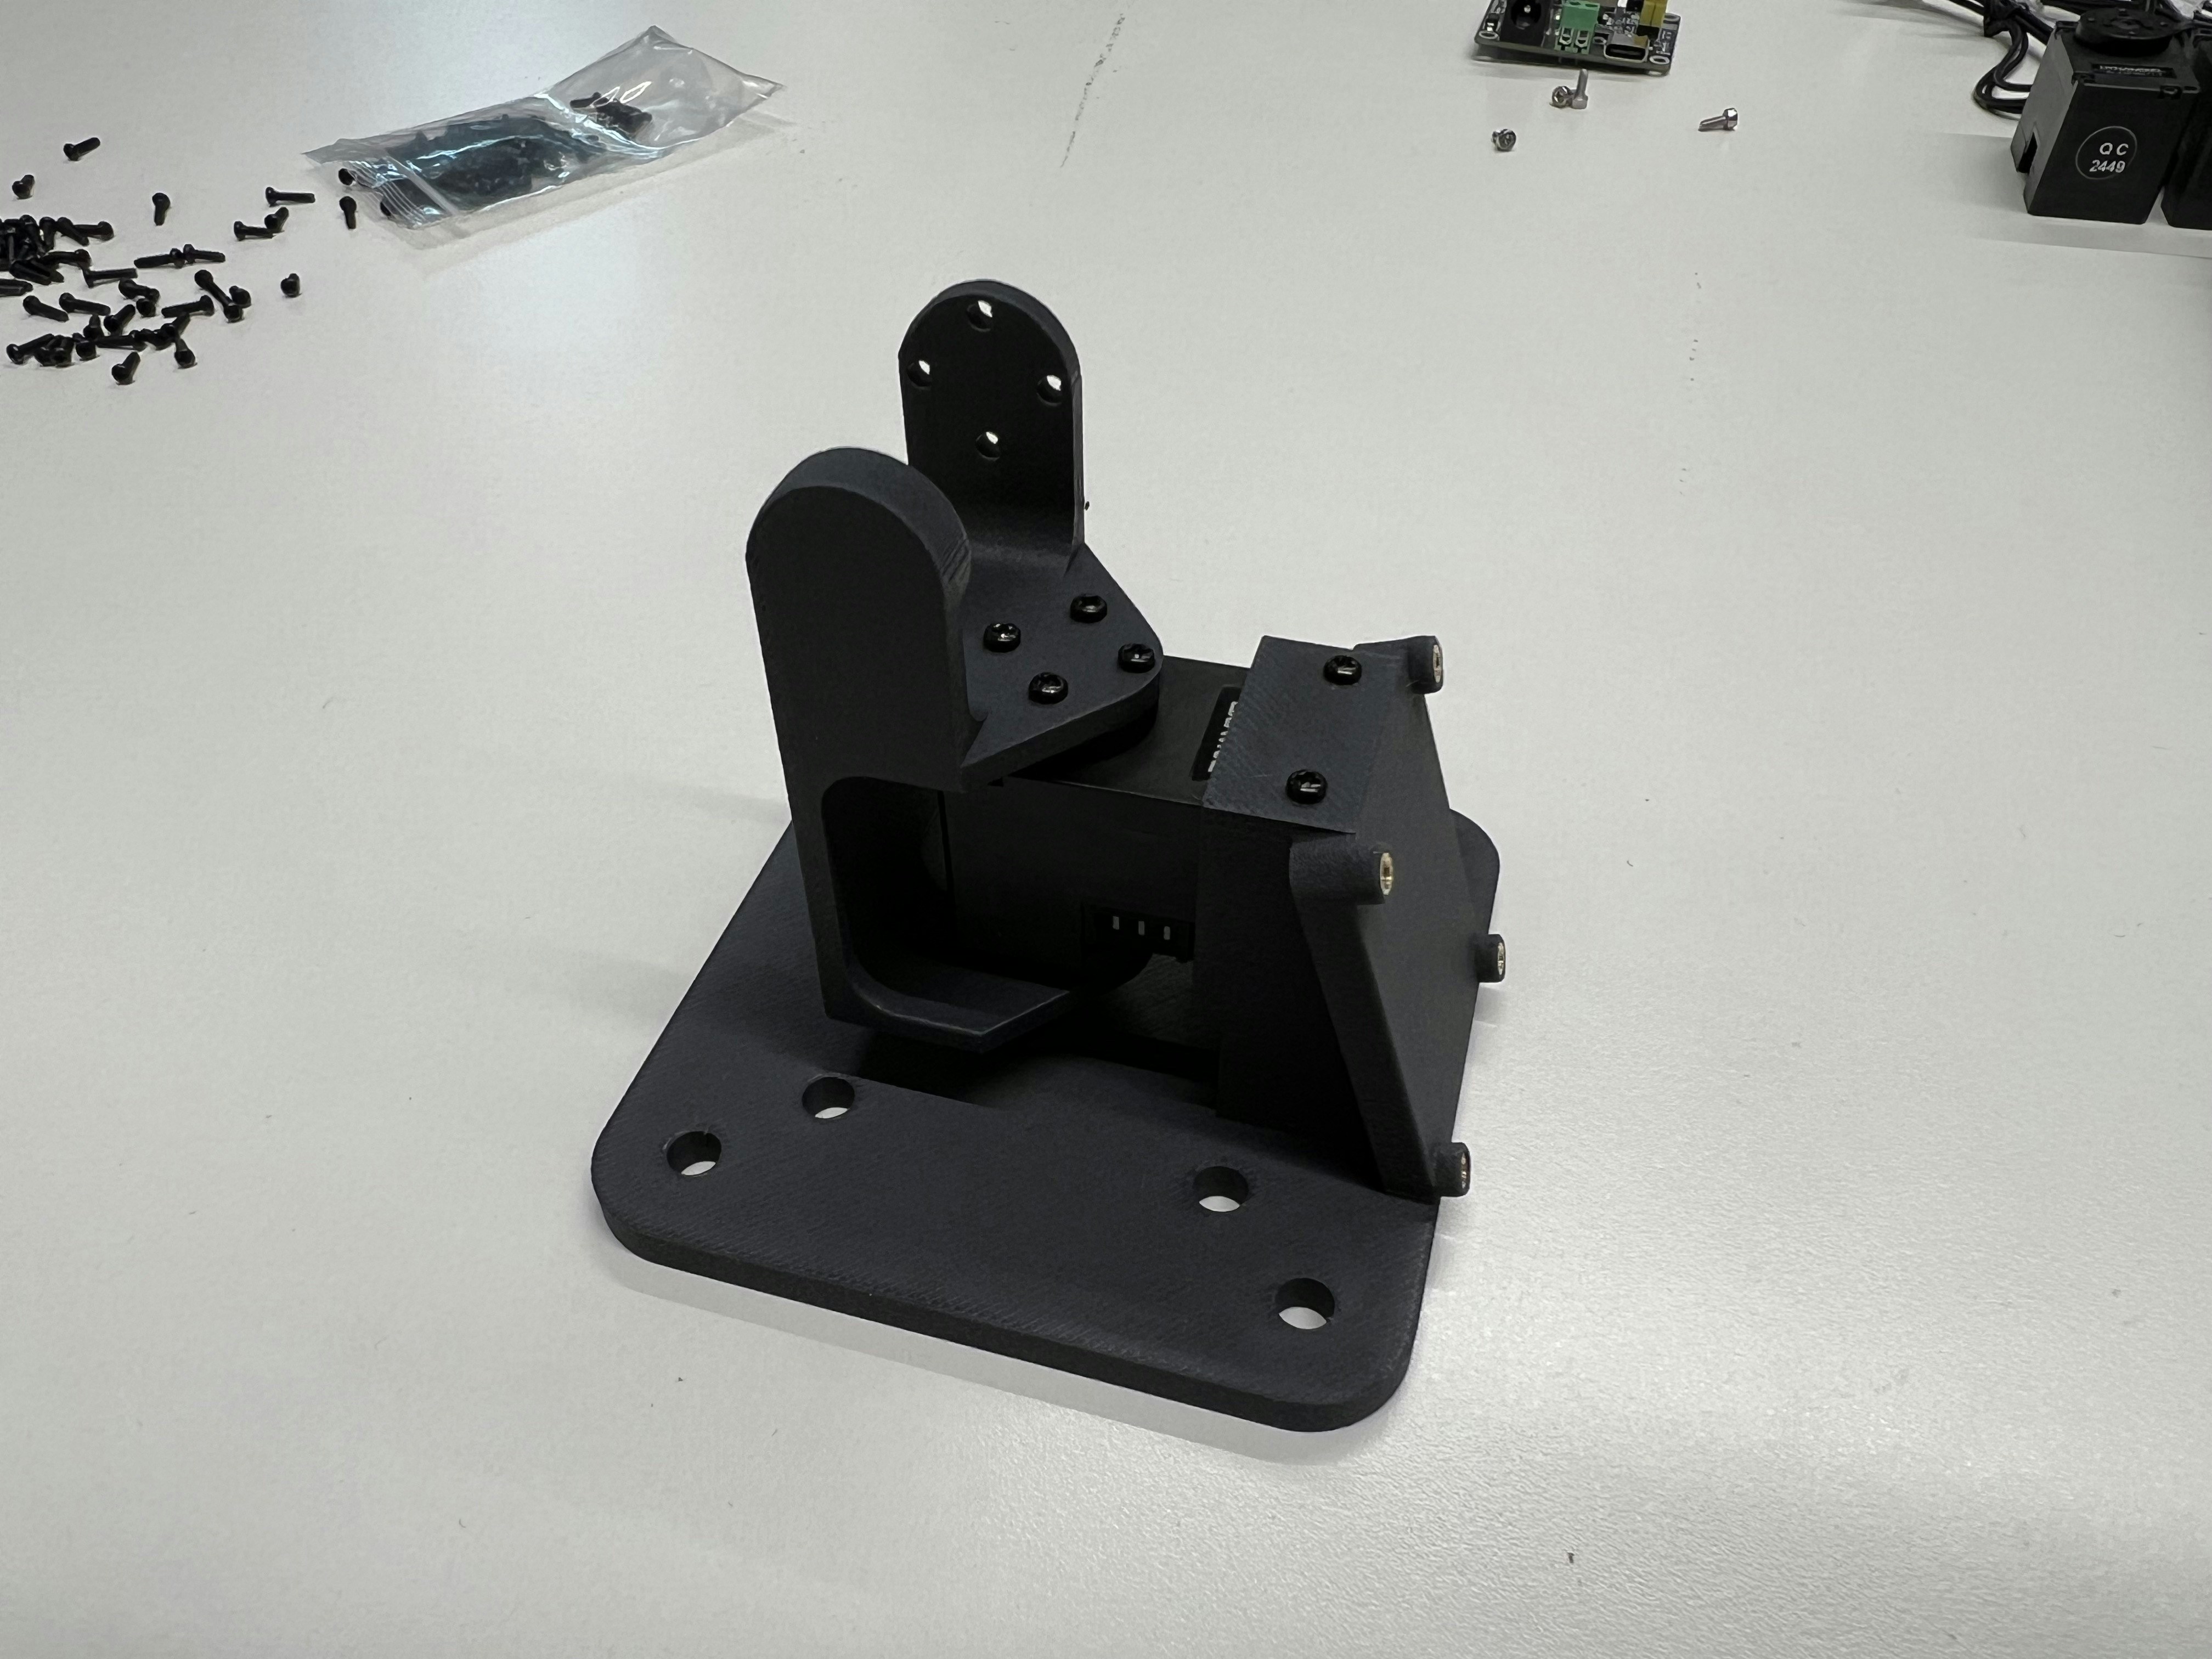
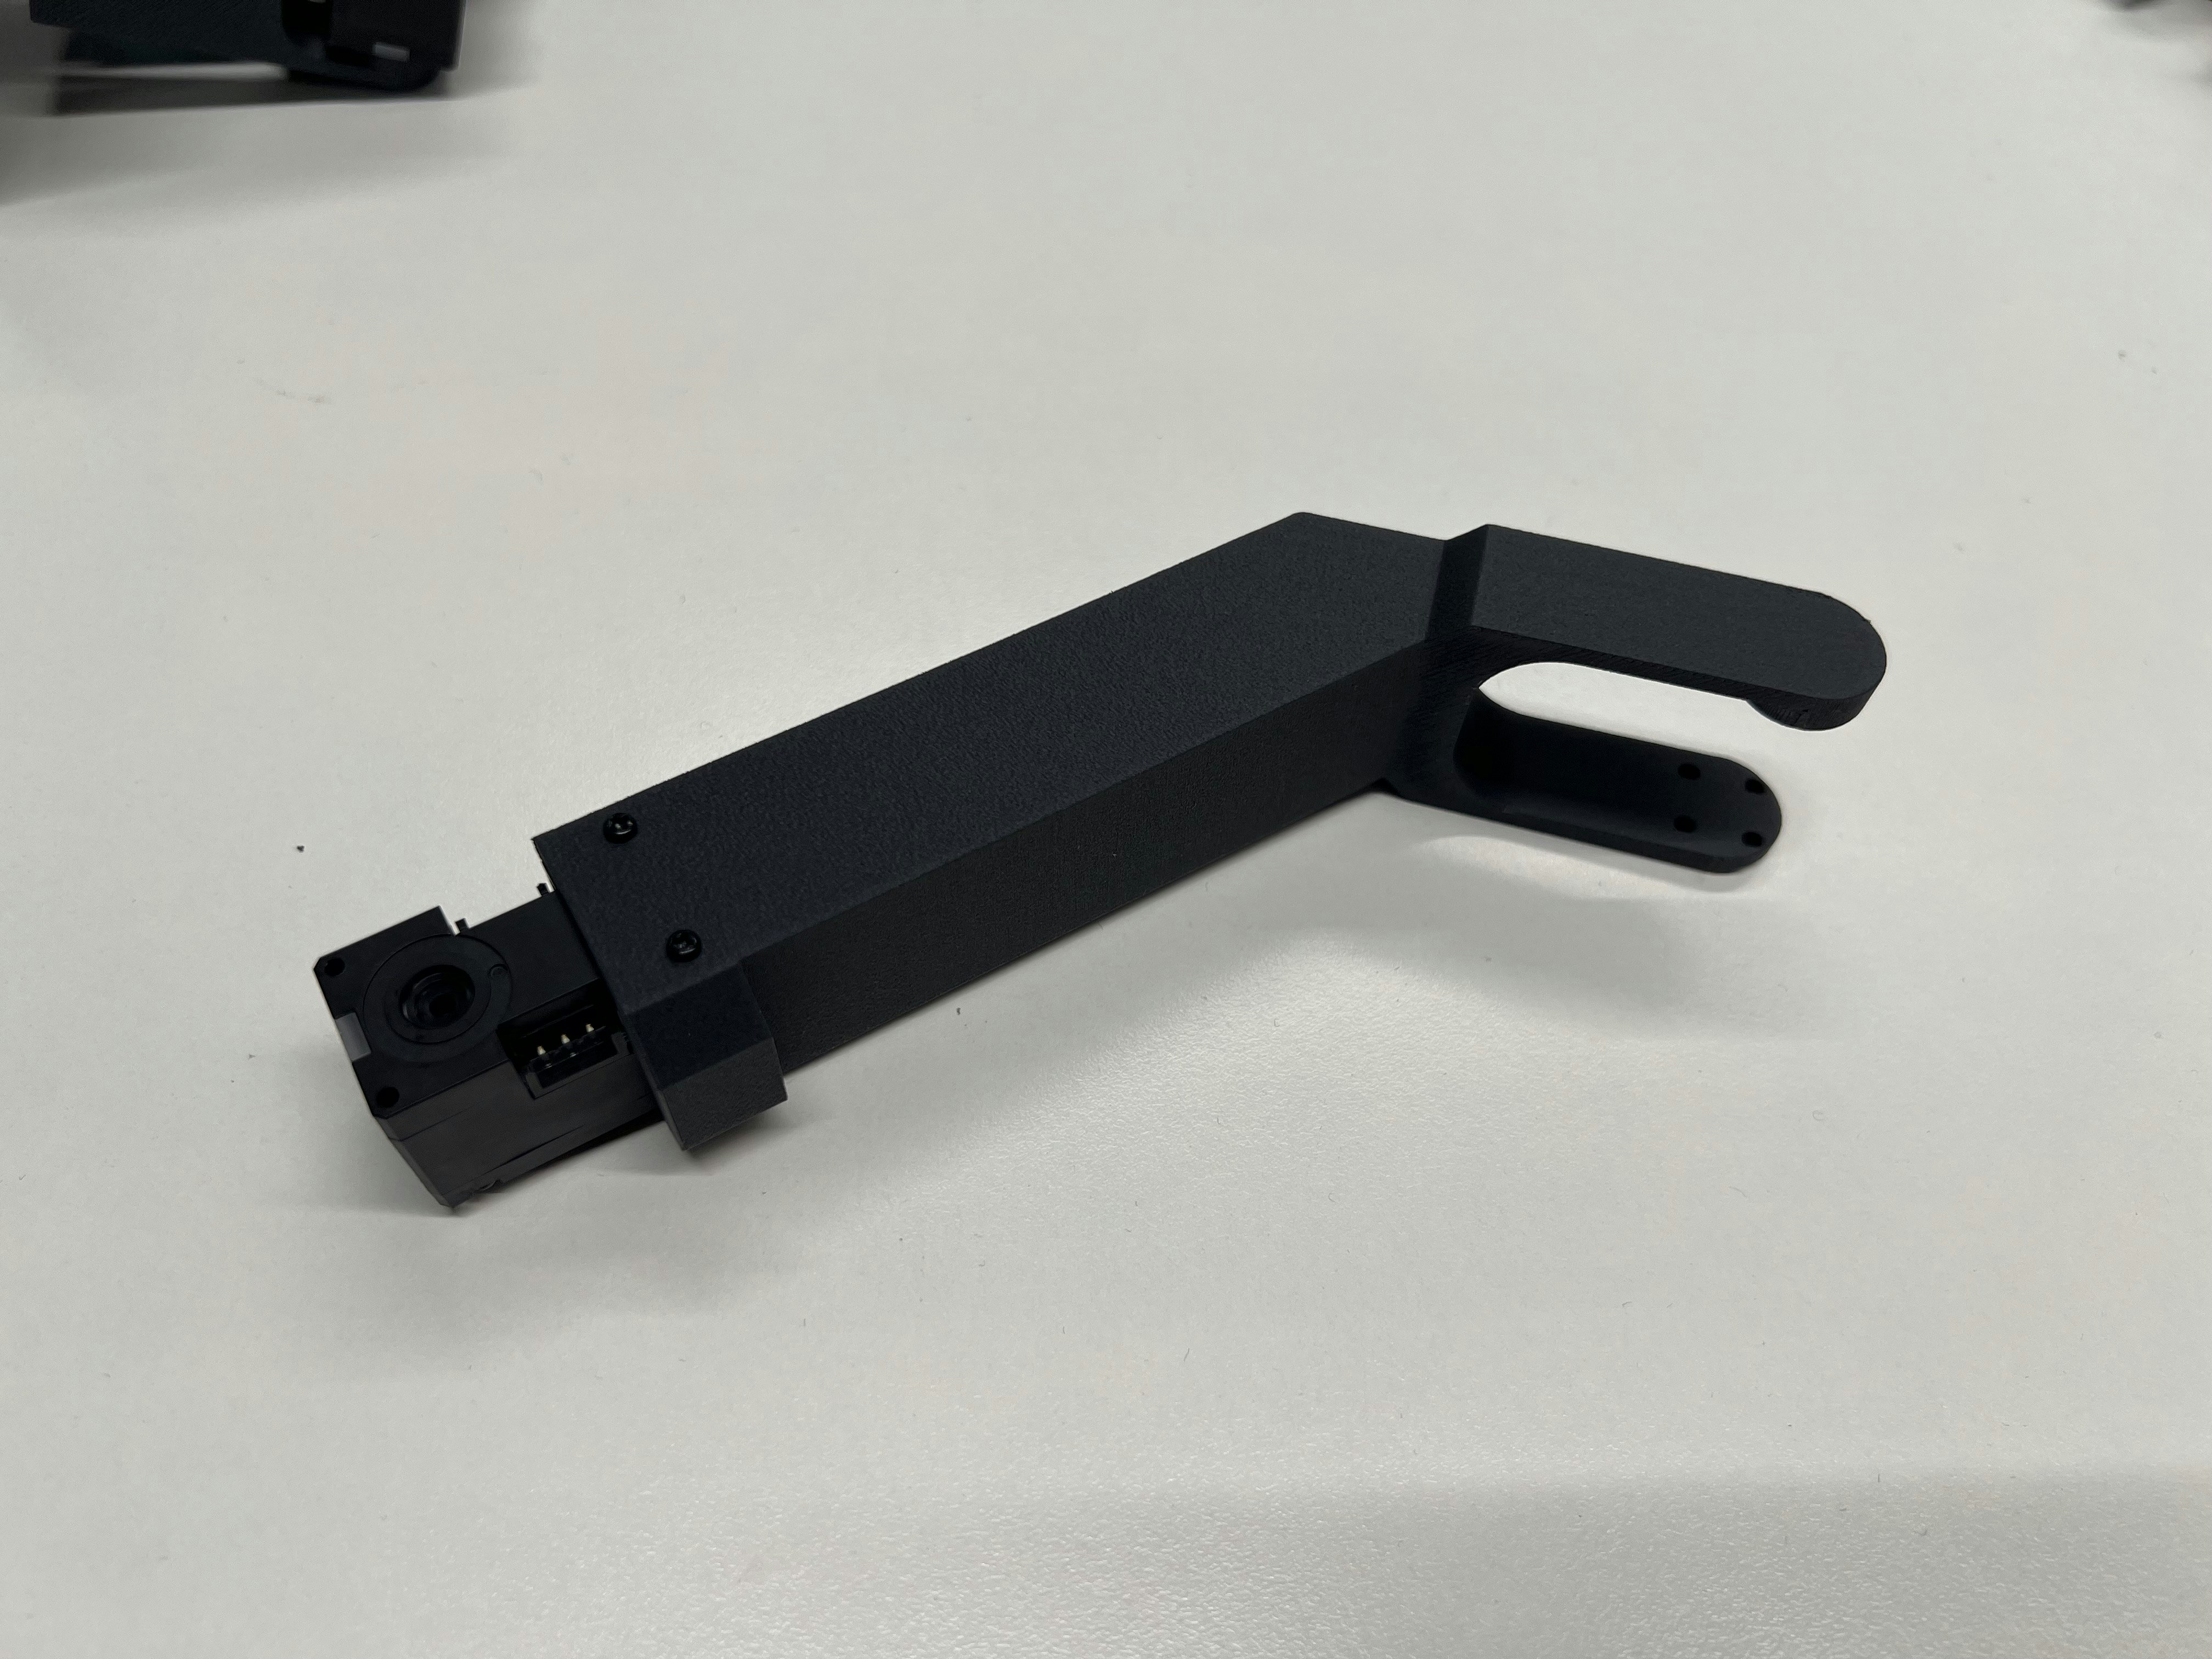
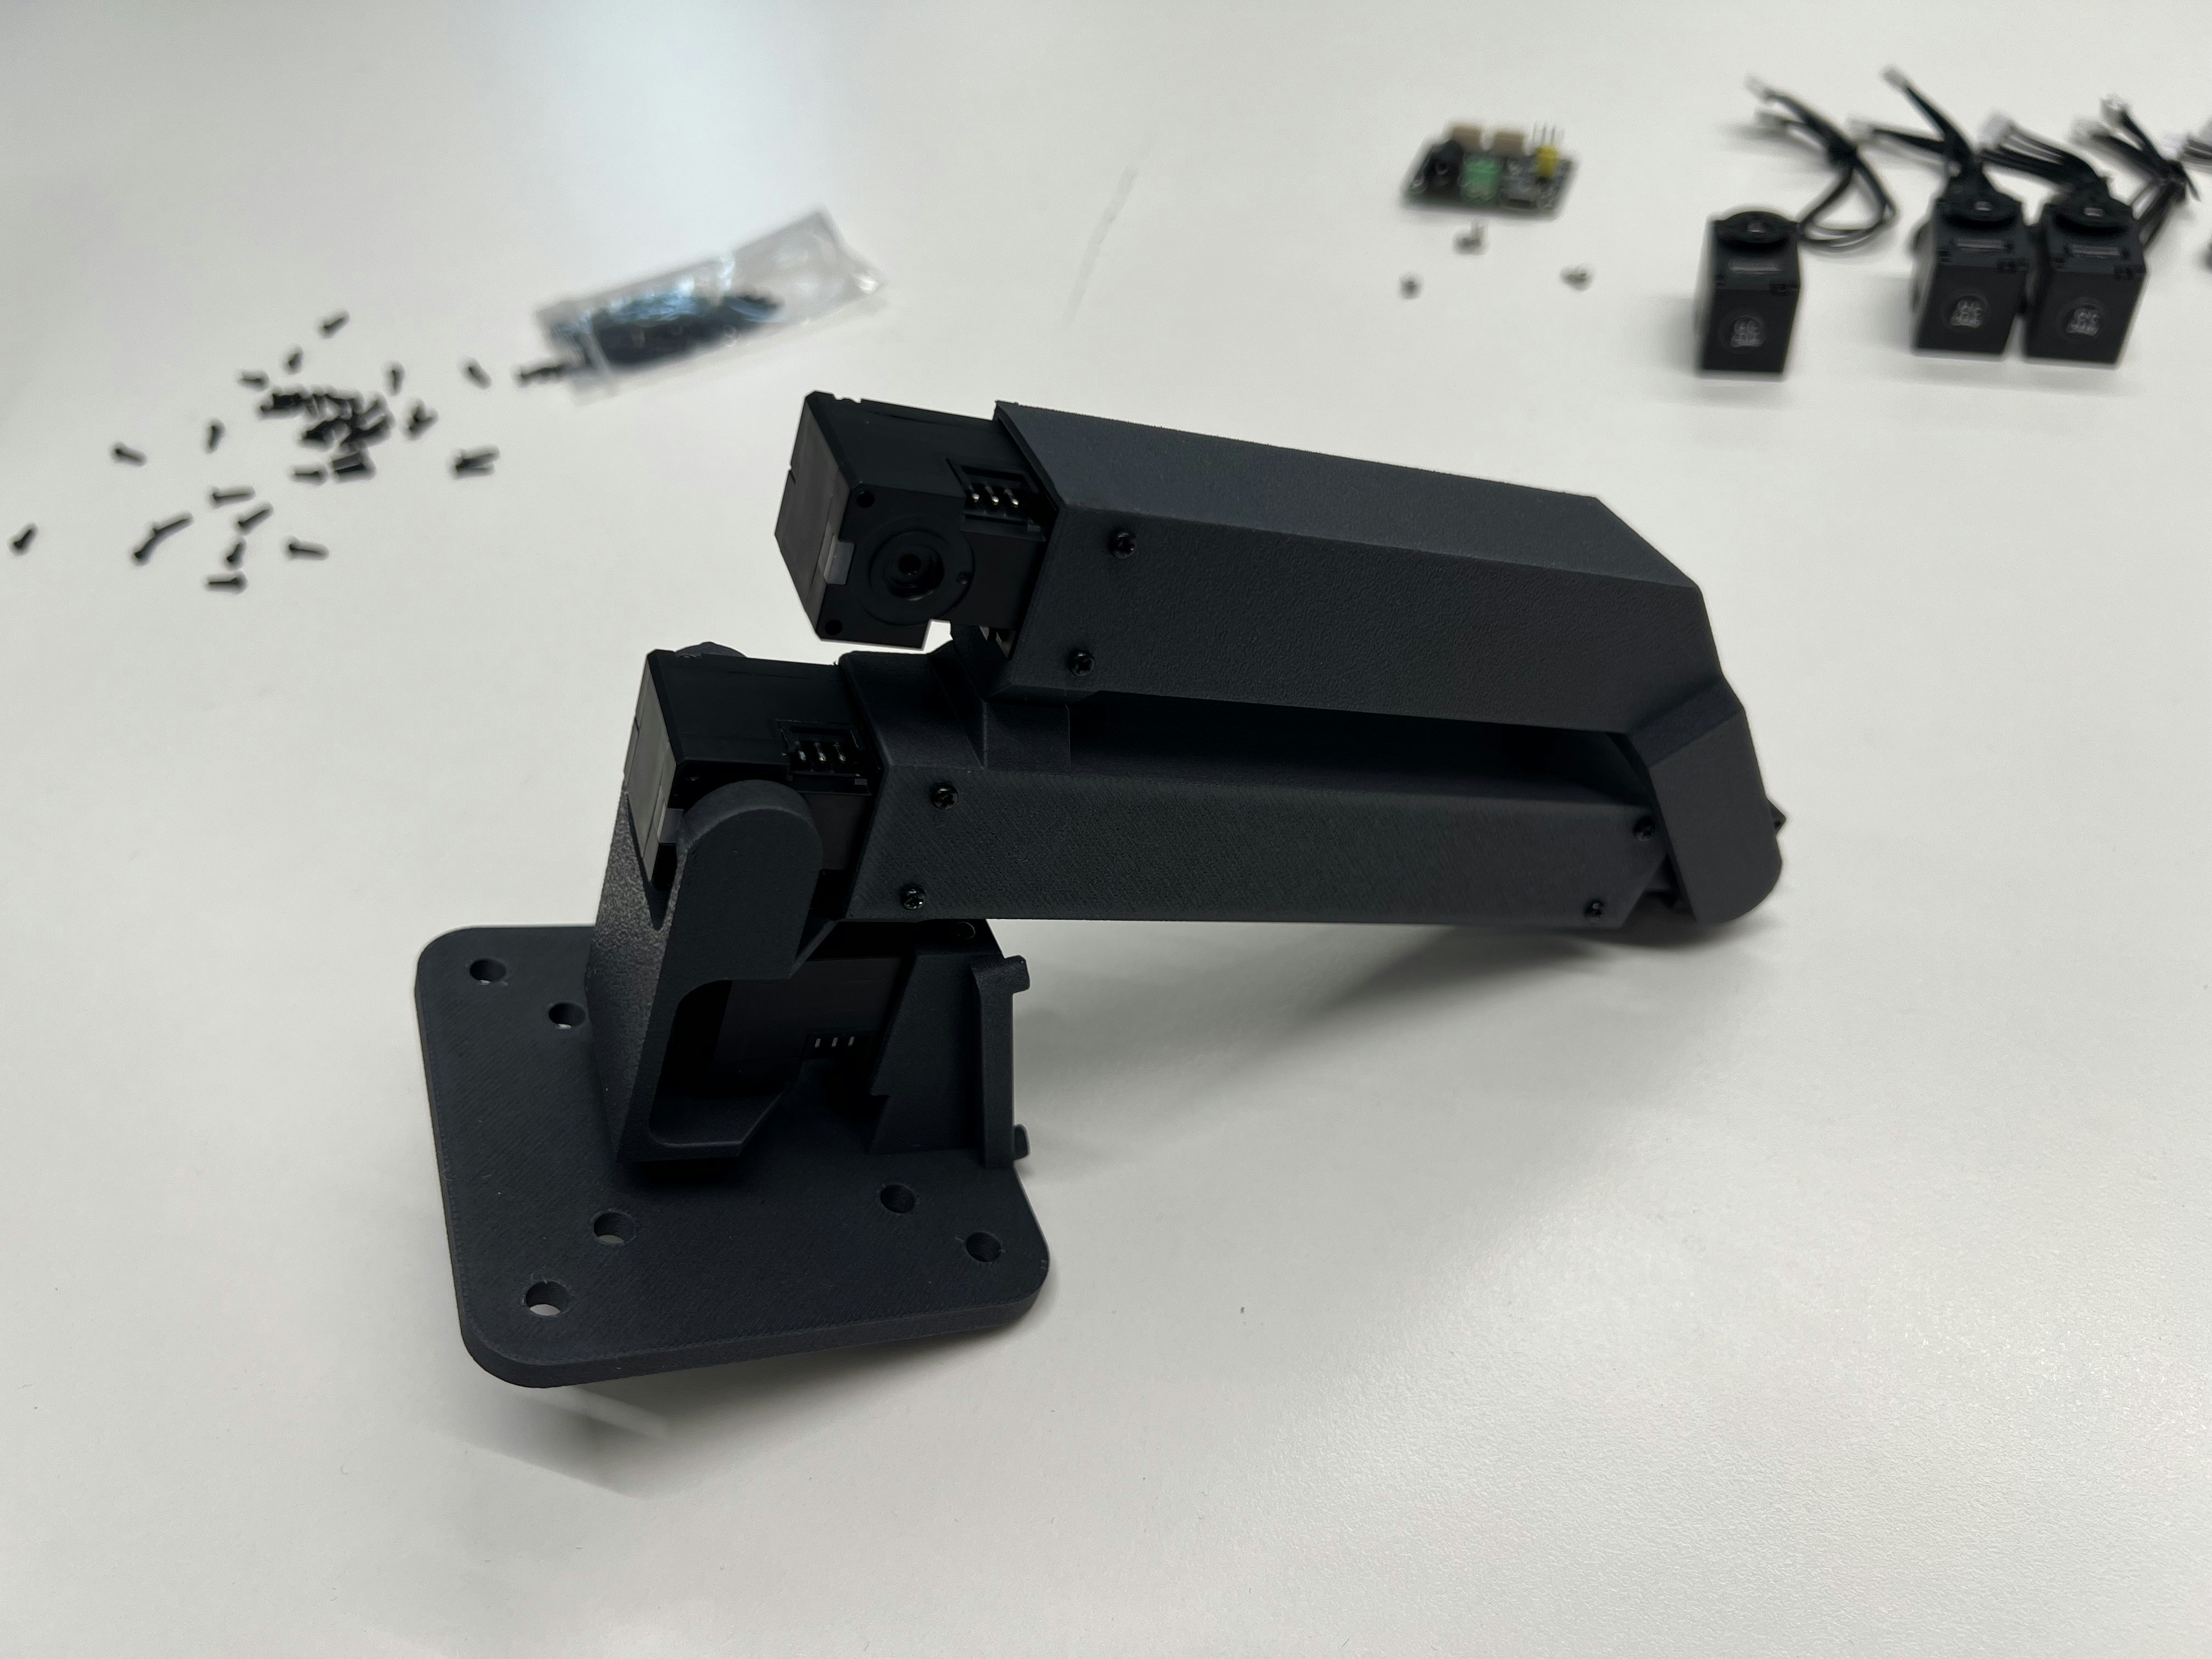
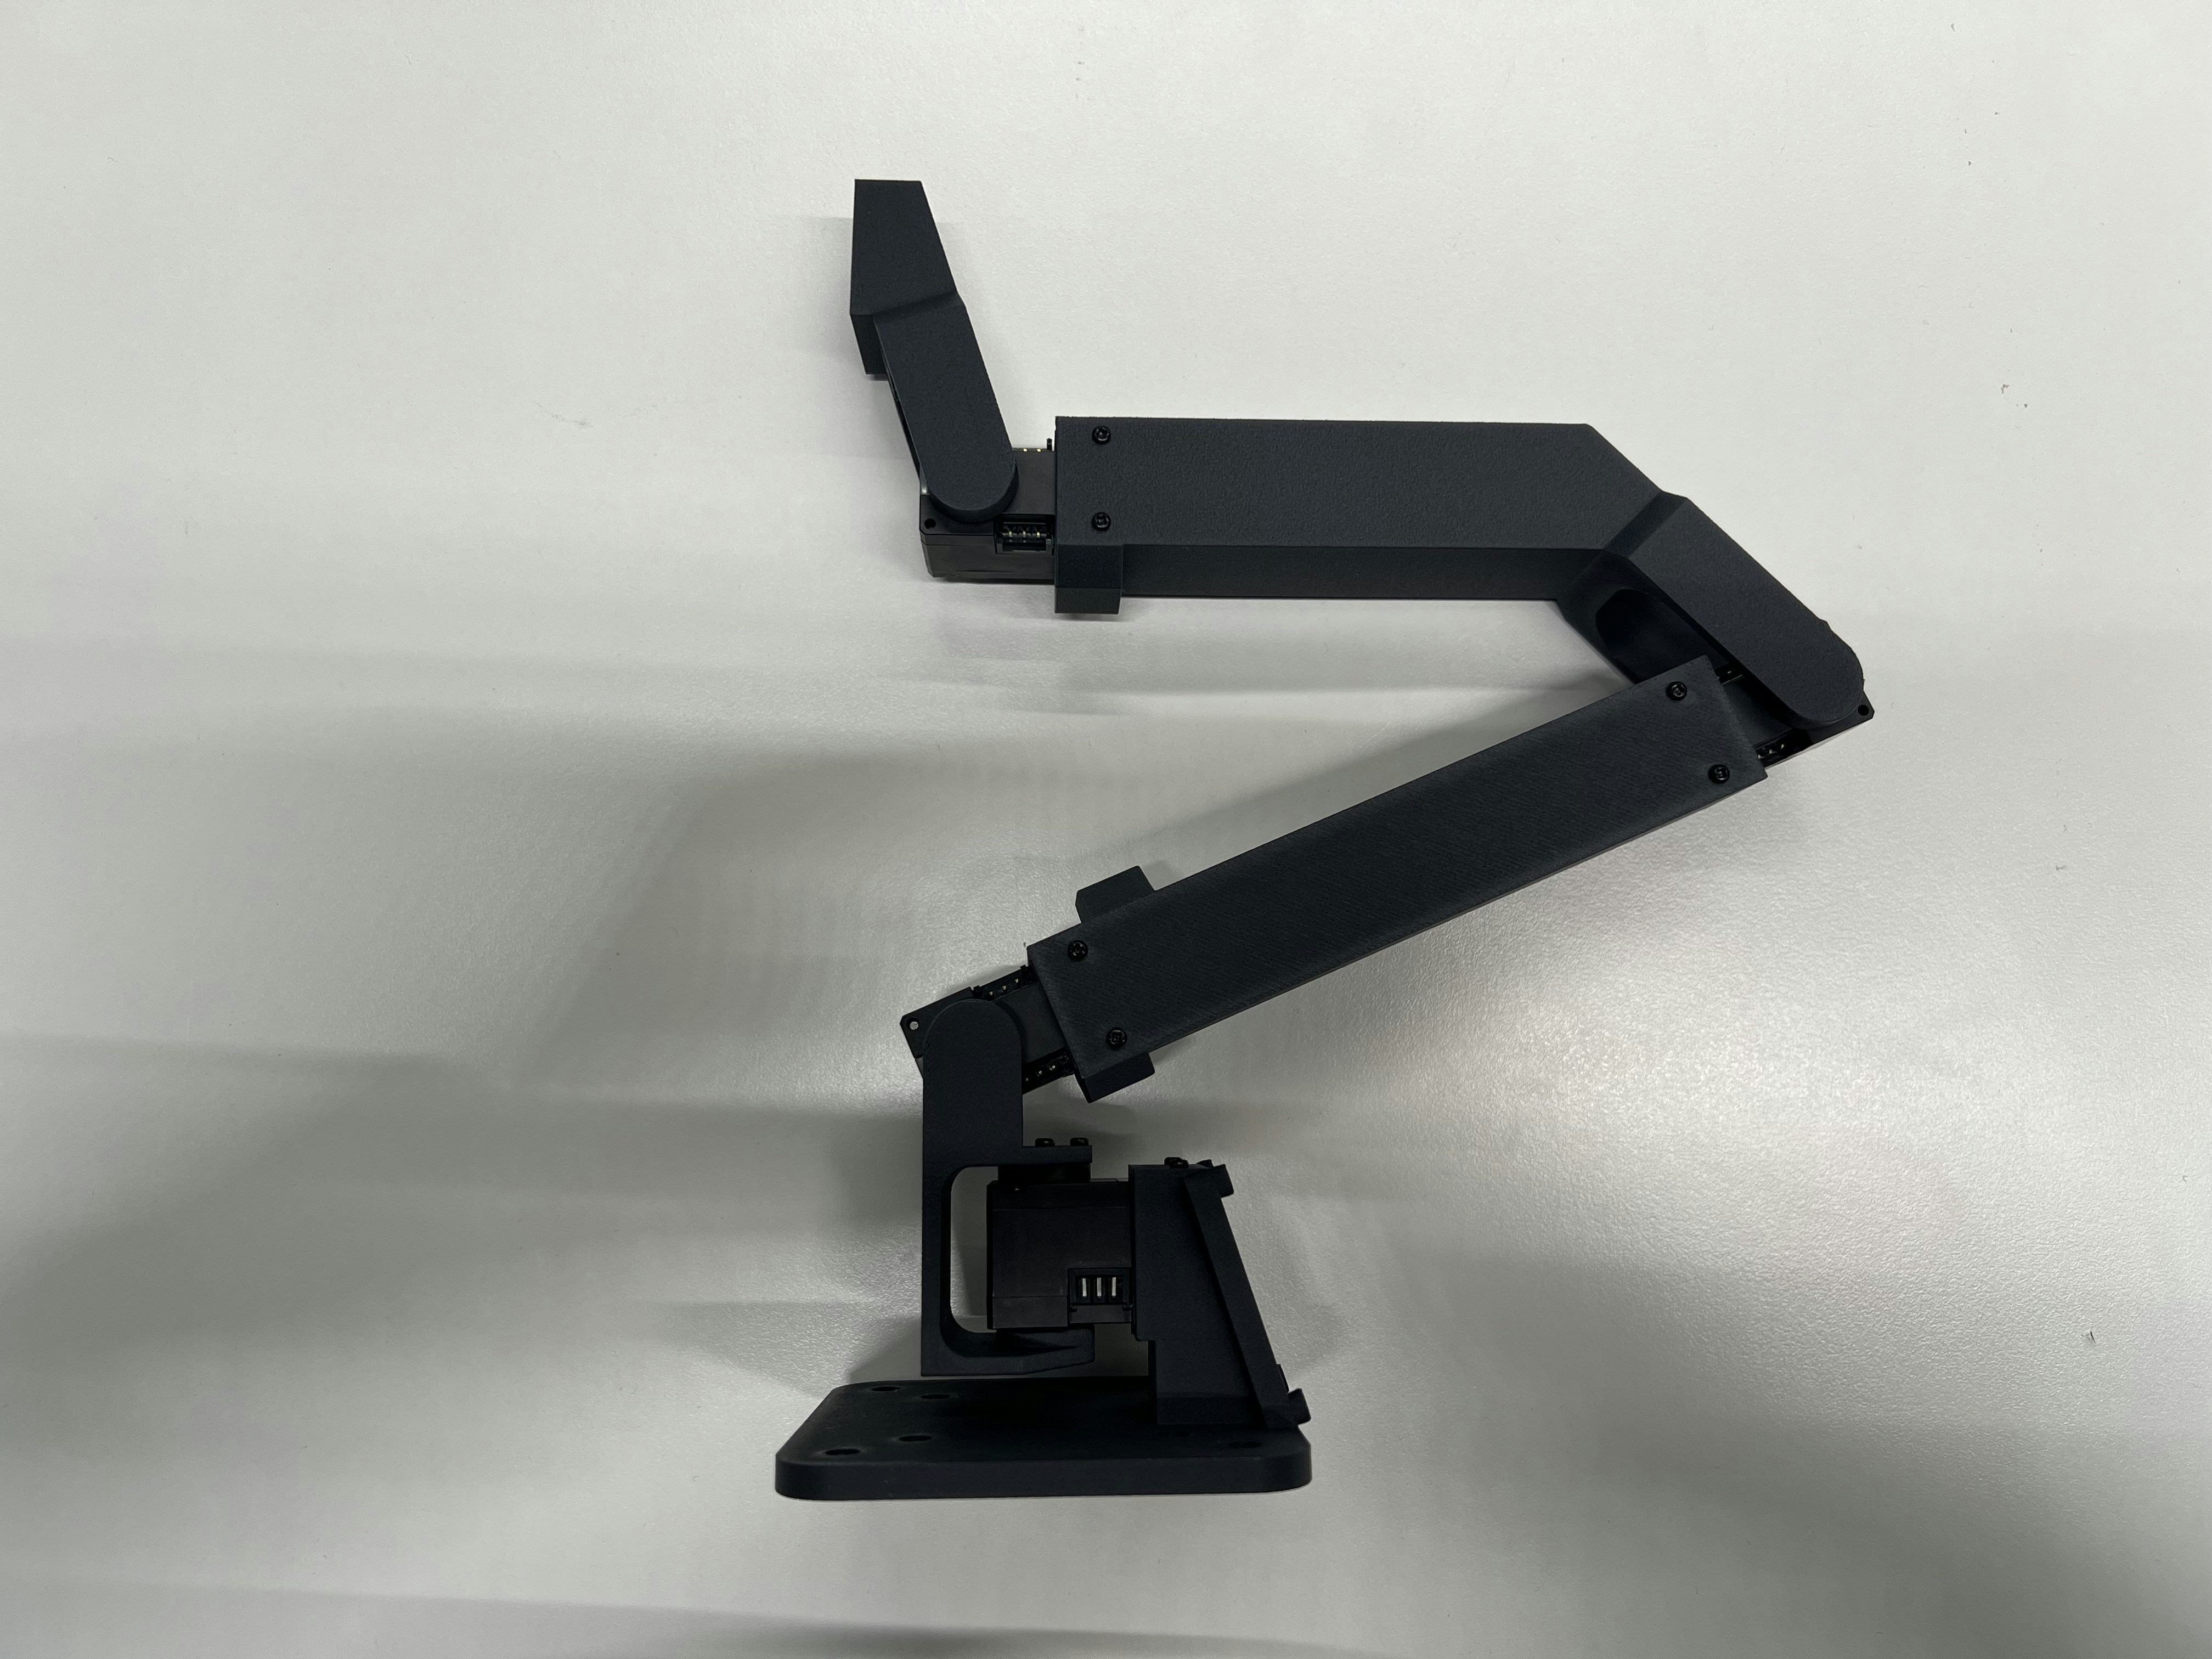
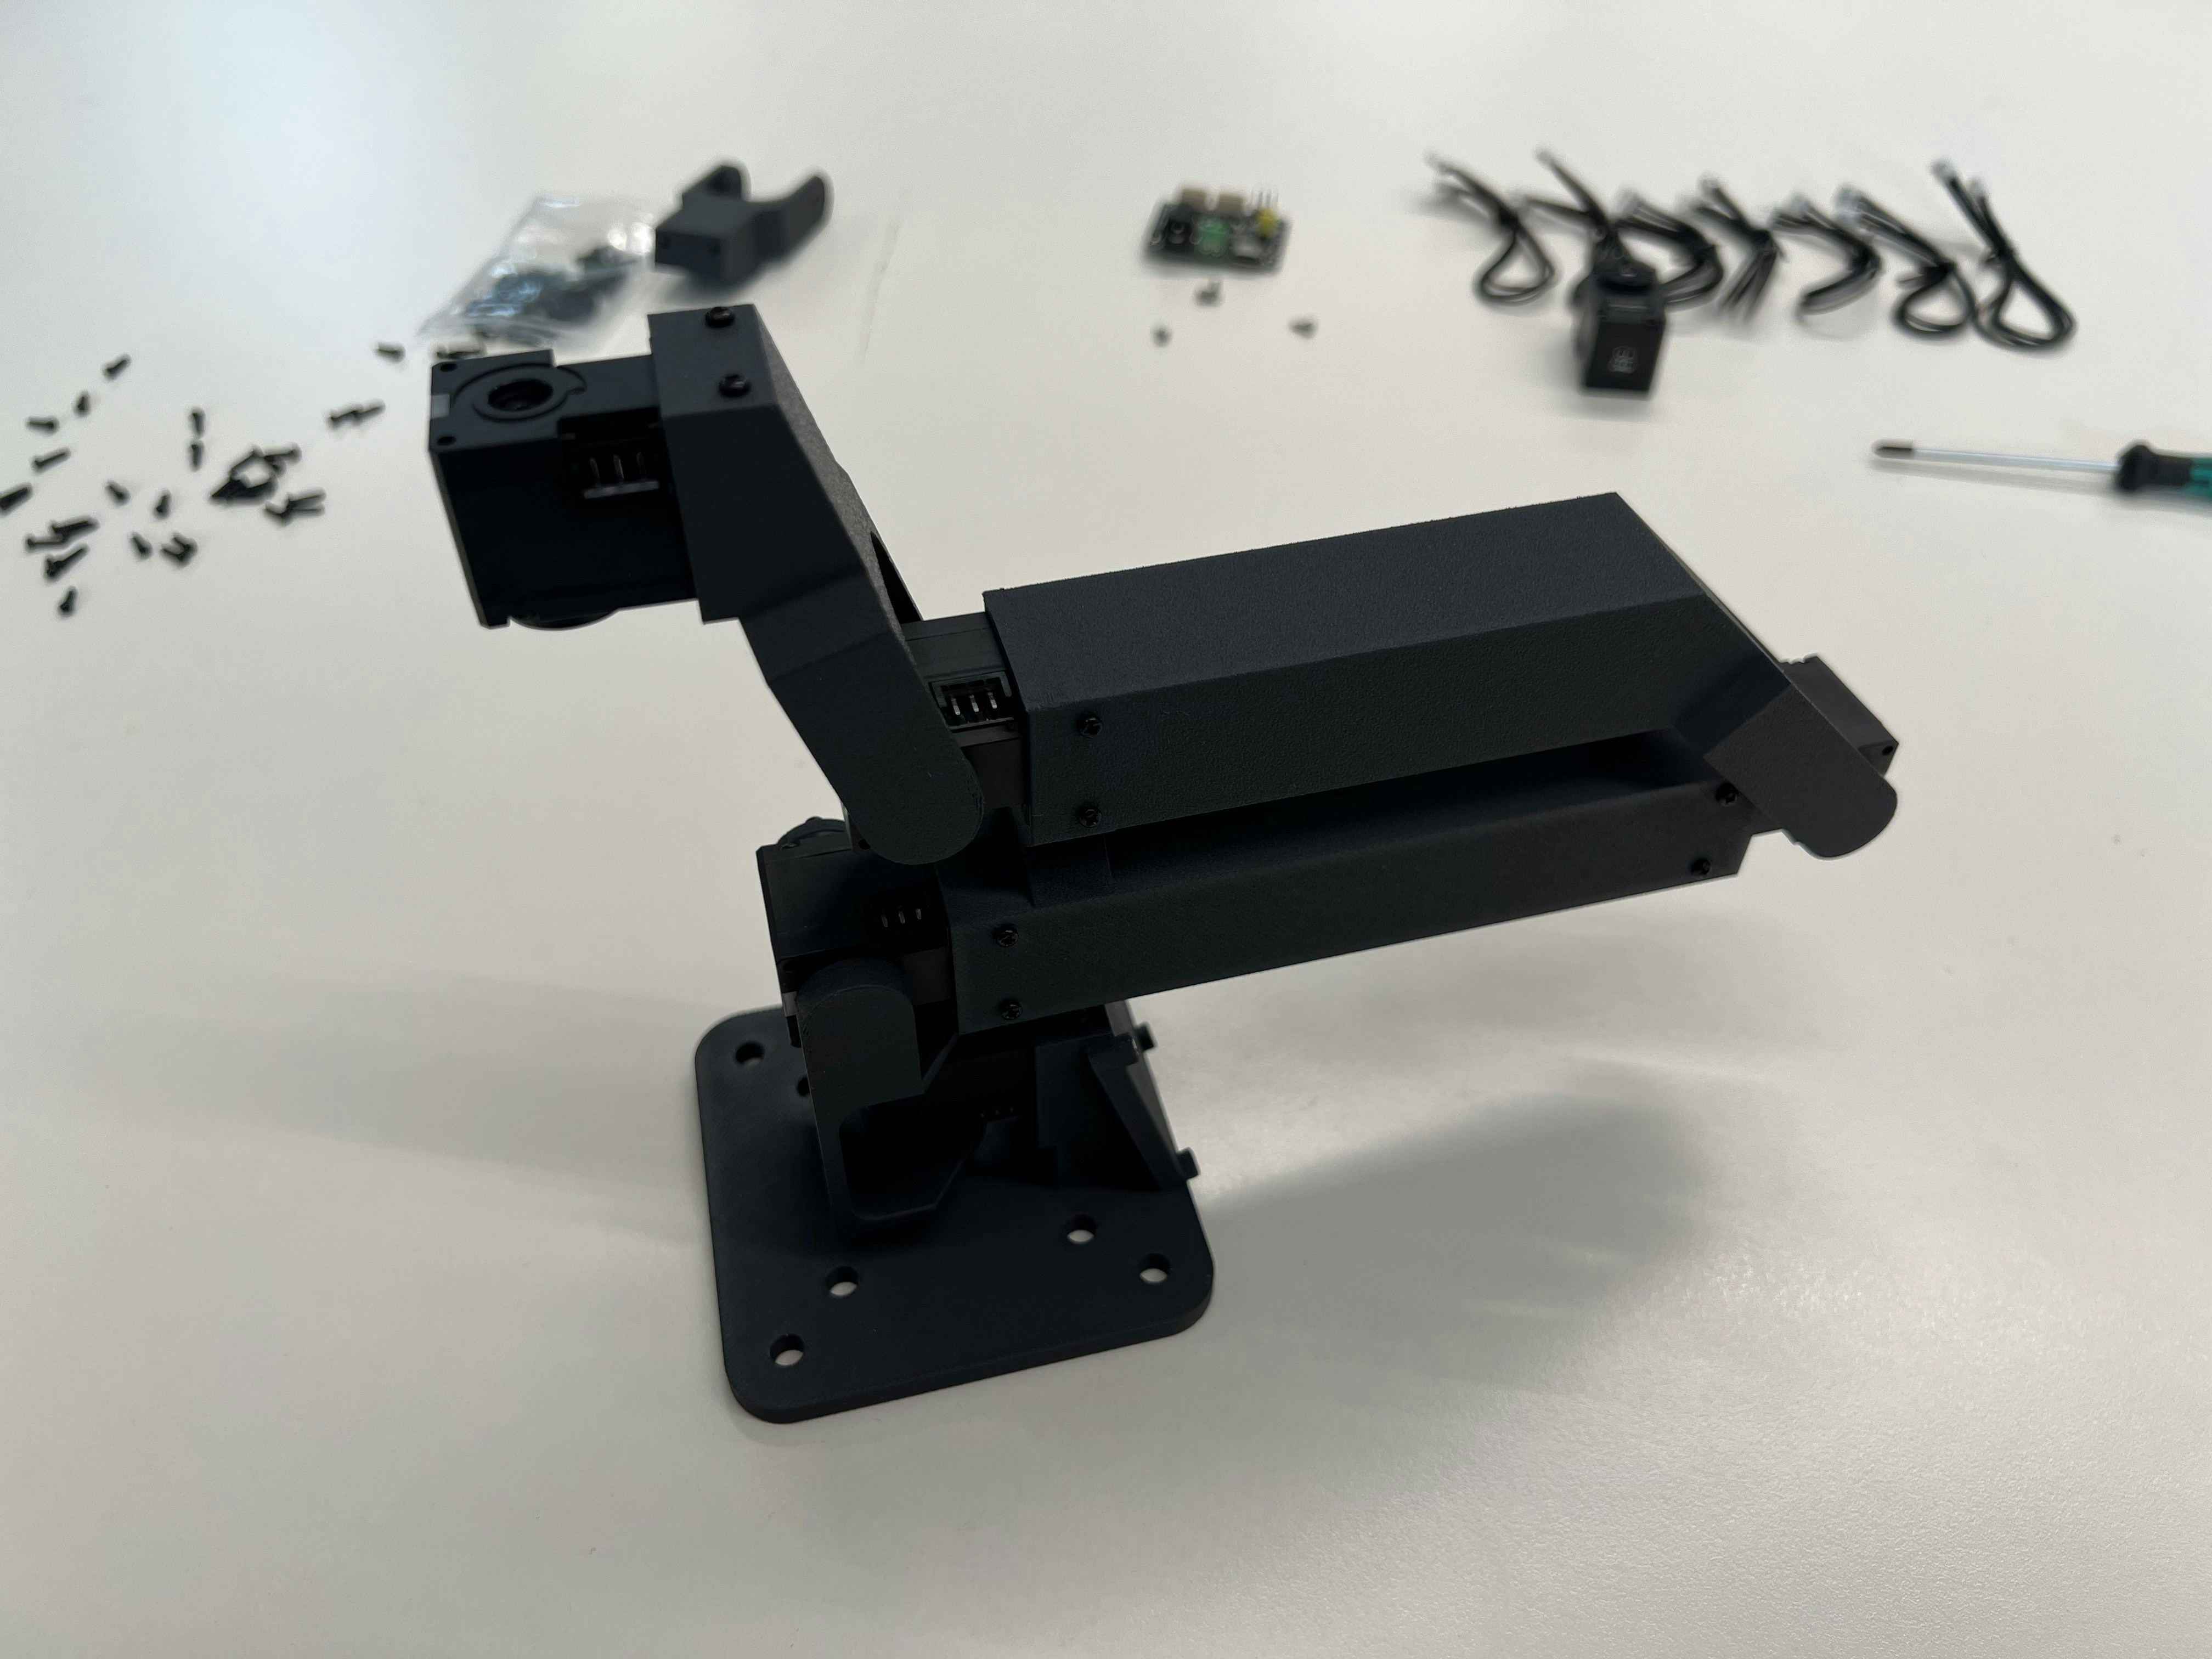
 Assemble as shown:
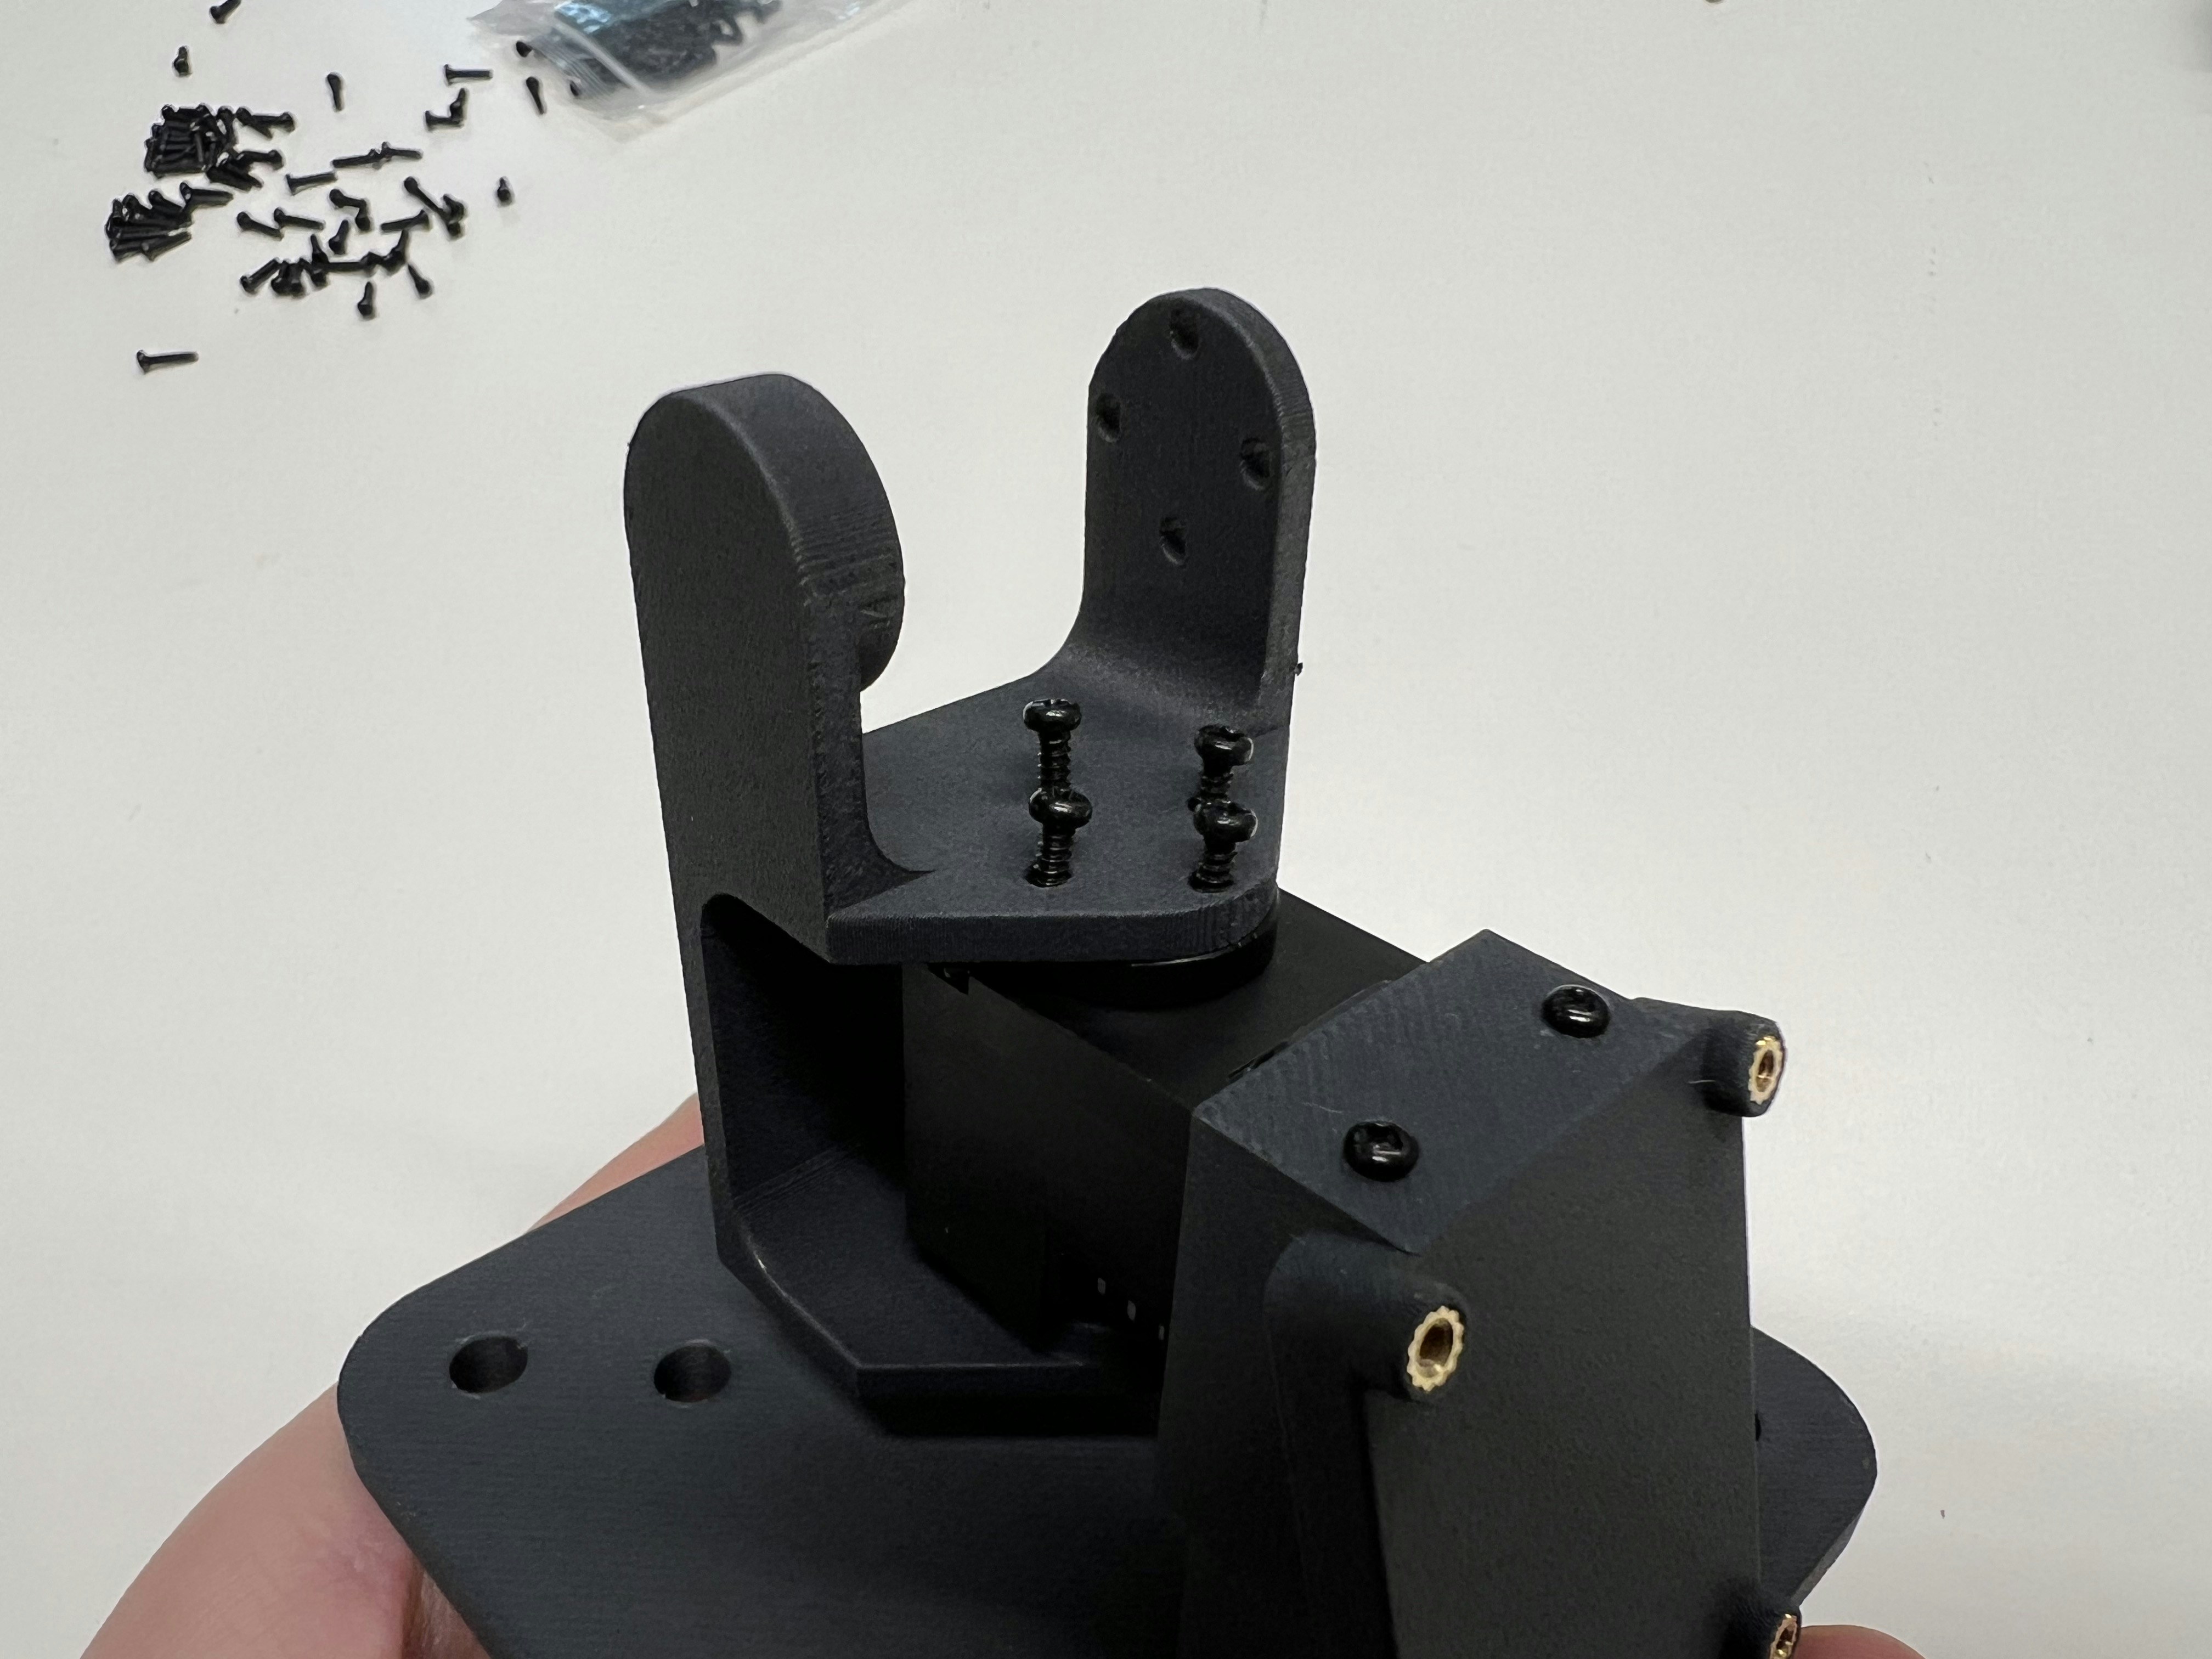
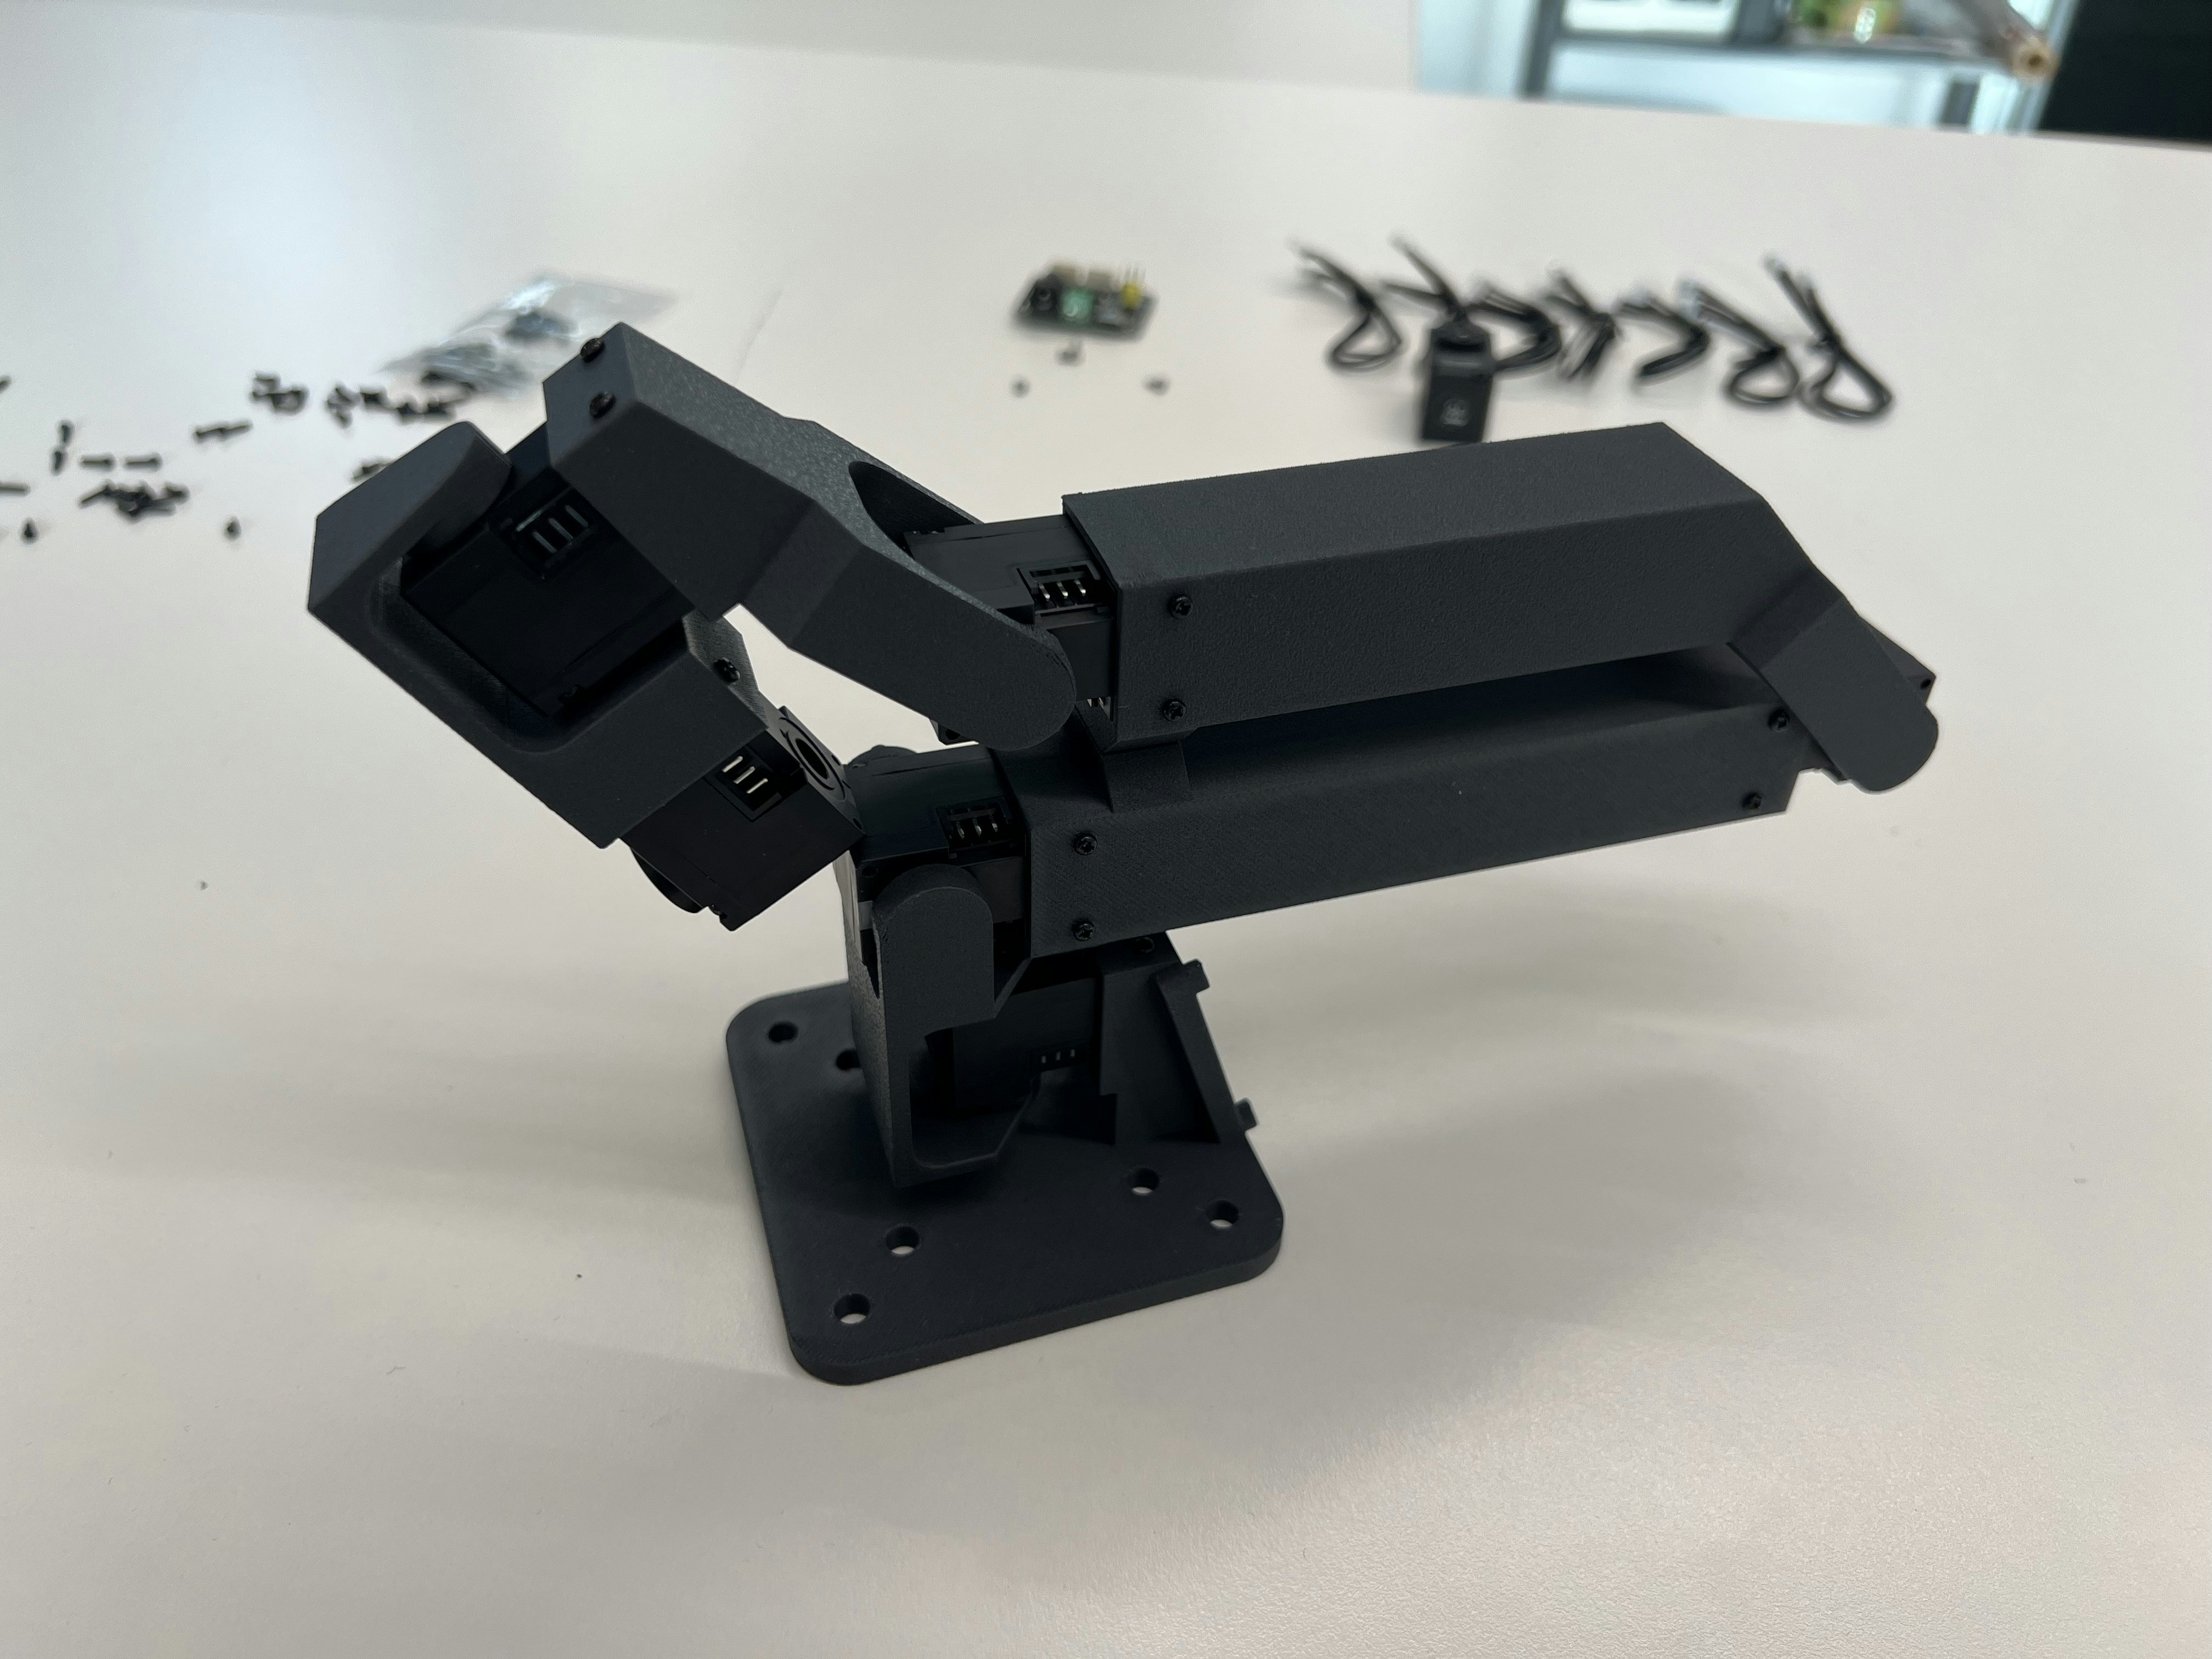
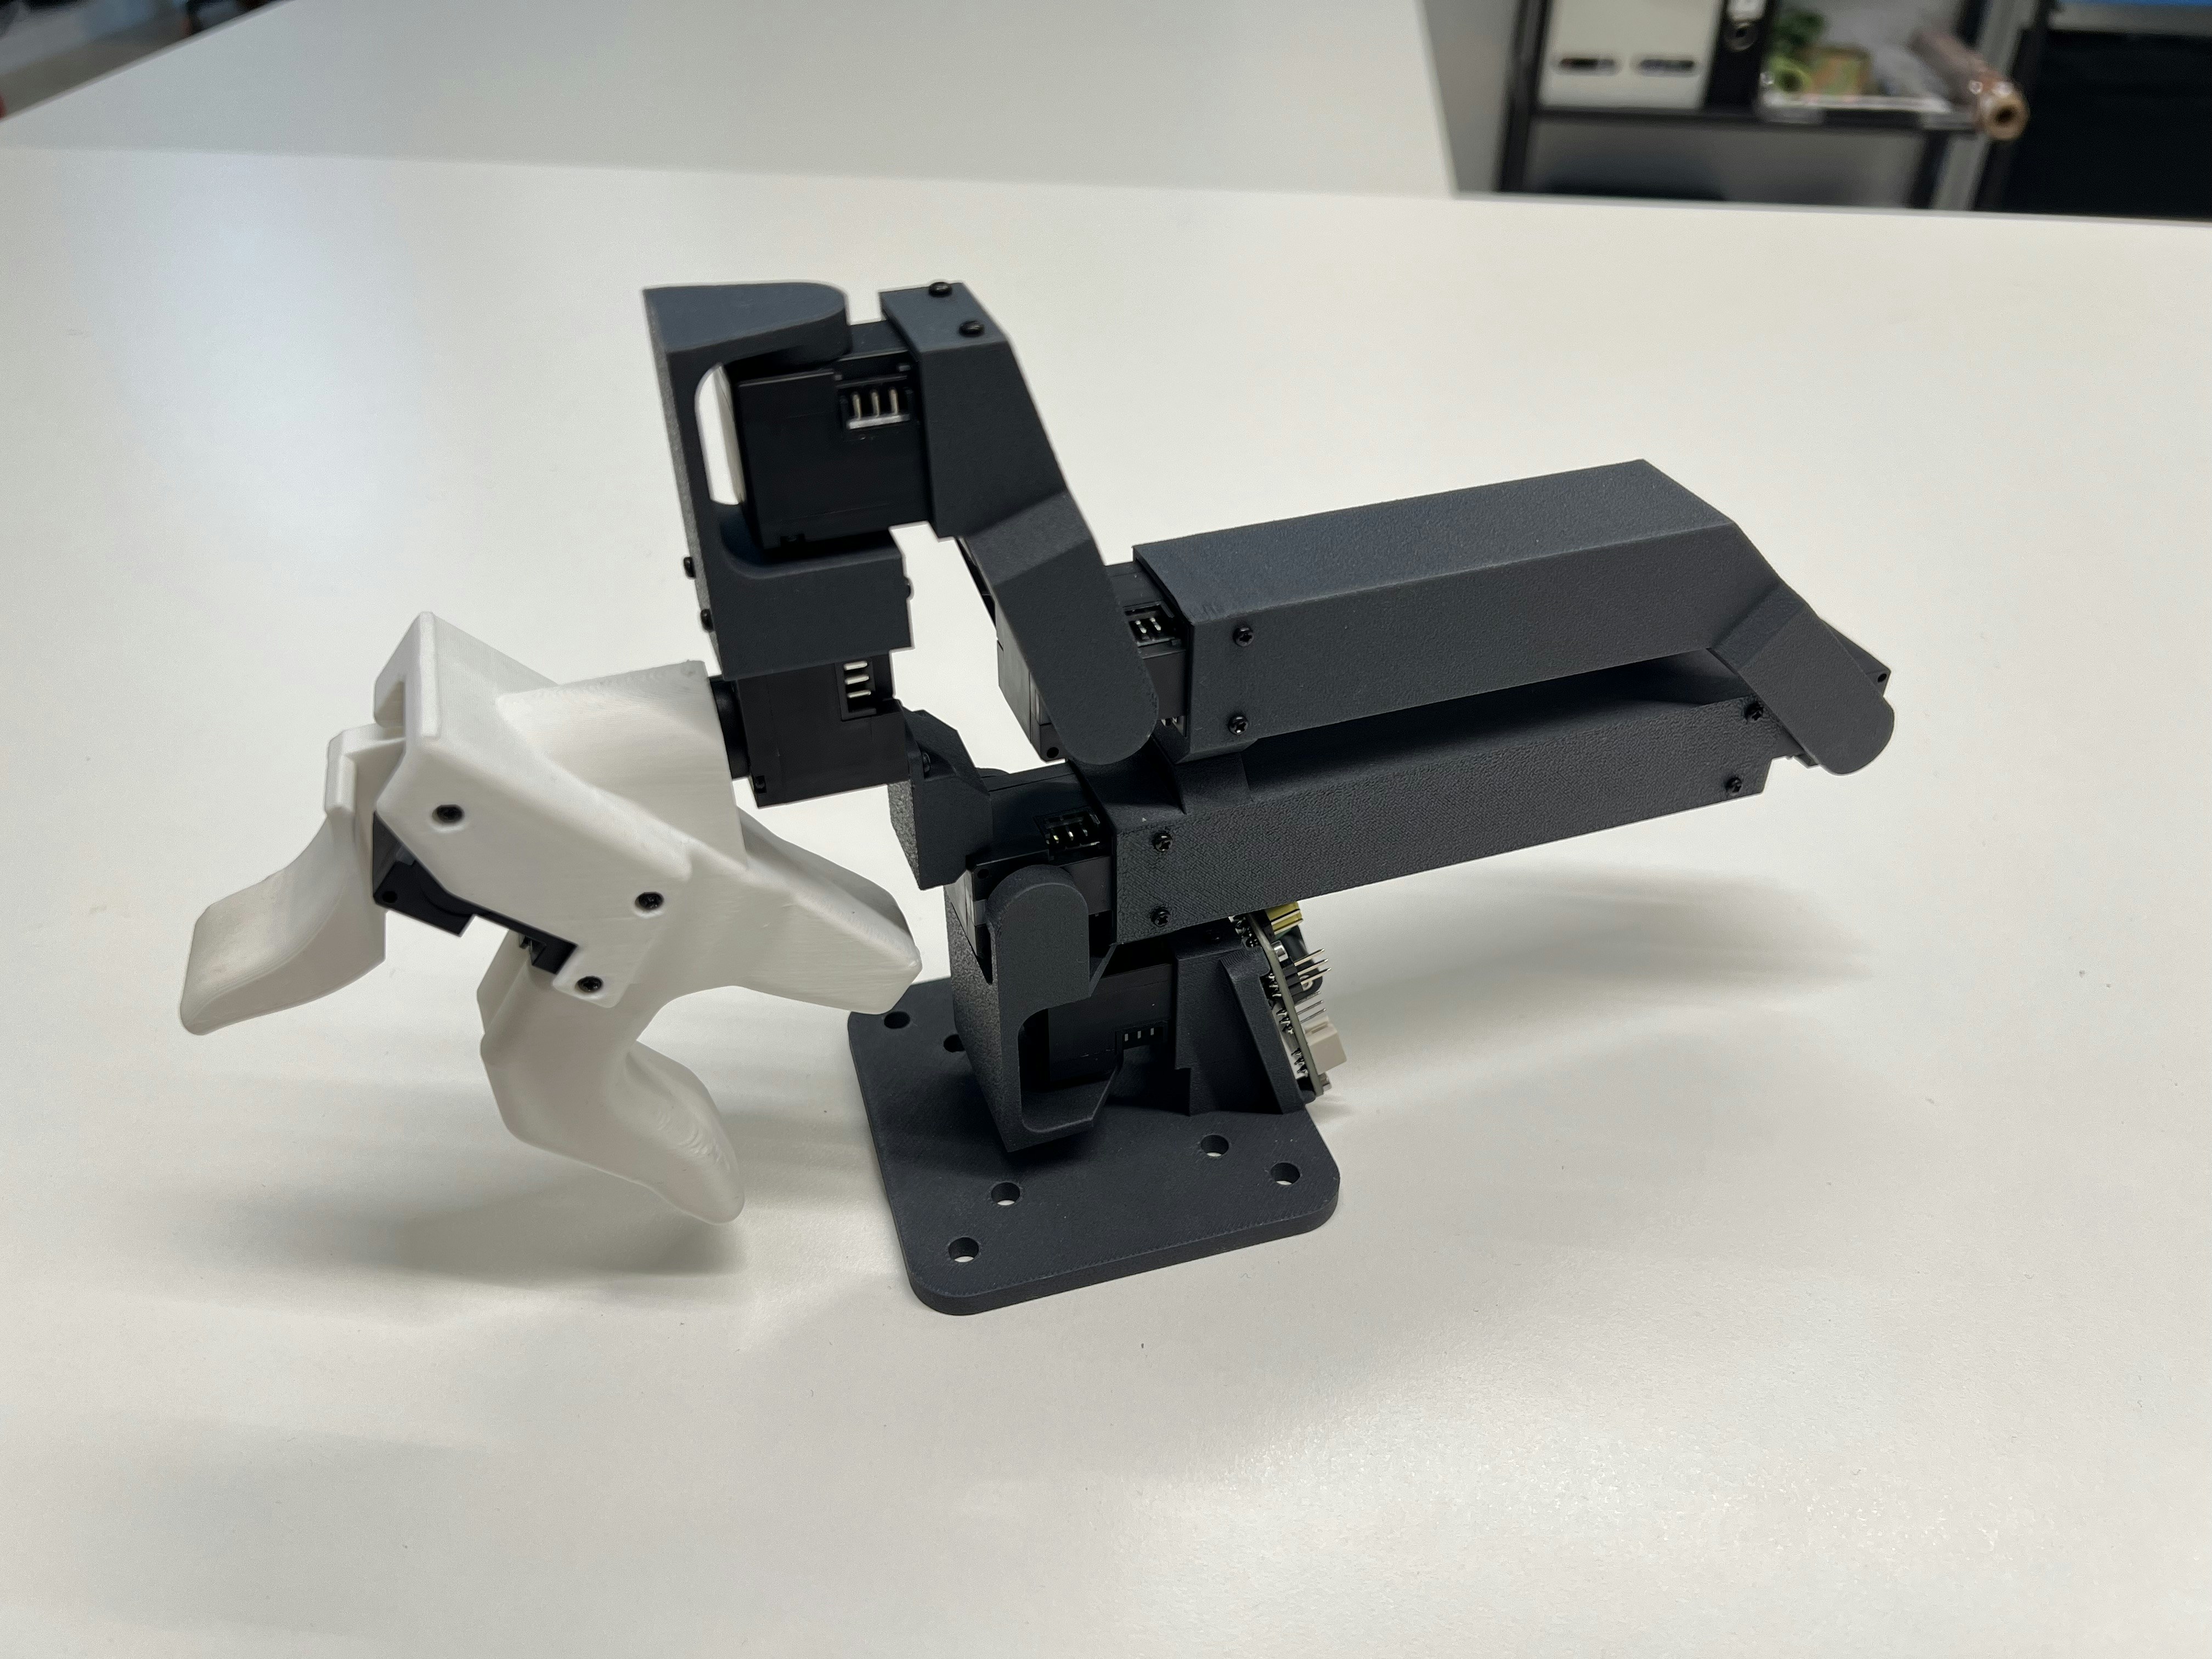


Configuration
Connect the power supply, a USB-C cable, and one Dynamixel cable: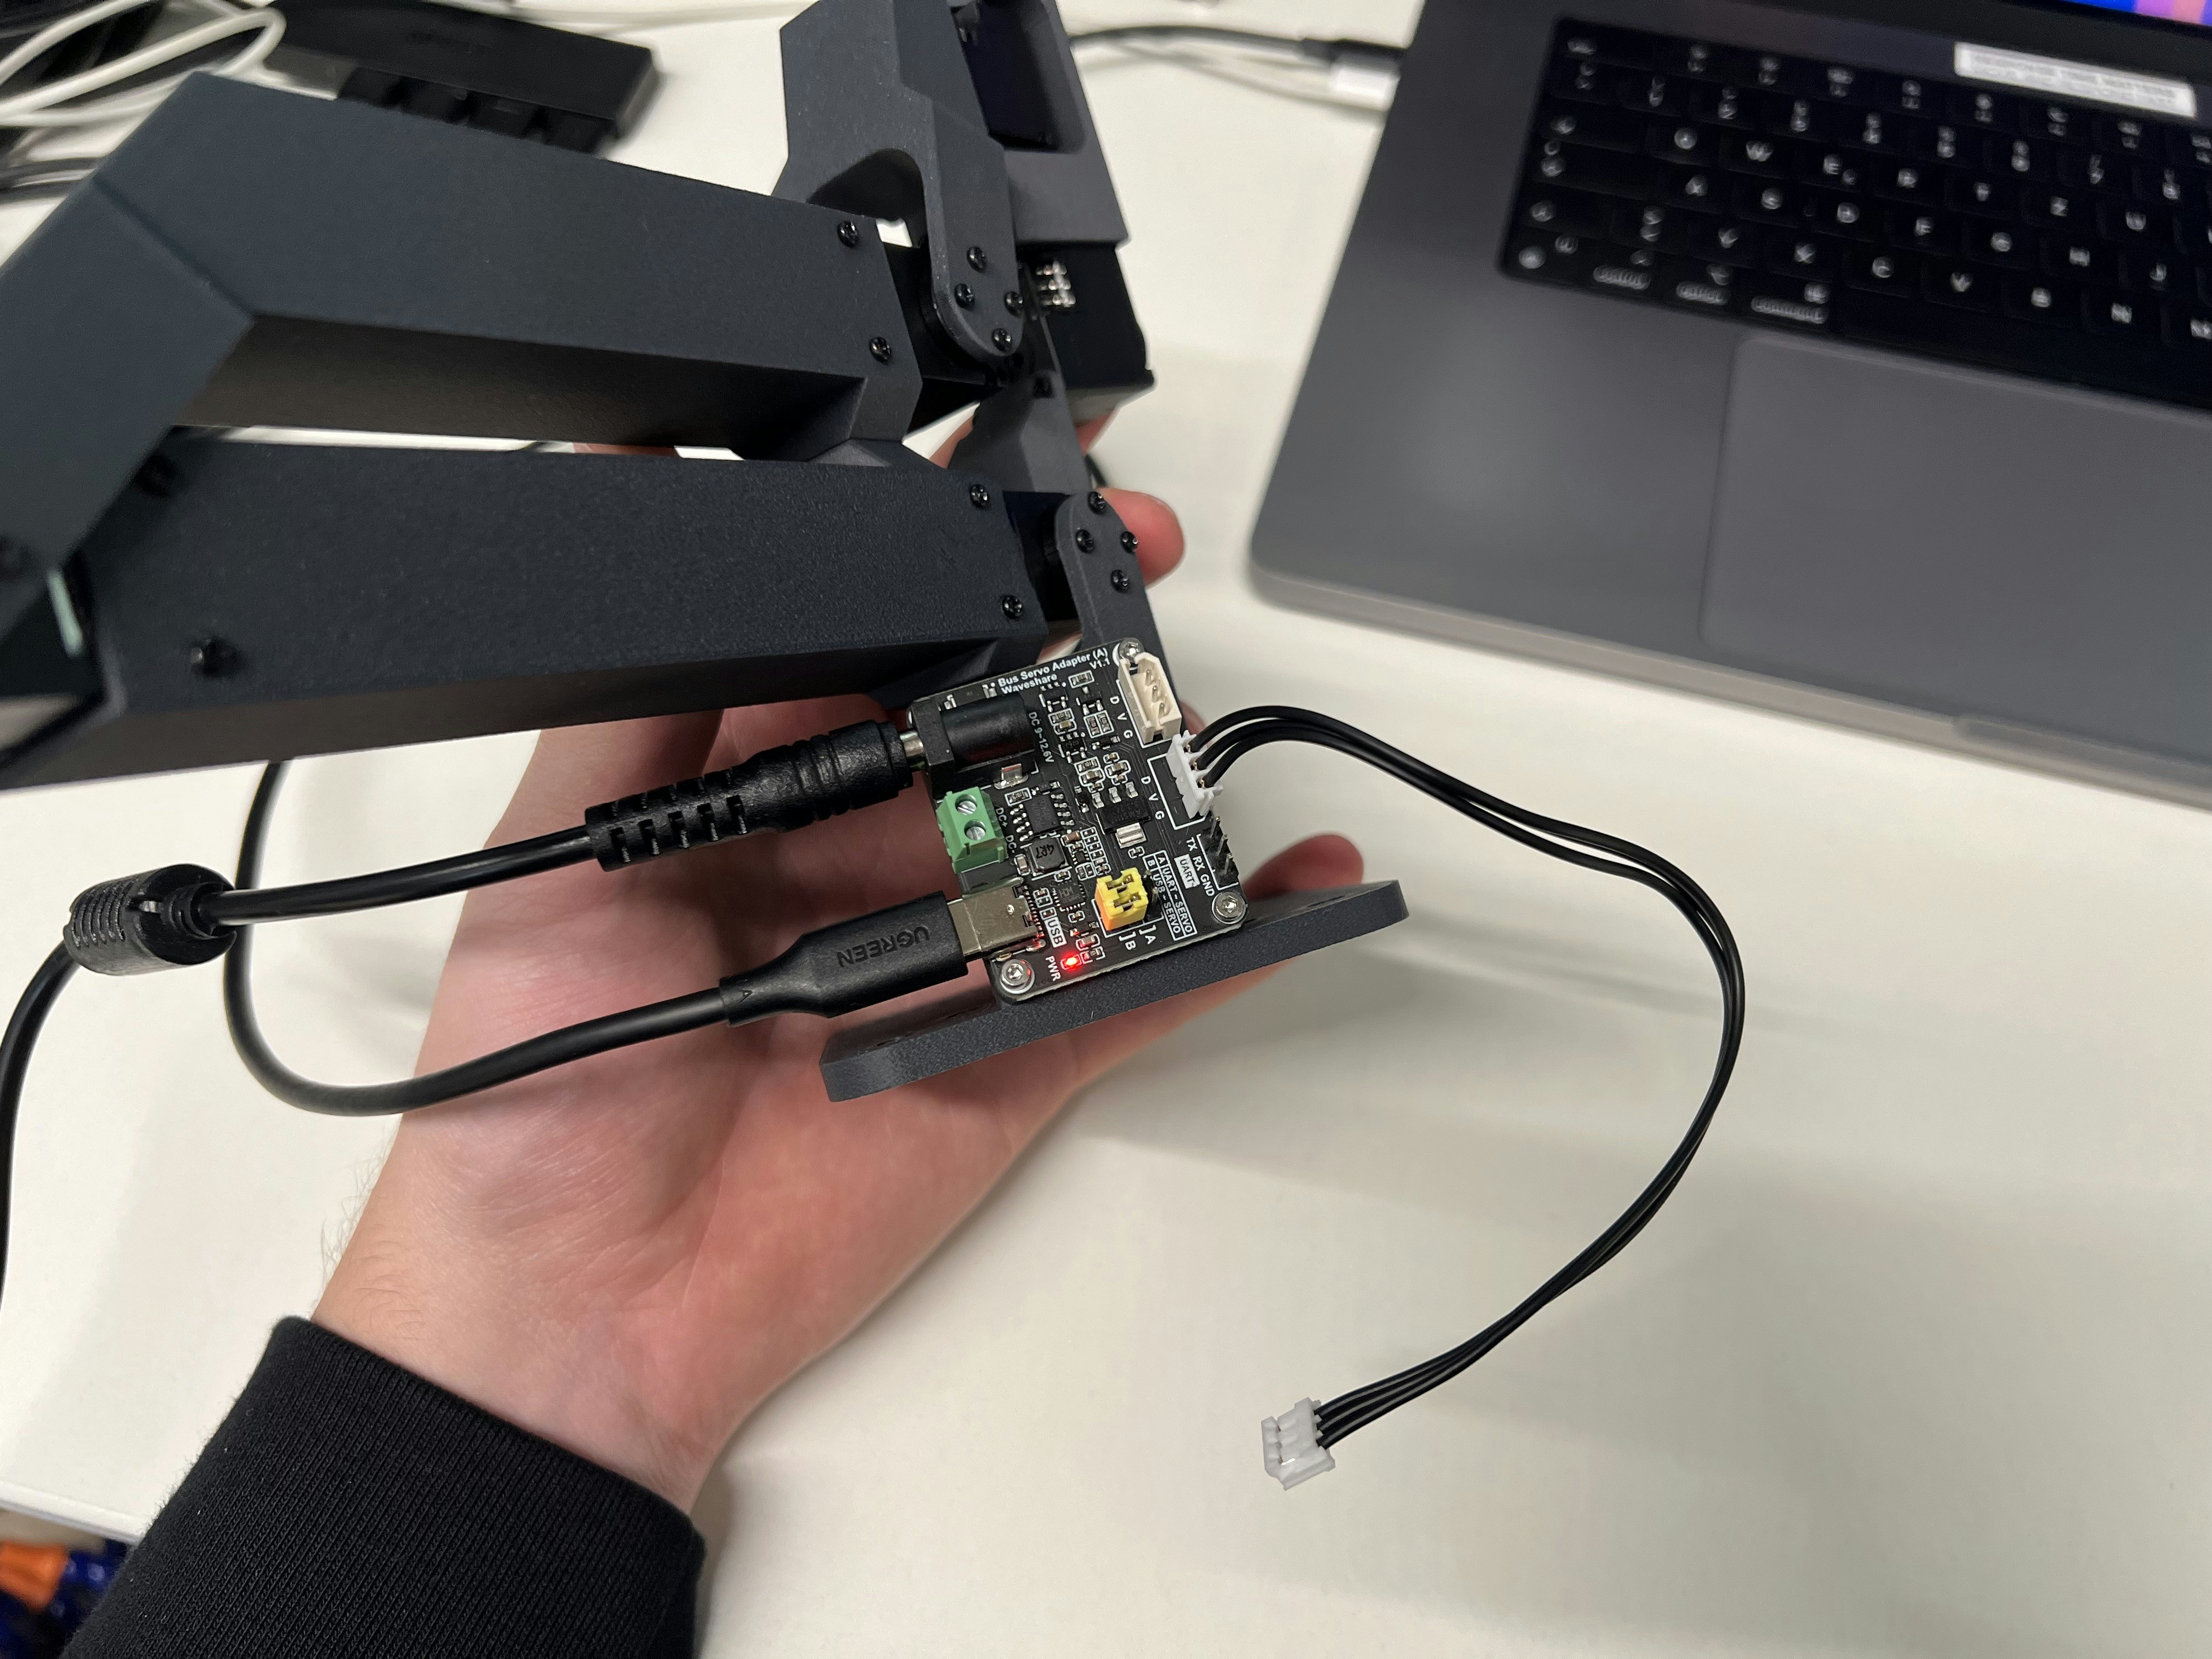
trlc-dk1 as branch, run the following to identify the port for the bus driver board: